Introducing New Remote Restores For More Accessible Cloud Backups
Are you securing your site backups in the cloud? You'll need an easy way to restore them. Our new features…

Introducing New Remote Restores For More Accessible Cloud Backups

 Joella Dunn
Joella Dunn
Joella Dunn
 John Turner
John Turner
John Turner
Ever had that amazing website idea, but the pressure of hitting “publish” made you hesitate?
What if you could build your WordPress site without that constant worry? Here’s the secret weapon: offline development.
By creating your website in a local environment, you can unleash your inner designer and developer with total peace of mind. This approach is a game-changer not just for beginners, but for freelancers and large teams as well.
In this tutorial, we’ll show you how to build a WordPress site without going live!
Picture this: you’re creating your dream website, experimenting with layouts, and trying out new plugins – all without worrying about the public eye. That’s the beauty of building your WordPress site offline.
Here are some ways it can transform your website creation experience.
Say goodbye to the fear of hitting publish on an unfinished masterpiece. With offline development, your work is your own until you’re absolutely in love with it.
No more panicking about typos or wonky layouts. You can experiment freely, tweak your content, and refine your vision without any pressure.
Testing new plugins and themes is essential for building a great website, but doing it on your live site can be nerve-wracking.
Using a staging site, you can try out new features without putting your live site at risk. It’s like a testing playground, ensuring you’re not introducing any unexpected bugs or vulnerabilities to your visitors.
Website speed is king when it comes to user experience. By working offline, you can fine-tune your website’s performance without any distractions.
Imagine optimizing images, testing loading times, and ensuring your site runs like a dream – all before it ever goes live. That’s the power of offline development!
Working on a website with a team? Local development is your secret weapon.
You can easily share your local site with team members for feedback and collaboration, making sure everyone’s on the same page before pushing the final product live. This collaborative approach can save tons of time and frustration, leading to a smoother and more efficient workflow.
Ready to build your next WordPress site with confidence? We’ll show you create your website without going live. Let’s get started!
Let’s start setting up your offline website! The first step is choosing your local development environment, which acts as your own private testing ground.
Here are a few popular options:
Feeling overwhelmed by all the choices? Consider reading our blog post about the best local development environments. This handy cheat sheet will help you find the right option for you!
Once you have found a local environment for your needs, download it.
Each of these local development environments will have different installation processes. I’ll show you how this works on MAMP.
After downloading MAMP, open the app and set the Apache Port to 80.

Under the Server tab, feel free to edit the document root folder. This will be where your local site lives on your computer.

By default, MAMP’s document root will be set to Applications » MAMP » htdocs.
If you opt for a more beginner-friendly tool like LocalWP, all you’ll need to do is install the software on your computer. It doesn’t need any extra configuration.
With your development environment chosen, it’s time to install WordPress software! This gives you the foundation to create a WordPress website.
If you opted for the beginner-friendly LocalWP route, installing WordPress is a breeze. All you’ll need to do is create a new site.

Name your local site. If you prefer, you can set it up on a custom PHP version, web server, and database type.

Assign a username, password, and email to the new WordPress website.

After this, LocalWP will automatically install WordPress for you! You can log into your admin area and start customizing your site.
For those using MAMP, WAMP, or XAMPP, the installation process requires a few more steps. But don’t worry, it’s still manageable!
Open WordPress.org and download the latest version of WordPress.

Extract the zip file, which will give you a wordpress folder. Copy this.
Find the folder where you installed MAMP. Inside this, paste your wordpress folder. Rename it anything you like. (I named mine local-site).

If you’re using a local development environment like MAMP, WAMP, or XAMPP, you’ll need to create a MySQL database for your local site. Don’t worry about this step for LocalWP.
First, open phpMyAdmin for your local site. You should be able to do this with one of these links:
http://localhost/phpmyadmin/
http://localhost:8080/phpmyadmin/
On the left side, click New. Name the database and create it.

In a new browser, search for this URL: http://localhost
This pulls up a welcome page.

When prompted, enter this information:

You’ll also need to choose a username and password for your WordPress admin page. You could also discourage search engines from indexing your new staging environment.

And that’s all you need to get started.
If you’re using LocalWP, you’ll have to open the app, select your local site, and hit WP Admin.

Use your username and password to access the WordPress dashboard.
Now that you have WordPress installed, it’s time to unleash your inner designer and developer! This is where the offline development magic truly shines.
You can start installing new themes and plugins to help you design your site. Remember, no one will see your changes, so you can play around with any tools without fear.
If you’re new to web design, there are fantastic tools like SeedProd. SeedProd is a drag-and-drop theme builder that allows you to create beautiful and functional page layouts without needing to write any code.

To create your theme, you can choose a pre-designed layout. This is a great option for beginners who want a beautiful website without getting bogged down in technical details.

WordPress offers a vast library of themes and plugins that can add functionality to your website. However, with so many options available, it can be overwhelming to know where to start. Here are some tips.
Look for themes and plugins from trusted marketplaces like the official WordPress theme directory or plugin directory. These have review systems and quality control measures to ensure you’re getting reliable products.
Before installing any theme or plugin, take some time to read reviews from other users. This can give you valuable insights into the product’s functionality, ease of use, and customer support.

Don’t get carried away installing every cool theme or plugin you come across. Focus on choosing themes and plugins that address specific needs and functionalities for your website.
Here are some of the best plugins out there:
If you’re still not sure where to start, here are my recommendations:
Plugins: 26 Best WordPress Plugins For Any Type of Website
Themes: 15 Best WordPress Themes to Build a Stunning Website
Free Tools: 13 Best Free WordPress Plugins to Build a Budget-Friendly Website
The moment you’ve been working towards is almost here – launching your website and sharing it with the world! But here’s the beauty of offline development: you get to make this transition flawlessly, without worrying about publishing an unfinished product.
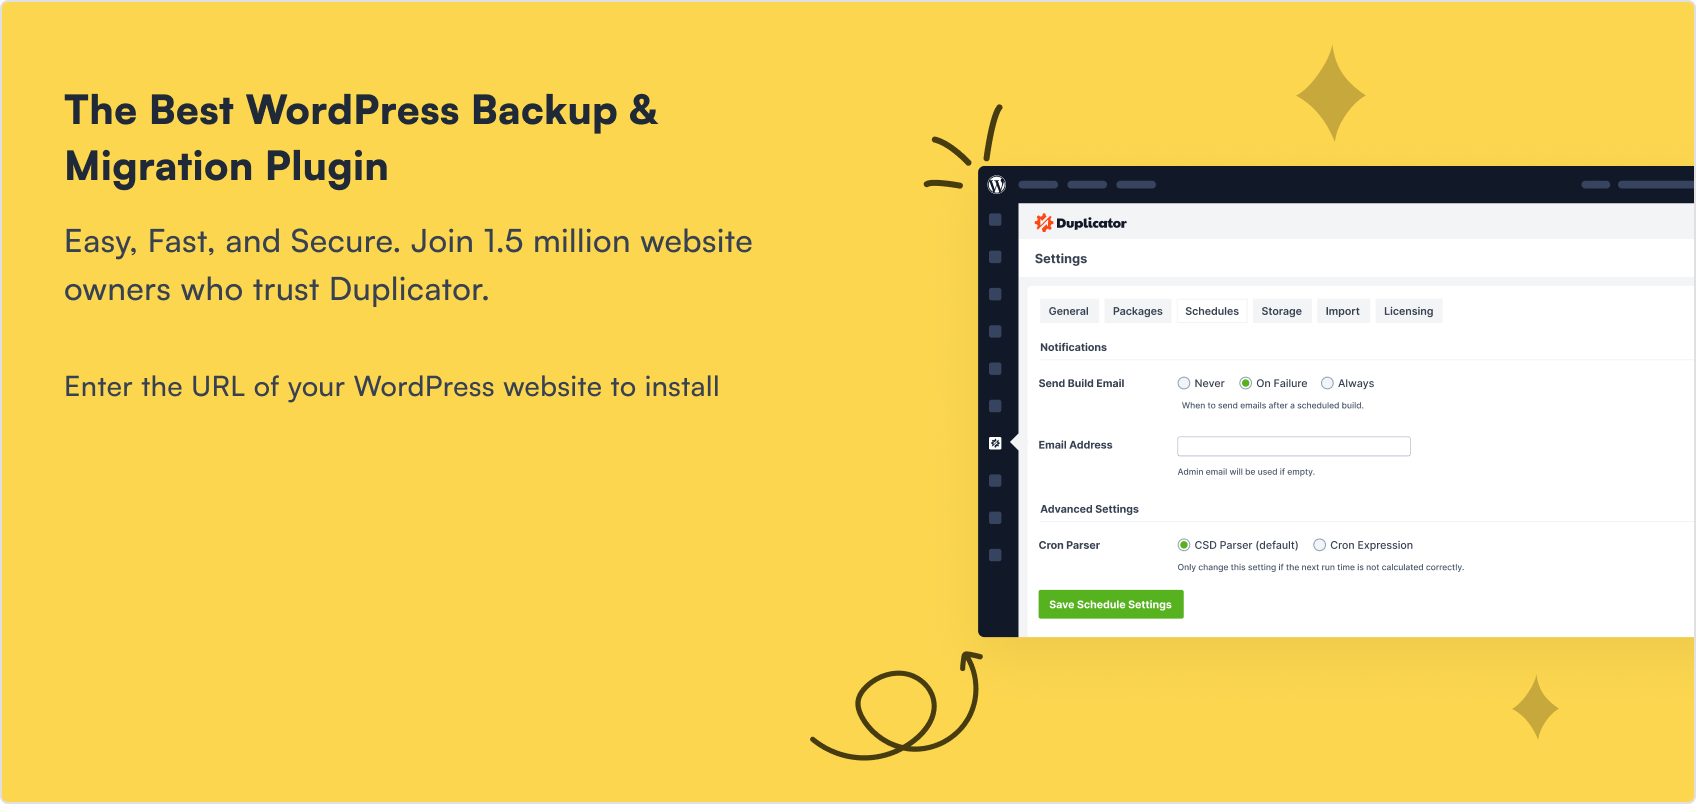
This is where Duplicator Pro comes in – your secret weapon for a smooth and stress-free launch. Duplicator Pro simplifies the process of migrating your locally-developed website to a live server.

Here’s how it works.
Once you’re happy with your local website, use Duplicator Pro to create a full backup. It will compile all of your WordPress files, databases, and settings into a single file.

Next, download your backup.

At this point, you’ll need to find a hosting provider. Purchase a web hosting plan and a domain name.
You should also create a new database and database user.

Use your new website’s file manager (like cPanel) or FTP client (like FileZilla) to connect to your server. Upload both Duplicator files to the root directory.

Launch the installer with this link: https://your-domain/installer.php
Duplicator will walk you step-by-step through the migration. You’ll need to enter your new database information and replace your old URLs, but Duplicator makes this super user-friendly.

Want to see Duplicator Pro in action? Here’s a full tutorial on moving a local site to a live server.
Absolutely! Local development allows you to build your website privately, separate from the live web. Hosting comes into play when you’re ready to launch your website and make it accessible to the public. Think of offline development as the planning and construction phase, while hosting is like buying a plot of land and setting up your finished house for everyone to see.
To redesign your WordPress site without hosting, set up your local server. Then, use Duplicator Pro to back up your live website. On the local site, install Duplicator and drag and drop your backup into the Import page.

You can now edit your website without worrying about live errors or downtime. This makes redesigning your website a safe and efficient process. Make all your website design changes offline, then use Duplicator to migrate the updated version back to your live server.
Yes, you can build your WordPress site entirely offline. With a local development environment, you can focus on creativity and functionality without distractions or the worry of breaking your live site.
You can change your WordPress theme by using Duplicator to migrate your live site to a local host. Try out different themes and refine your website’s look and feel offline. When you’re happy with the results, push the changes live.
Alternatively, put your live site in maintenance mode. With SeedProd, you can use a template to announce that you’re working on your website.

Another option is to copy your website onto a subdomain or subdirectory on your server. Managed WordPress hosts like WP Engine, Bluehost, and SiteGround make this process easy.
Building a website can be an exciting yet daunting experience. But with the power of offline development, you can unleash your creativity and build a website you’ll be proud of, all within a safe and secure environment.
By now, we hope you know how to build a WordPress site without going live!
While you’re here, I think you’ll like these extra WordPress guides:
Are you ready to make your website live? Download Duplicator Pro to back up your site and migrate it to a live server!

Disclosure: Our content is reader-supported. This means if you click on some of our links, then we may earn a commission. We only recommend products that we believe will add value to our readers.