Are you aiming to restore a backup from your existing backups? Here are a few simple steps to help you accomplish this.
Restore a Backup
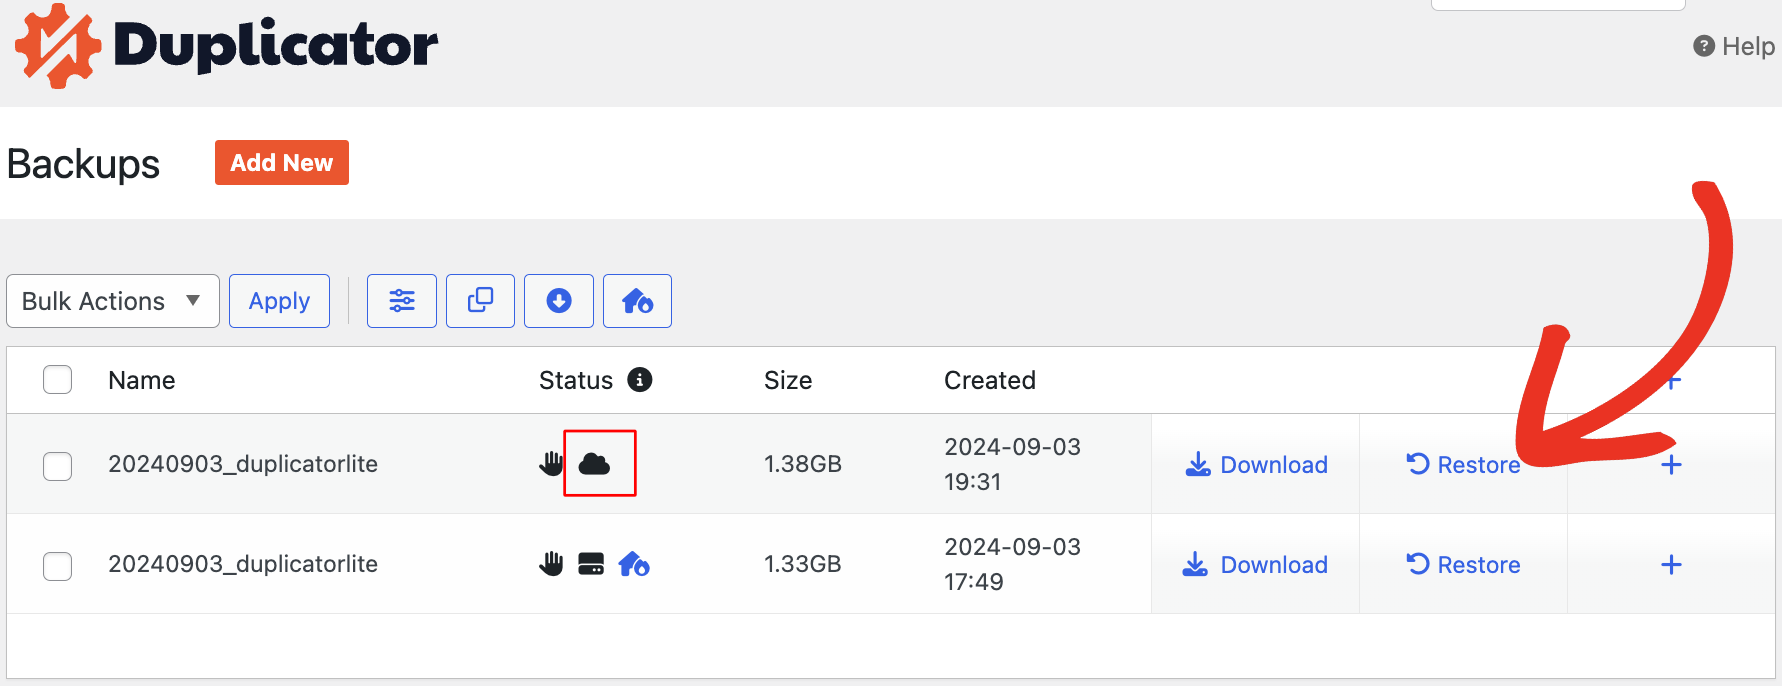
To get started, go to Duplicator Pro » Backup. You’ll notice a Restore button next to each backup, as illustrated below:

Select the Restore button for the backup you wish to apply to your site. This will initiate the process, and the launcher will be displayed.
Restore a Remote Backup from Cloud
You can also restore the remote backup stored in your Cloud Storage. Find your cloud backup on the Backups page, and then hit the Restore button next to it.

In the pop-up window, click on Download.

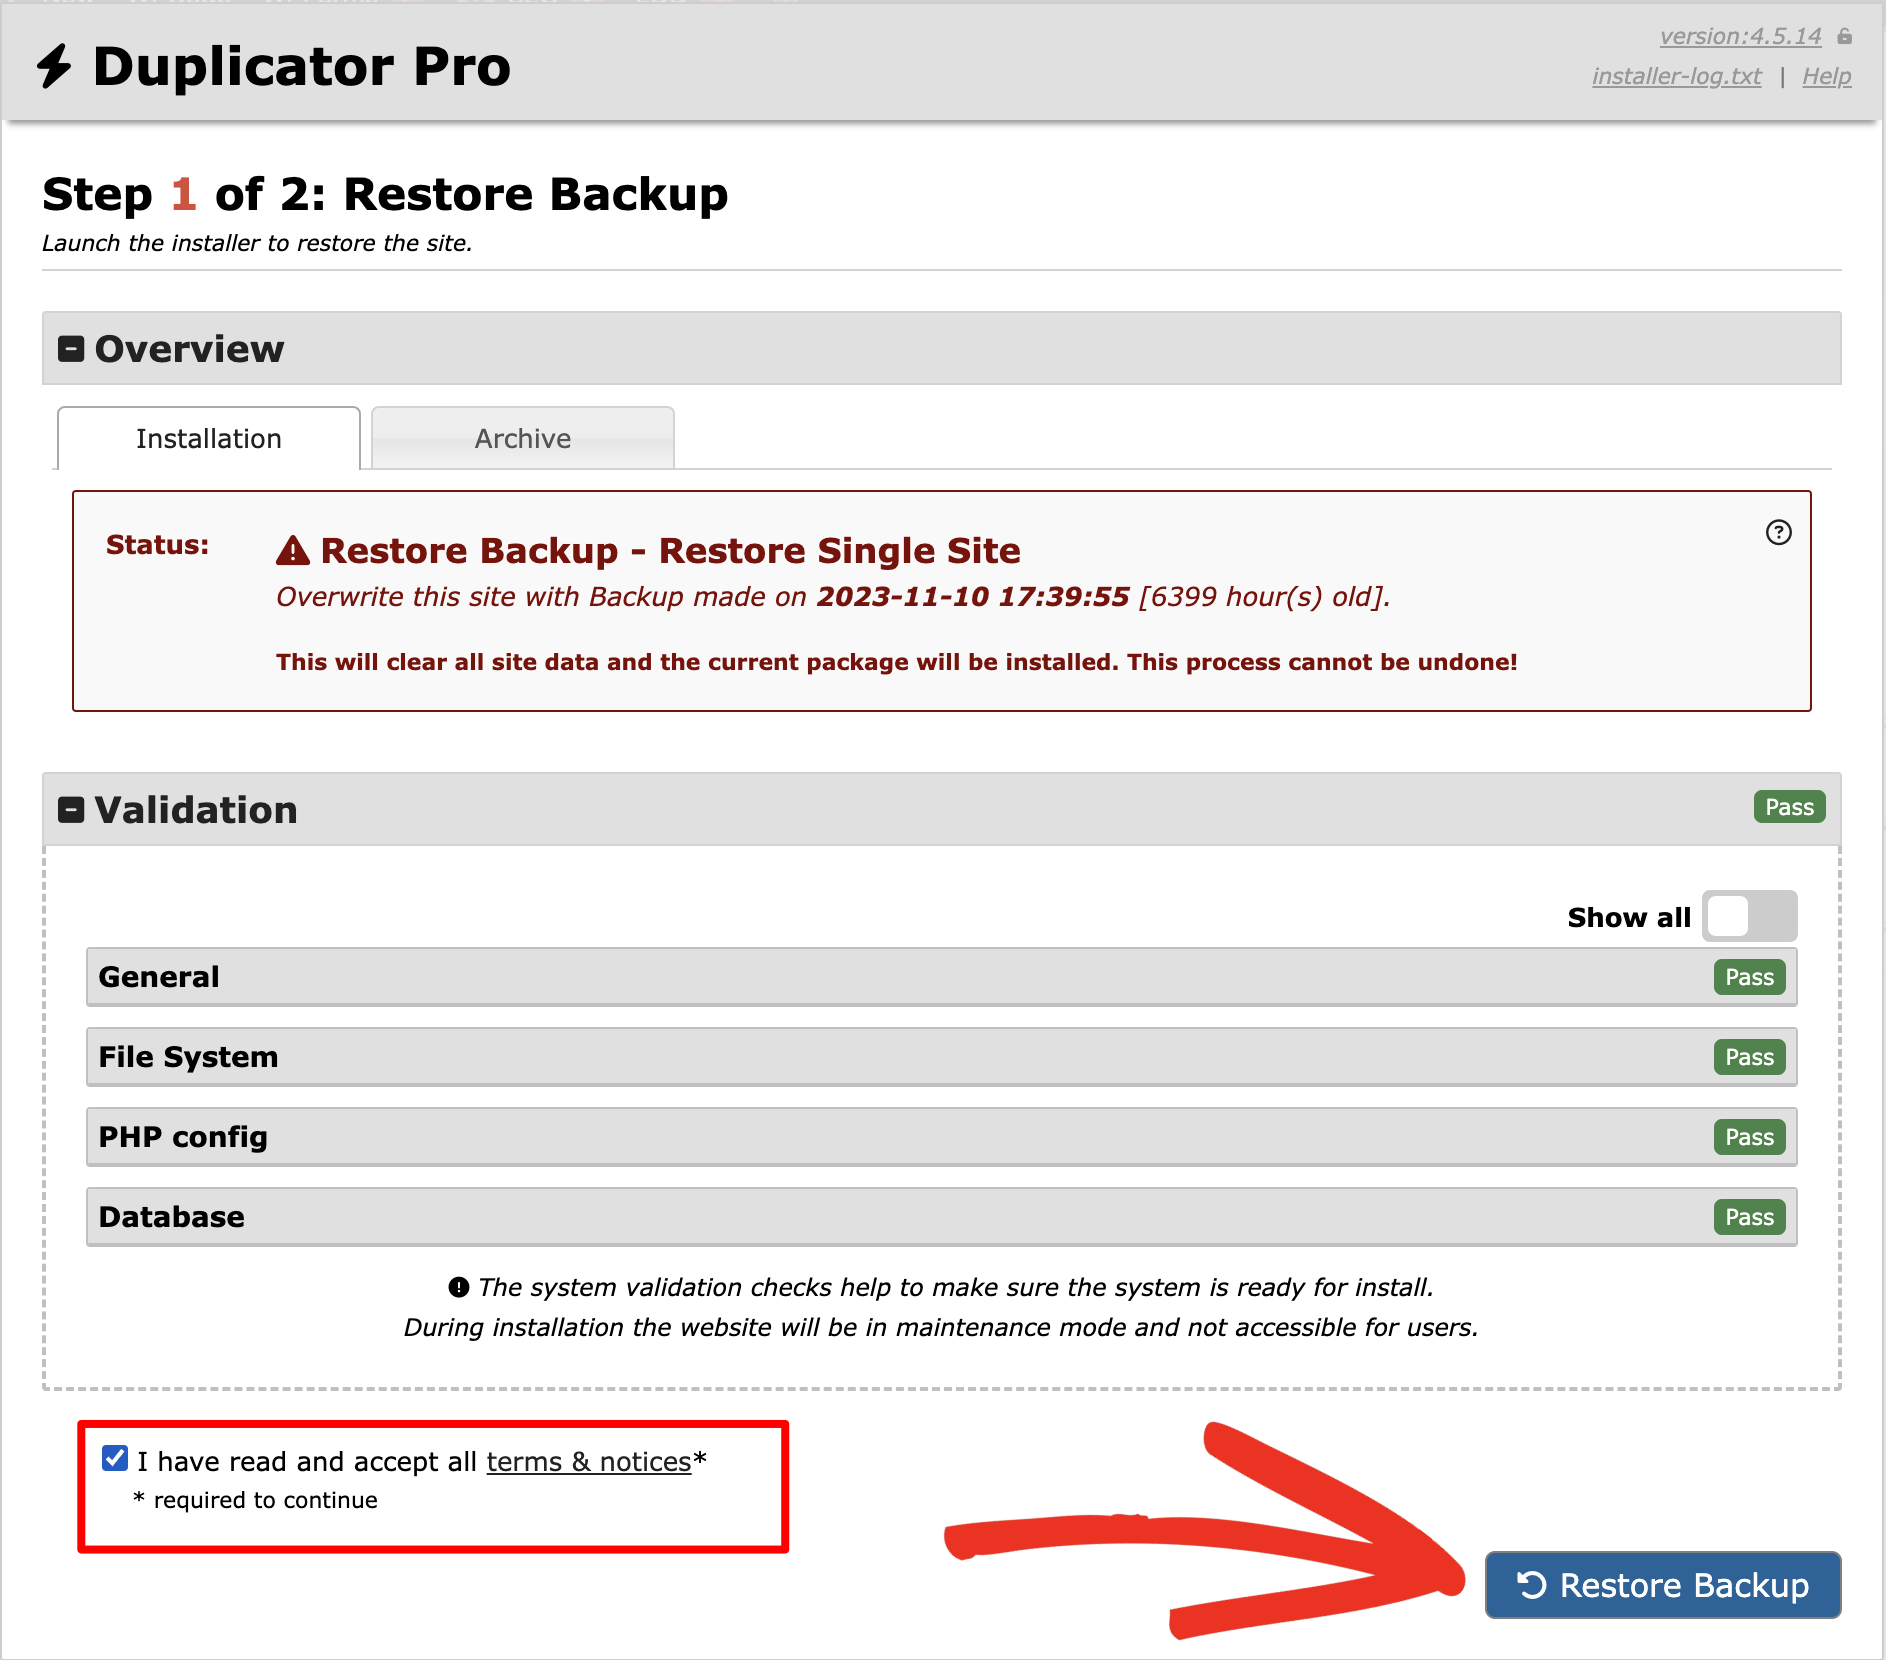
Duplicator will download the backup from remote storage to your WordPress dashboard. Then, it’ll automatically pull up the restoration wizard. Accept the terms and notices and hit Restore Backup.
Launch Restore Backup Installer
This will initiate the installer—Step 1, presenting the Overview (Installation and Archive) information along with the validation status. Accept the terms and notices, then click the Restore Backup button.

A confirmation popup will appear, showing the Site and Database settings information, before proceeding with the installer. Click on OK to proceed.

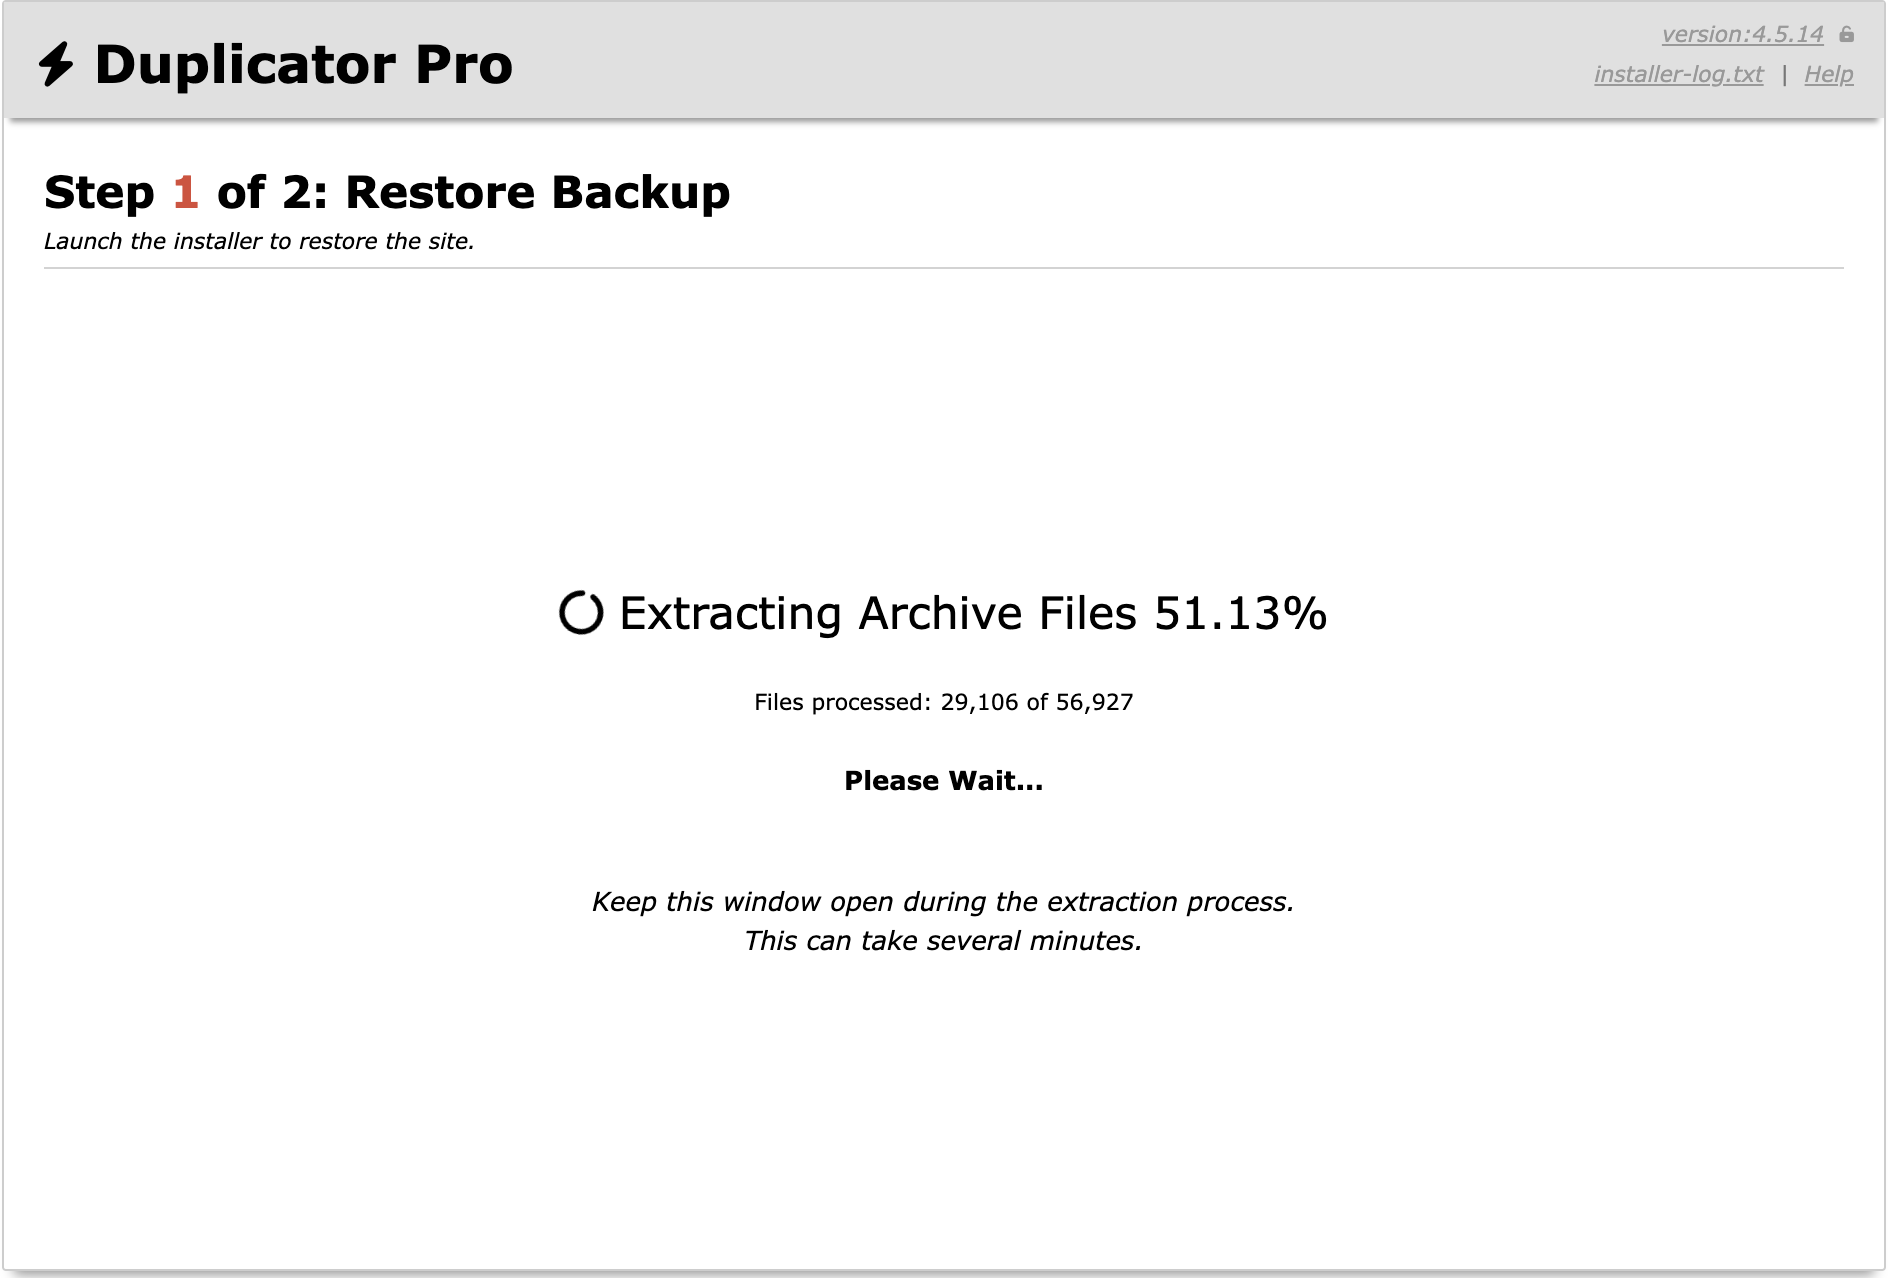
The installer will start extracting archive files. This can take several minutes depending upon the size of the backup:

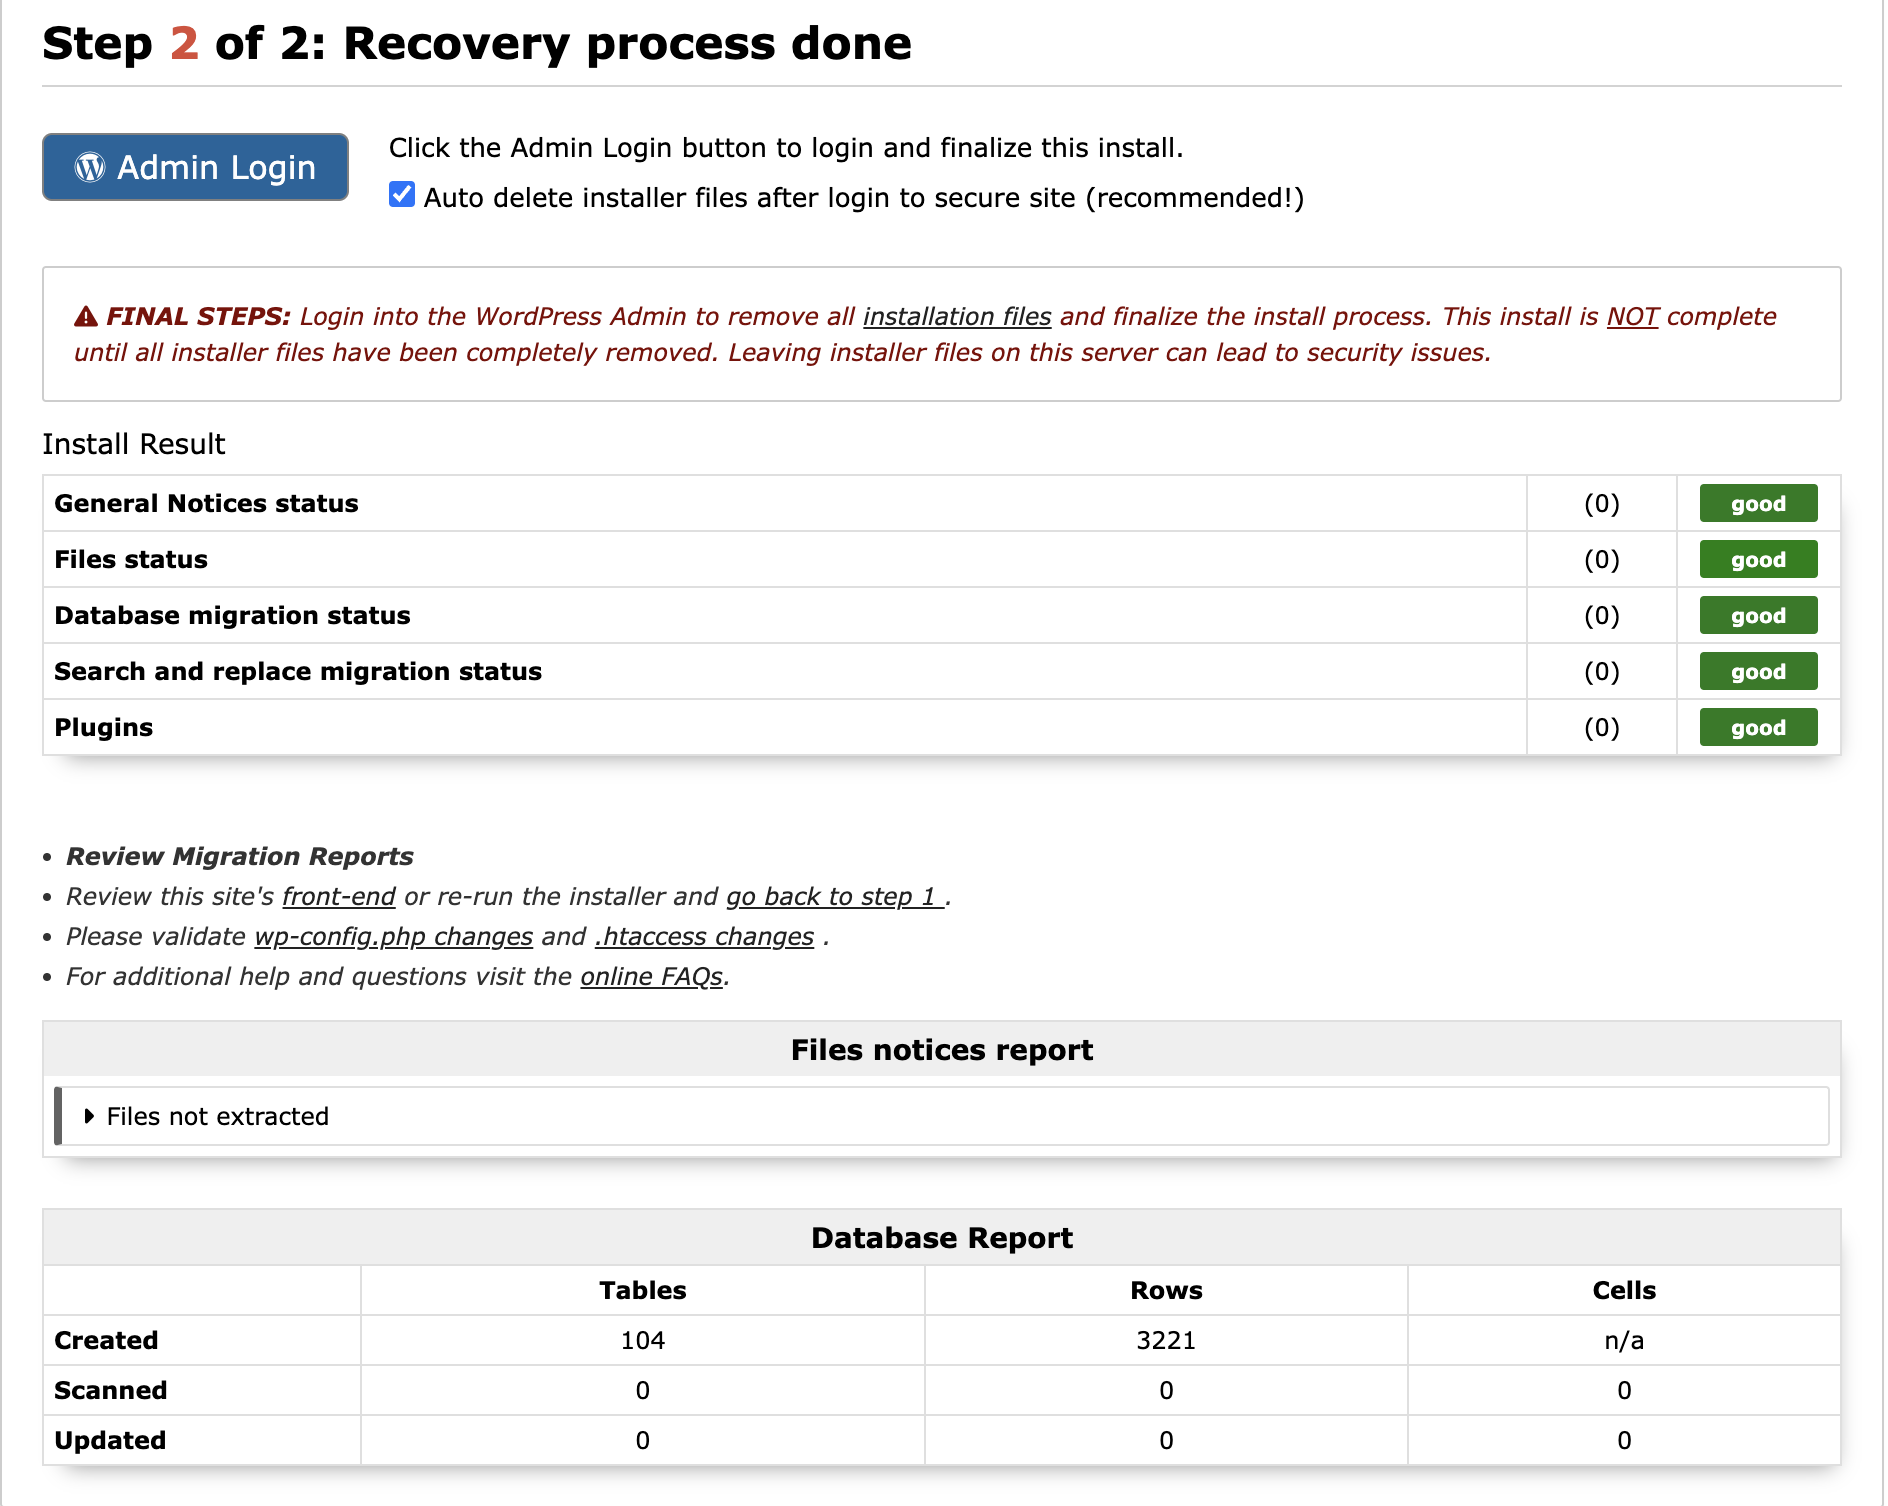
The recovery process will take a few minutes to get back to your backup. When it’s finished, you can see reports about the uploaded files in Step 2:

This way, you’ve successfully restored your backup.


