Hosting multiple WordPress sites on a single hosting account requires proper planning and setup. This guide walks you through the standard process used by most hosting providers.
Overview
To host multiple WordPress sites on one server, you’ll need to:
- Prepare your web root directory
- Create separate directories for each site
- Set up individual databases
- Configure add-on domains
- Install your WordPress sites
Step 1: Prepare the Web Root Directory
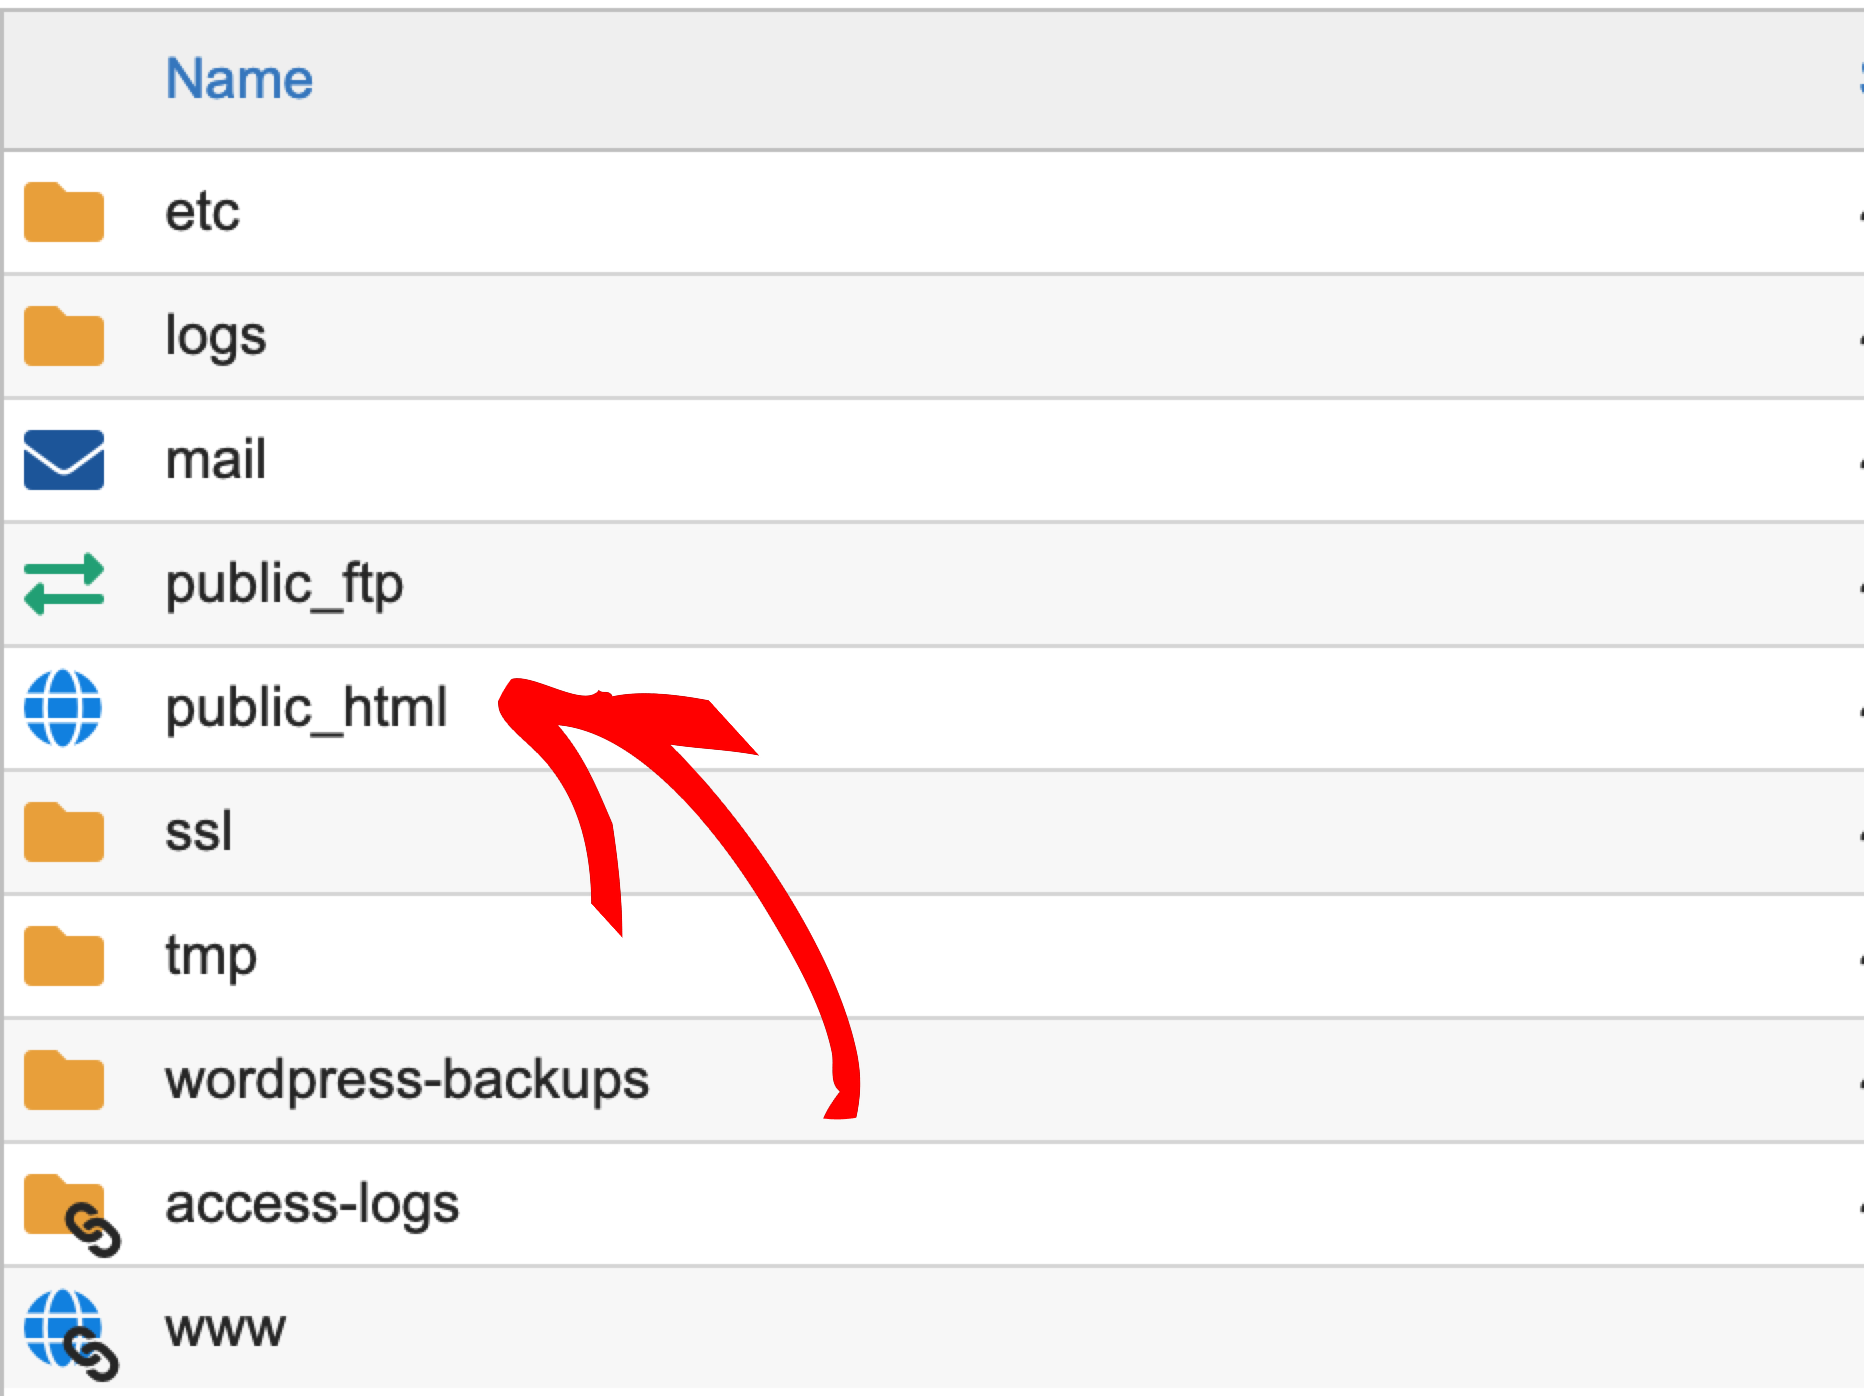
Locate your web root directory through your hosting cPanel or FTP client. Most hosts name this directory public_html.

Check for existing WordPress installations:
Ensure the directory is empty of WordPress core files:
wp-adminfolderwp-contentfolderwp-config.phpfile- Other WordPress core files
Safe to Keep: Files like 404.html or .htaccess can remain.
Important: If WordPress core files exist, back them up before removing them to avoid data loss.
Step 2: Create Site Directories
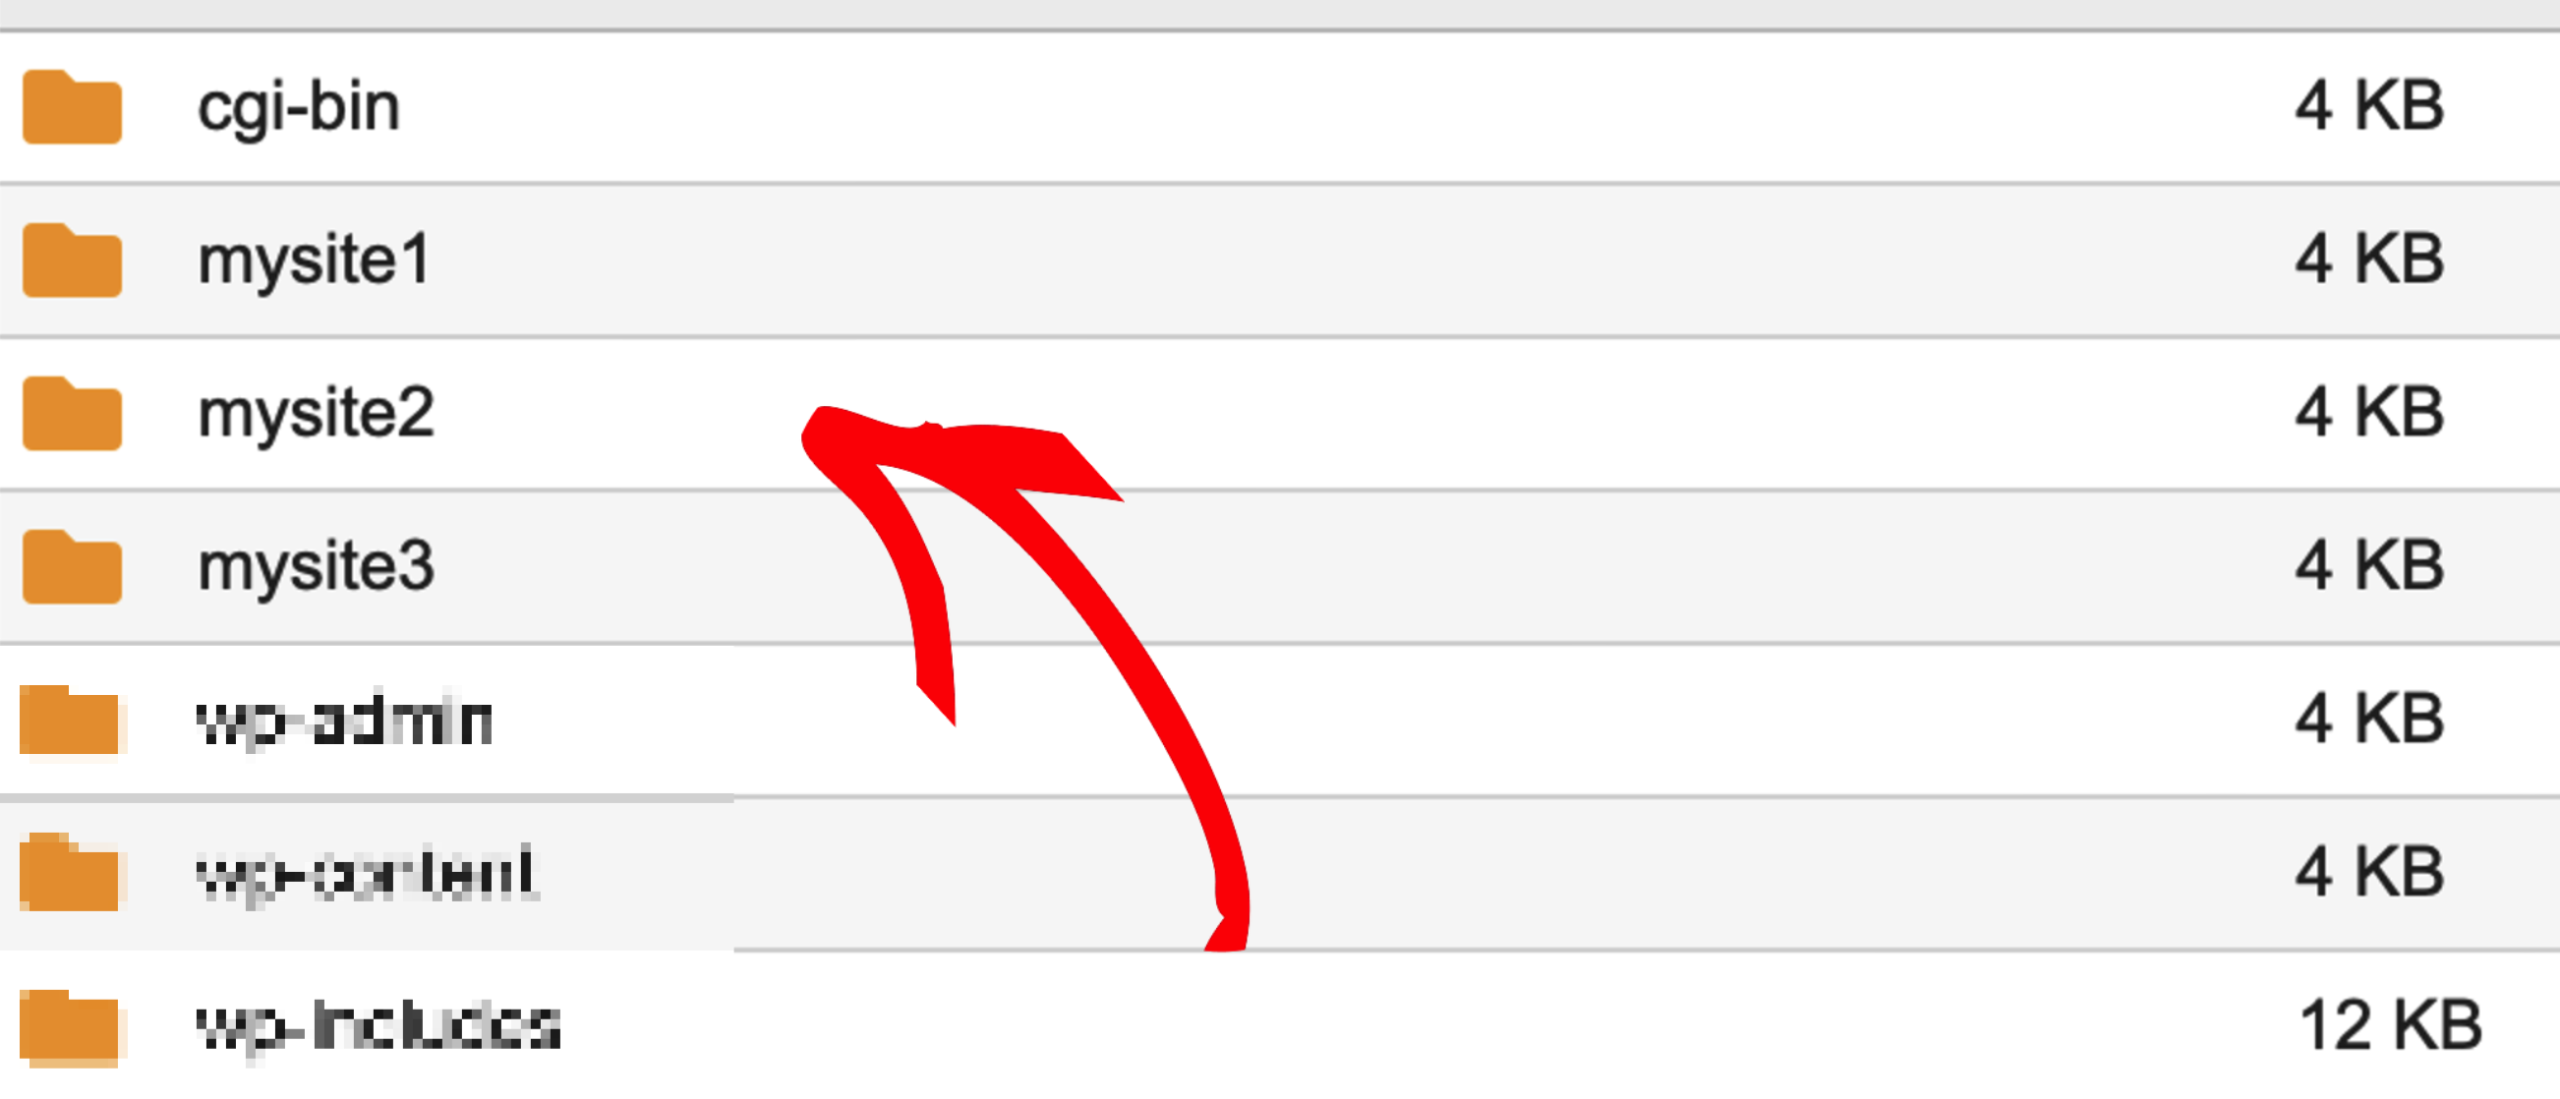
Each WordPress site needs its own directory within the web root. These directories typically match your domain names.
Example directory structure:
/public_html/mysite1/ (WordPress files here)
/public_html/mysite2/ (WordPress files here)
/public_html/mysite3/ (WordPress files here)
Create a separate directory for each site you plan to host.

Step 3: Create Databases
Each WordPress site requires its own database.
Best Practice: Name each database to match its corresponding directory (usually the domain name). This makes management easier.
Example:
- Site directory:
/public_html/mysite1/ - Database name:
mysite1_db
Create one database per site through your hosting control panel.
Step 4: Configure Add-On Domains
Most major hosting providers offer an “Add-On Domain“ feature. This maps your domain name to a specific directory in your web root.
How to set up:
- Log in to your hosting control panel
- Find the “Add-On Domains” or “Domains” section
- Add your domain and point it to the corresponding directory created in Step 2

Tip: Search your hosting provider’s documentation for “add-on domain” setup instructions. The process is typically straightforward.
Recommended Hosts: View our list of approved Duplicator hosting providers.
Step 5: Install Your WordPress Sites
Once your directories, databases, and domains are configured, you’re ready to install WordPress.
Using Duplicator:
If you’re migrating existing sites with Duplicator, follow our Classic Installation guide to deploy your backup to each new location.
Result: Each domain will display its own WordPress site, all hosted on the same server but completely separate from each other.
Quick Checklist
Before installing WordPress on each site, verify:
- Web root directory is clean
- Individual directories created for each site
- Separate database created for each site
- Add-on domains properly mapped
- Domain DNS settings updated (if needed)
Getting Help
Need assistance with your hosting setup?
- Installation Guide: Classic Installation
- Approved Hosts: Duplicator-friendly hosting providers
- Support: Contact your hosting provider for platform-specific guidance


