Are you prepared to install the Duplicator Pro plugin on your WordPress site? Once you’ve bought a license, the next move is to install the plugin and begin using it.
This step-by-step guide will take you through the process of installing and activating the Duplicator Pro plugin.
Downloading the Duplicator Pro Plugin
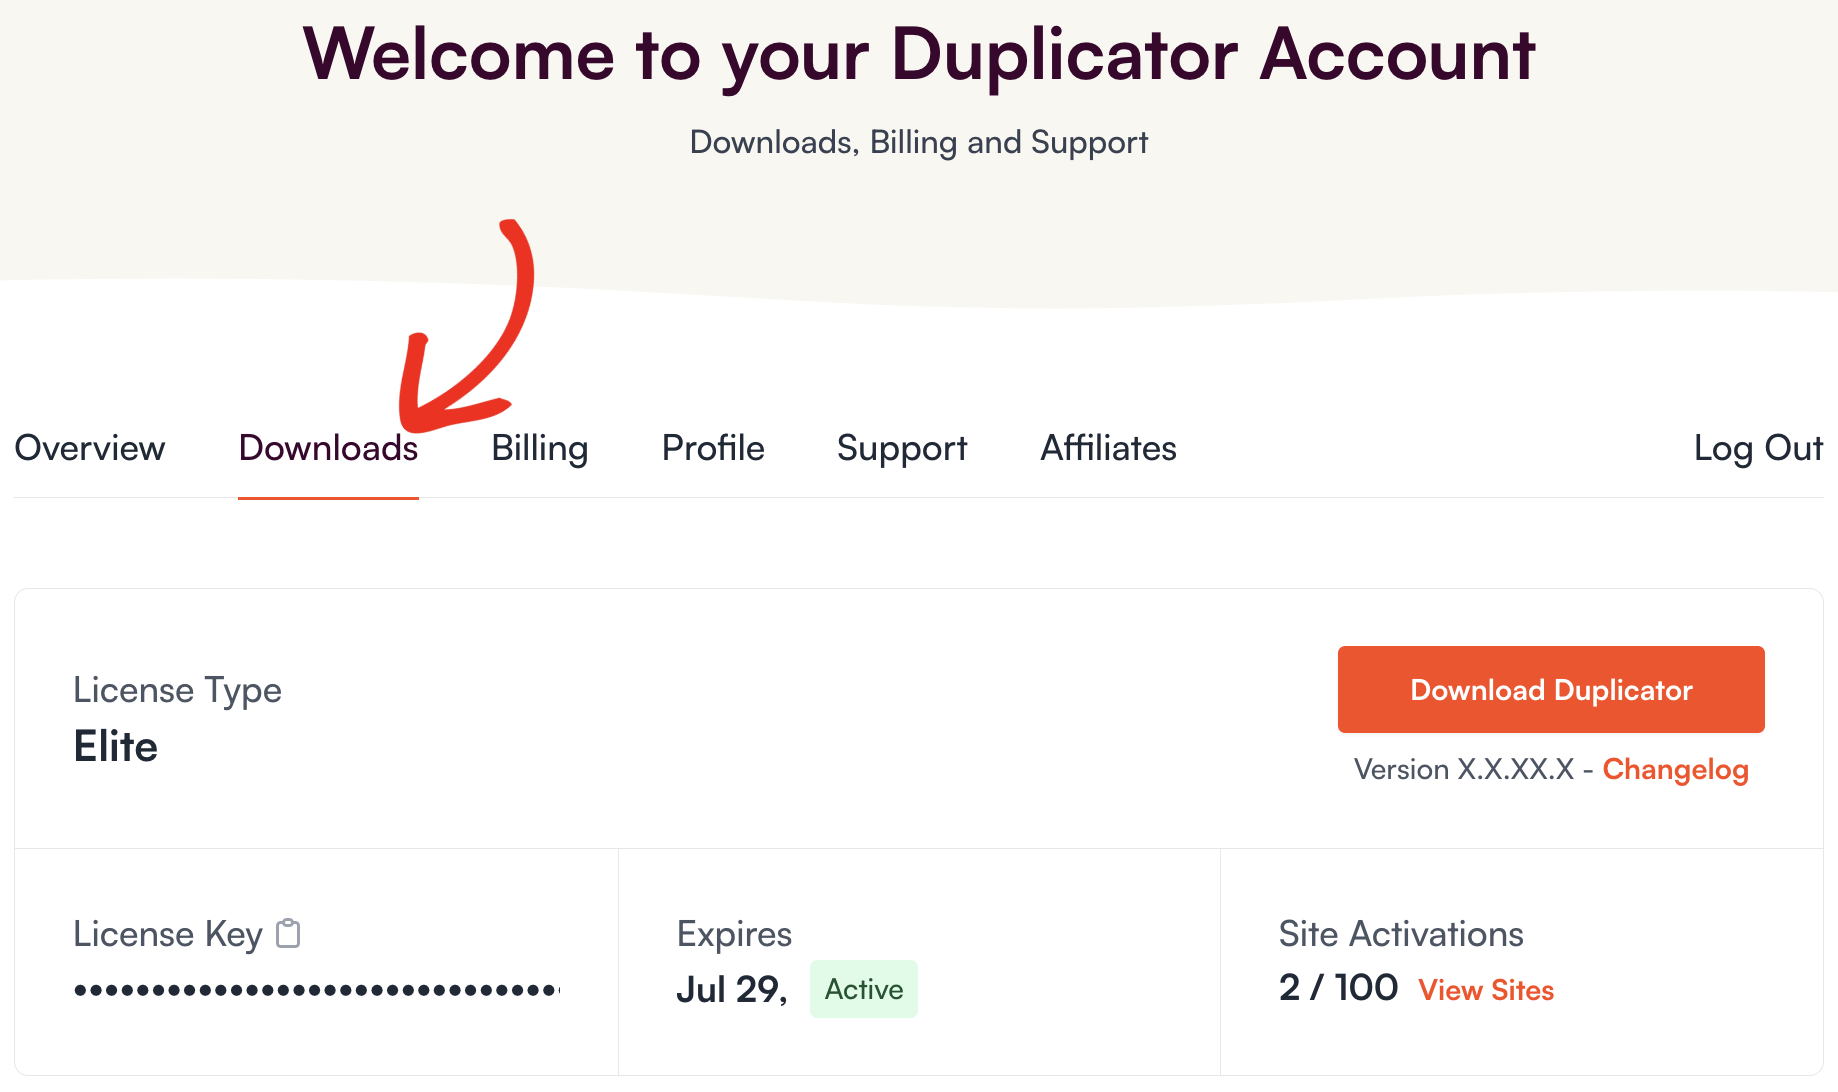
To begin, log in to your Duplicator Pro account. After logging in, click on the Downloads tab.

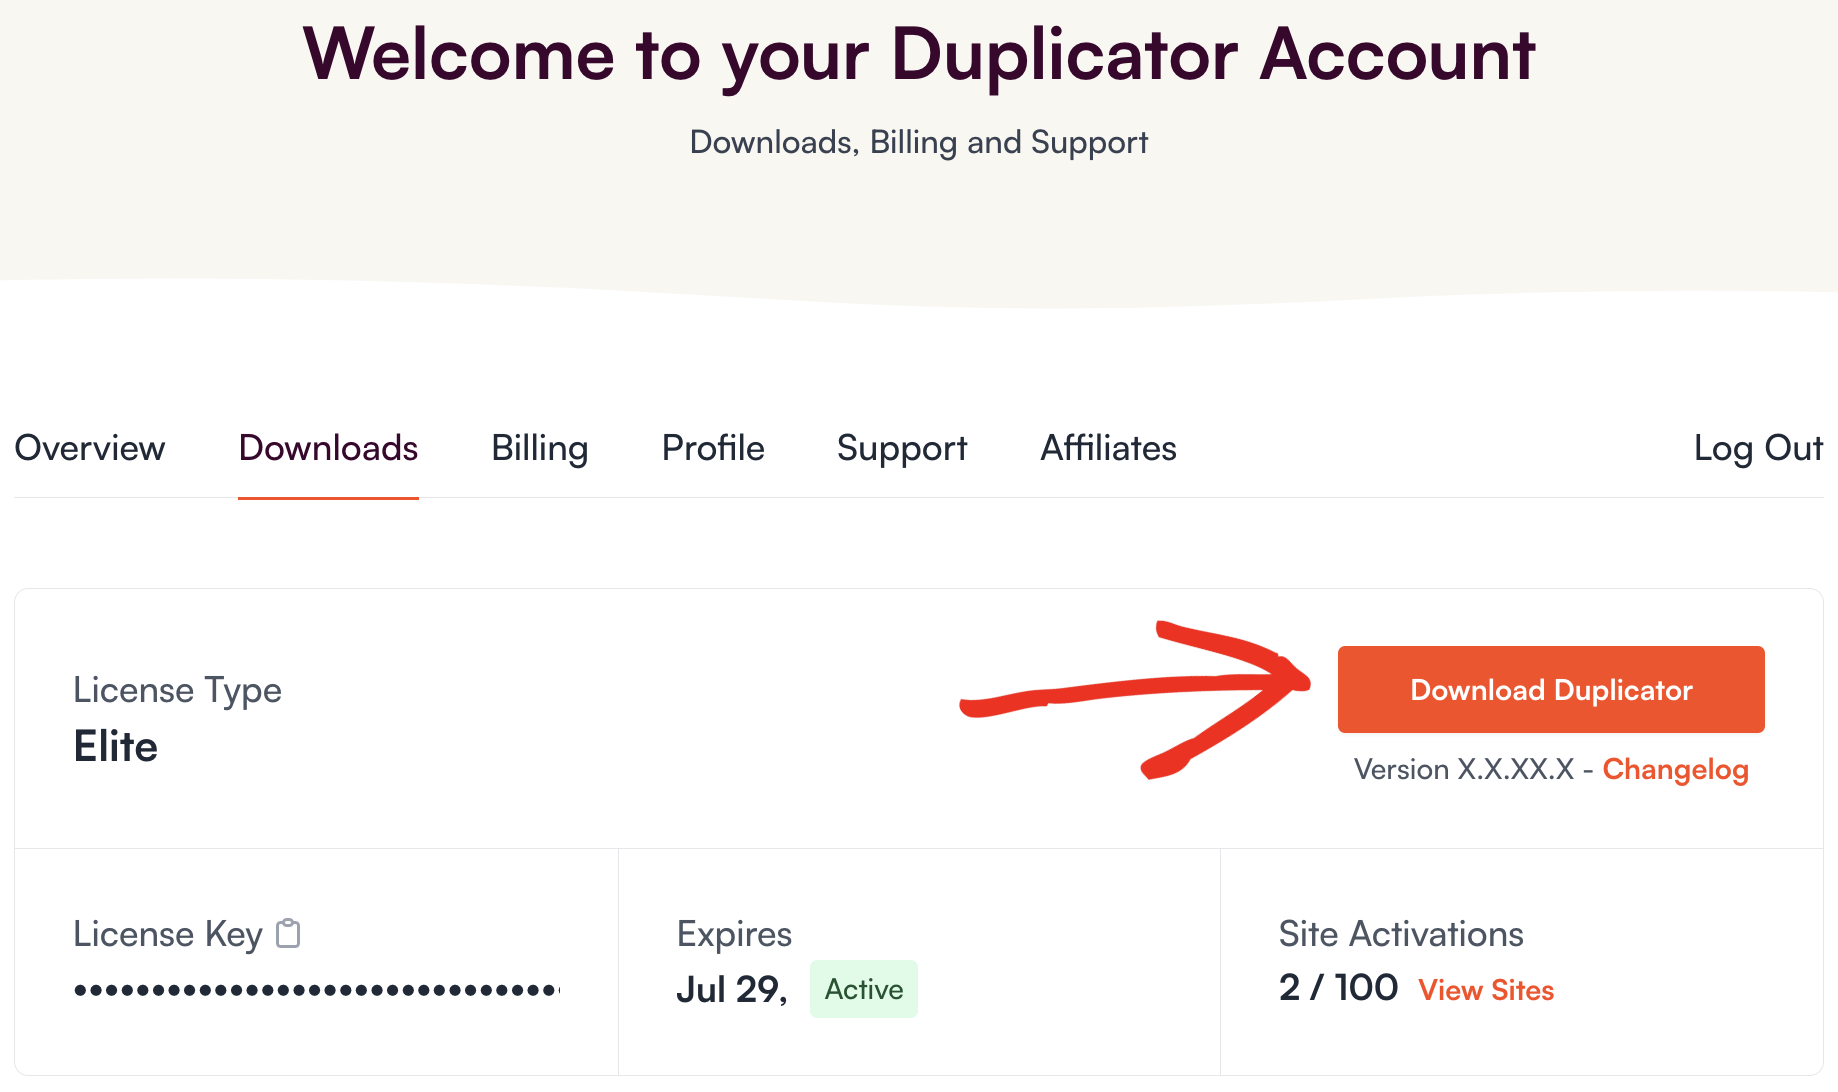
This page displays all your available licenses. To download the plugin, click the Download Duplicator button next to your License. This action will save a zipped file of the Duplicator plugin to your computer.

Installing Duplicator on Your Site
After downloading your zip file, go to the website where you want to install Duplicator. Inside the admin dashboard, navigate to Plugins » Add New, and then click the Upload Plugin button.

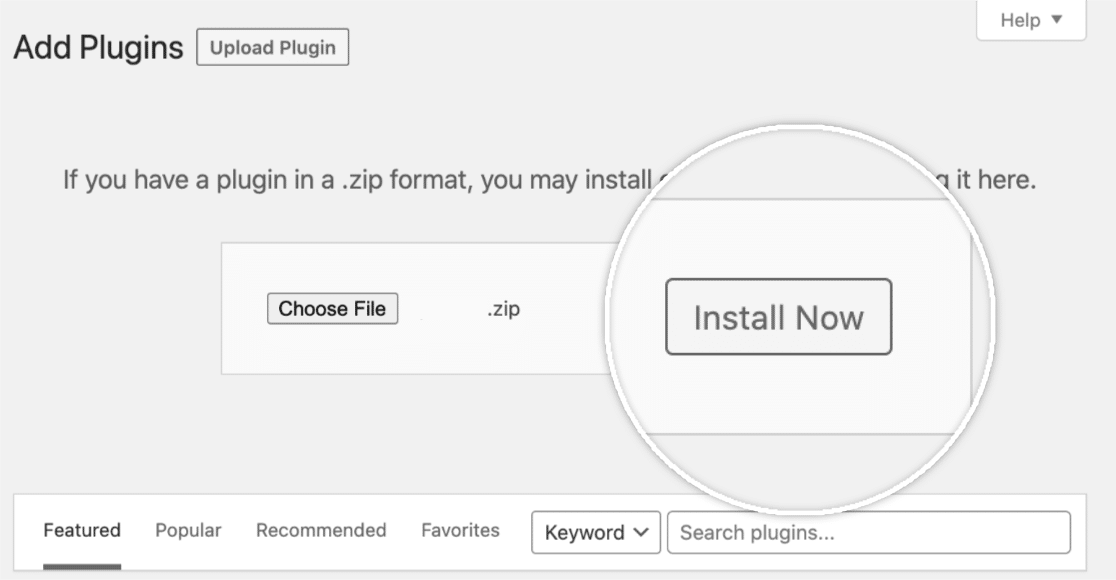
Here, you’ll find the option to upload the plugin. Click the Choose File button and select the Duplicator Pro zip file you recently downloaded.

After your file is uploaded, click on the Install Now button.

This initiates the installation process for you. After installing the plugin, click the Activate Plugin button to activate Duplicator Pro on your site.

Once you activate the plugin, verify your Duplicator Pro license key to receive automatic updates and plugin support.
That’s all there is to it! Now, you can start using the Duplicator Pro plugin on your WordPress site.
Next, do you want guidance on creating your first backup? Make sure to explore our tutorial for detailed instructions on how to create your first backup in Duplicator.


