The Disaster Recovery feature enables you to recover your website to its previous state quickly. In this section, you can choose to set or reset a disaster recovery point and take various actions, such as initiating the recovery process, downloading the recovery point, and copying the recovery URL.
Assigning a Backup as Disaster Recovery
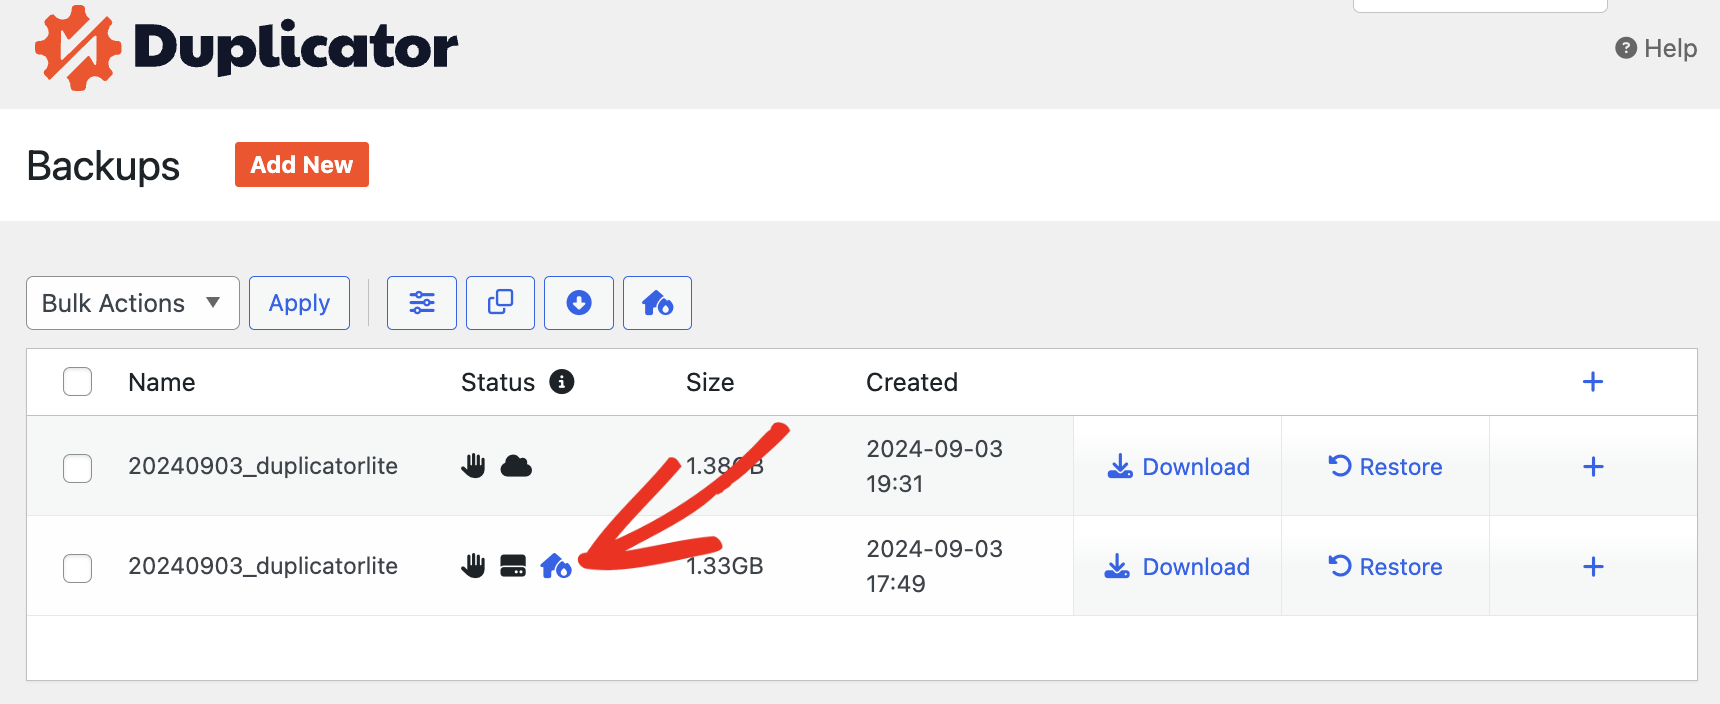
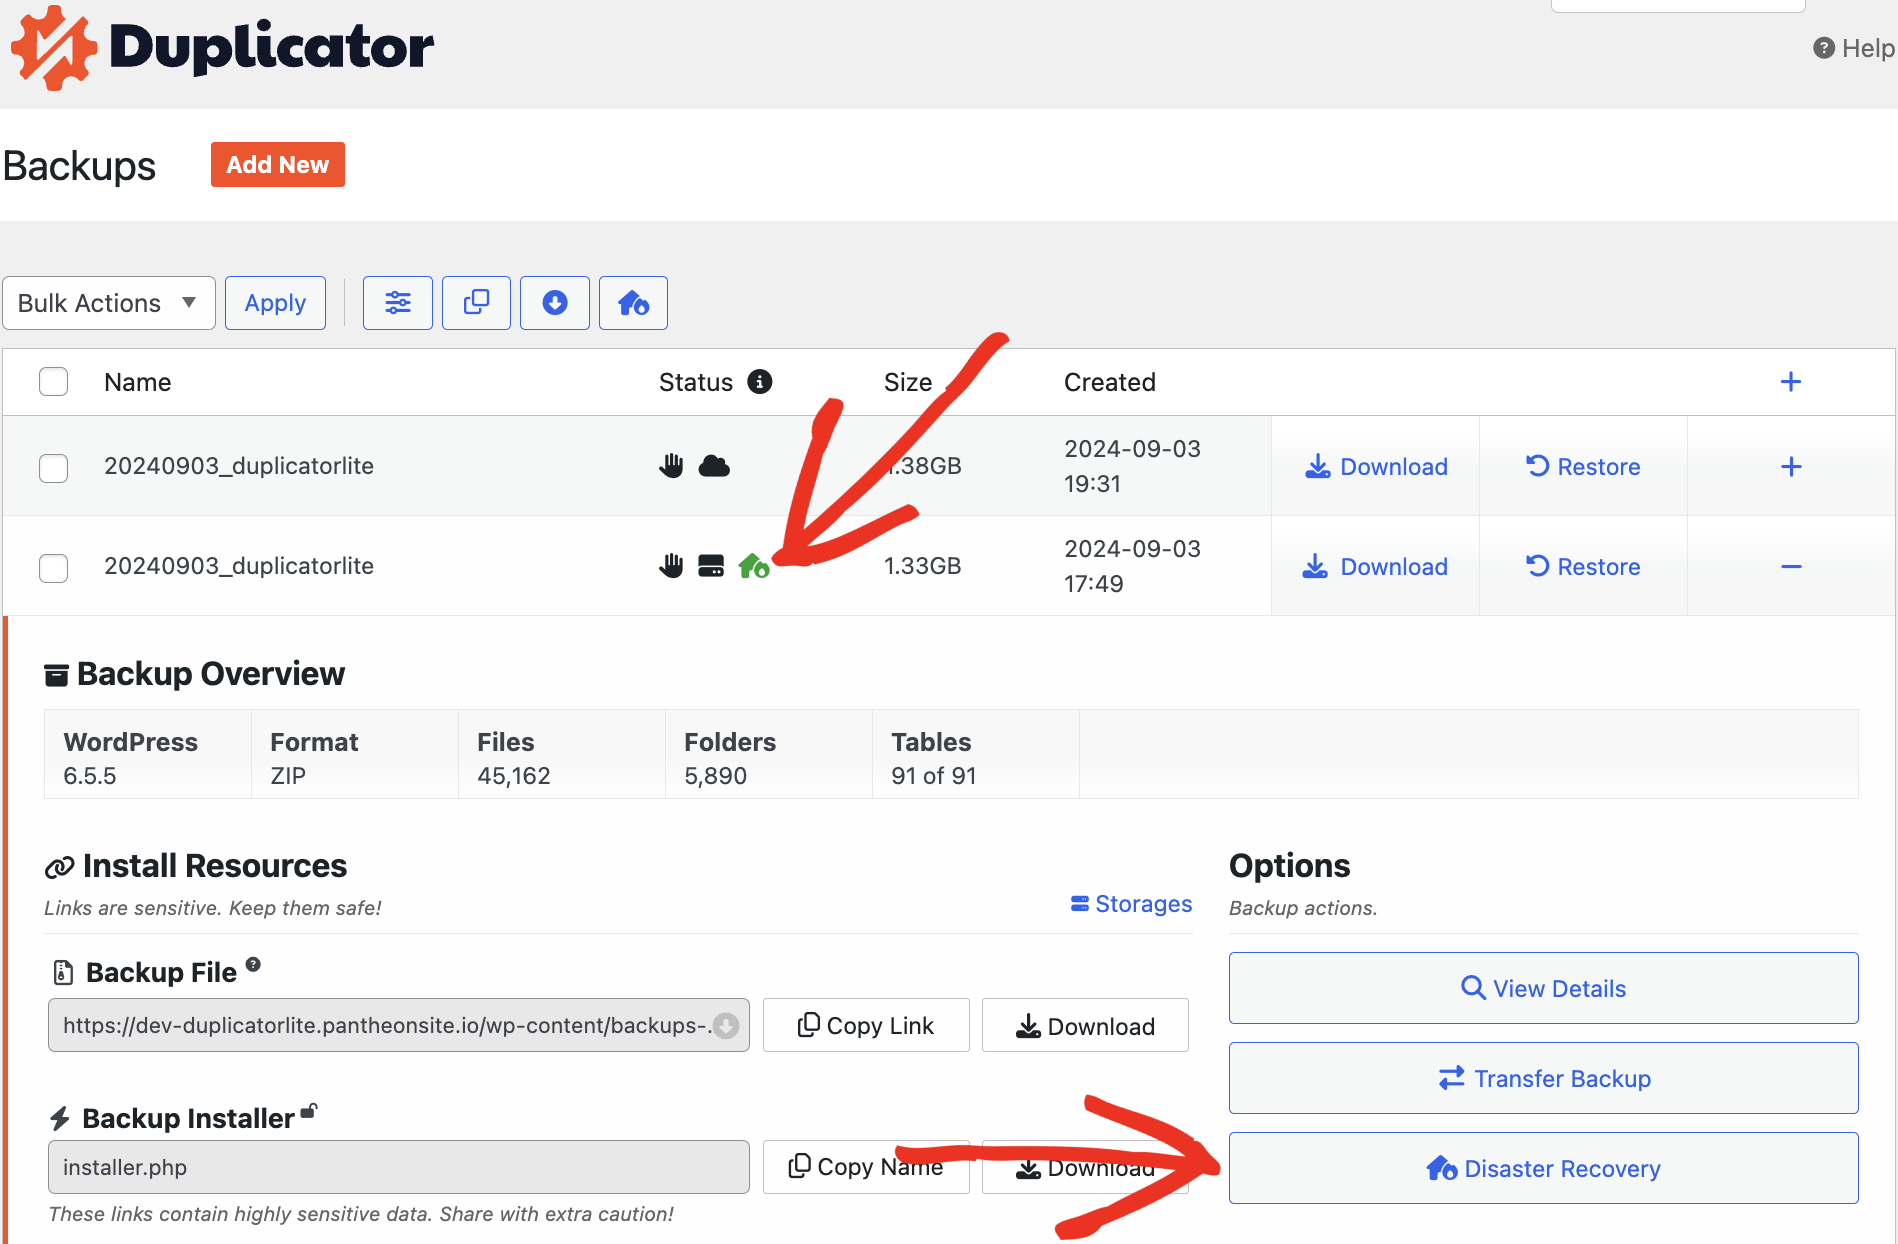
Once the backup is created, you’ll find the list of backups available for Disaster Recovery. A blue icon will be indicated as shown below:
Click on the Blue Icon and set the Disaster Recovery from the Backup you’d like to assign. You can also click on the + sign and click on the Disaster Recovery button as shown here:
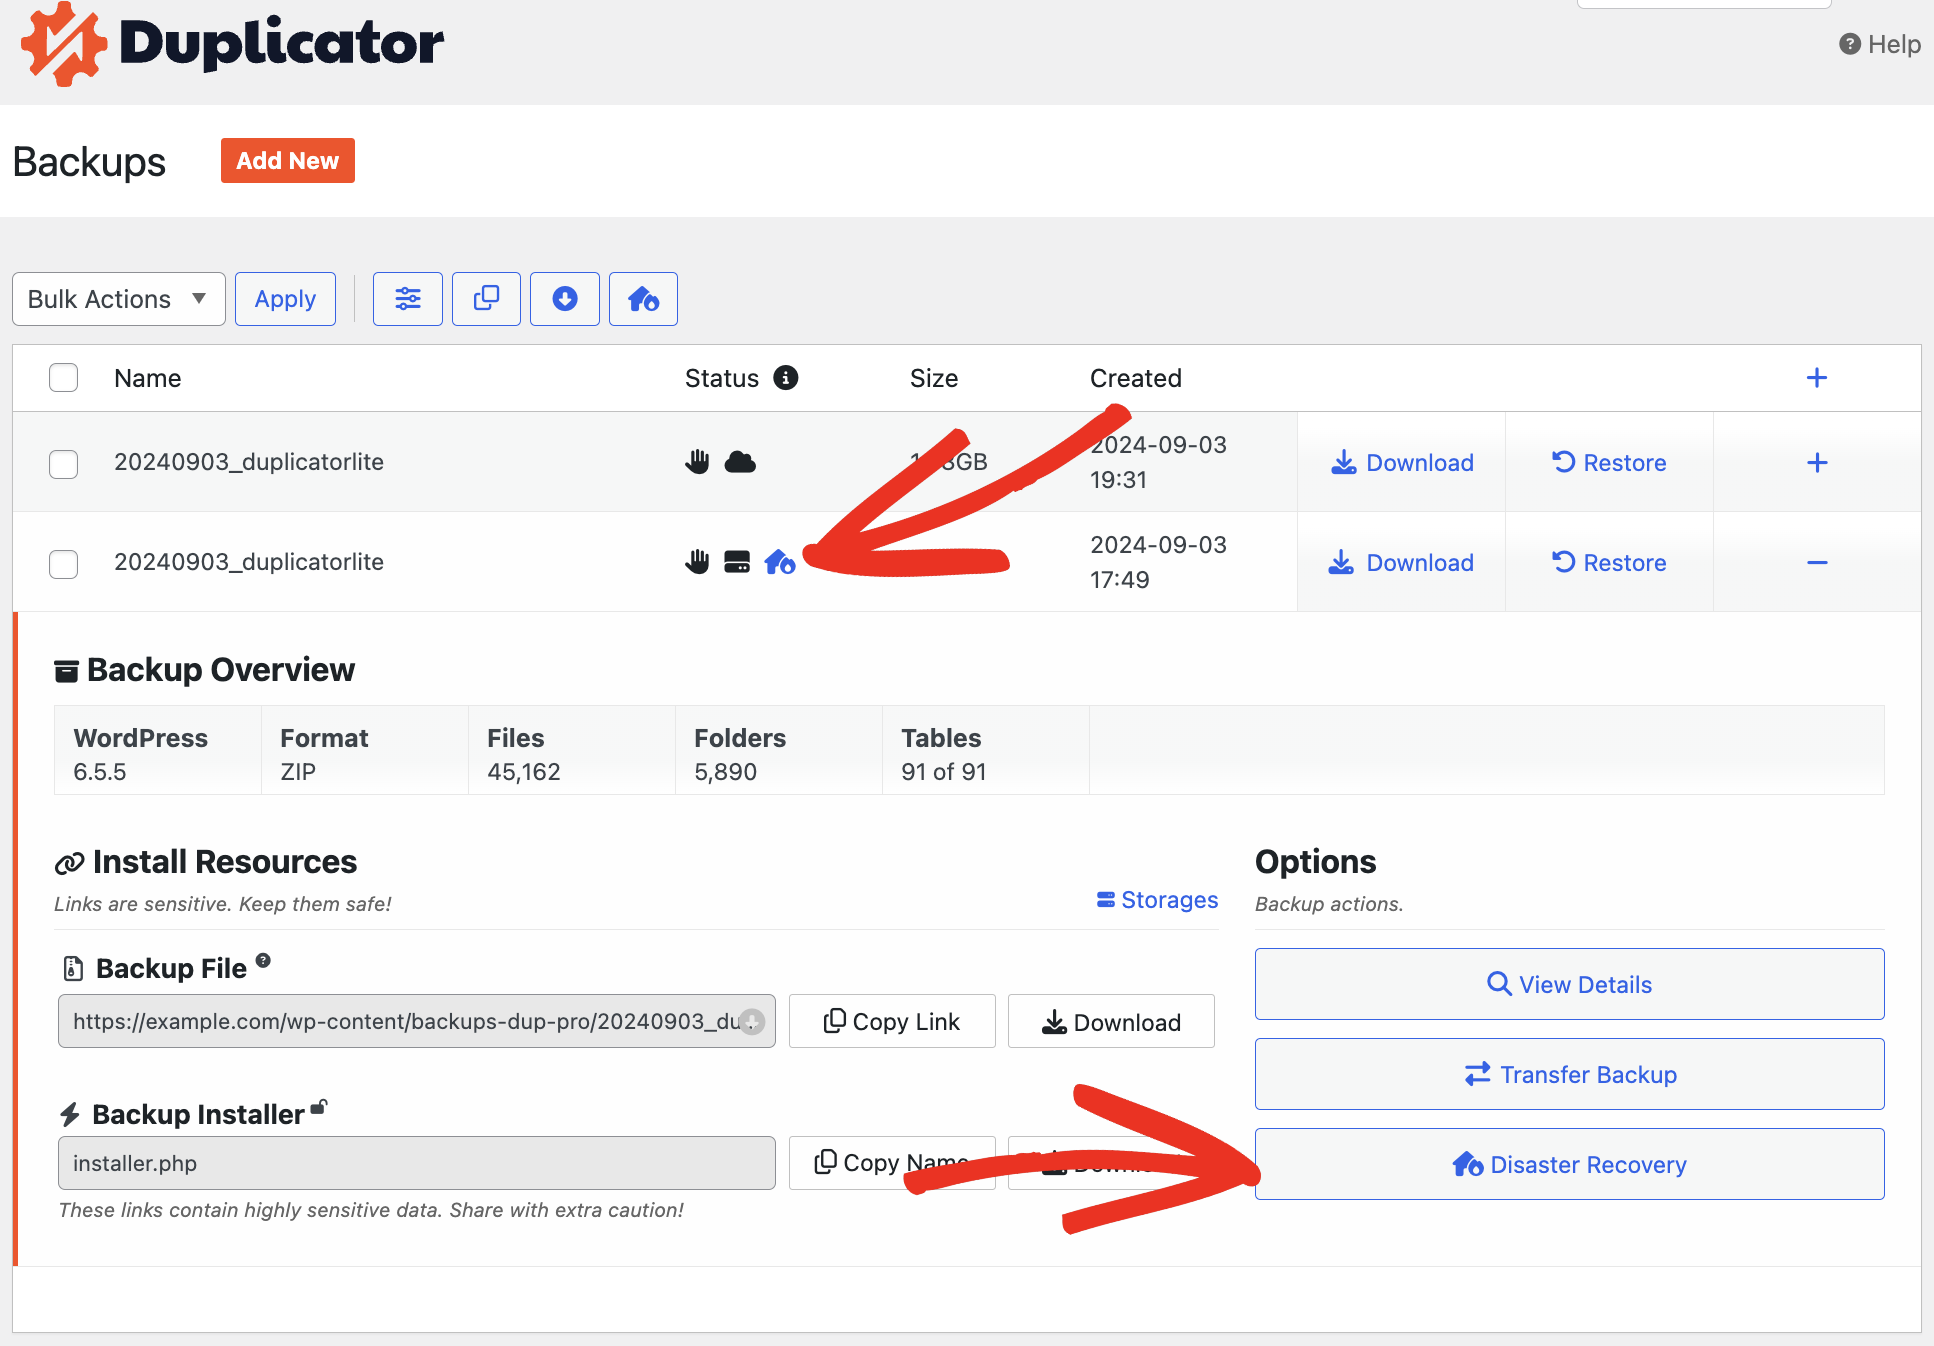
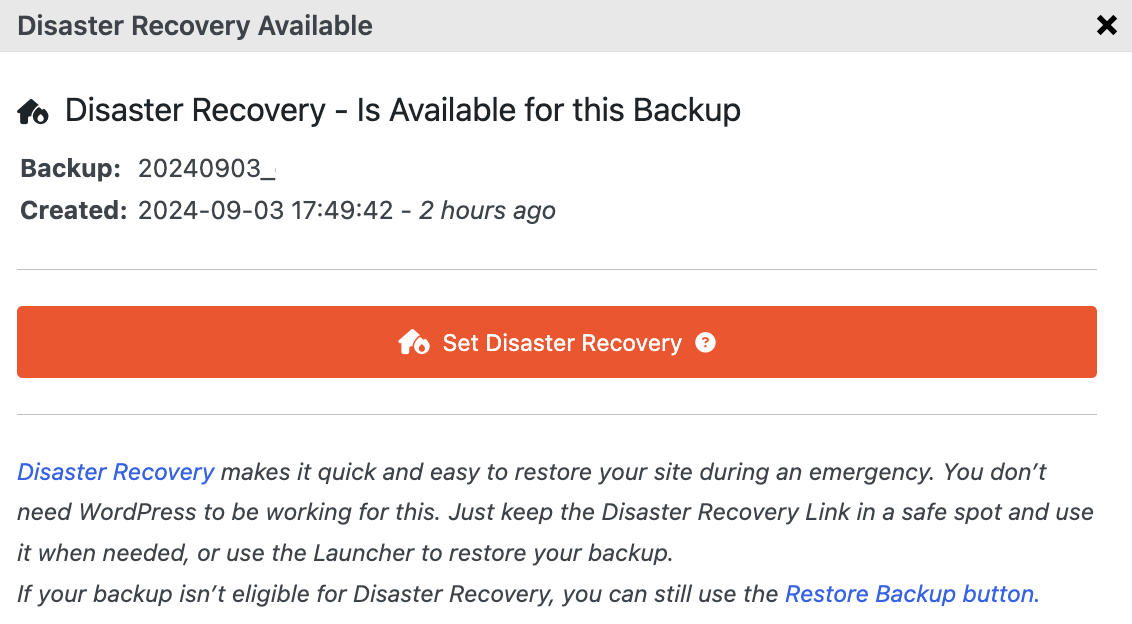
A popup will display details of the backup and the disaster recovery button.
Once the Disaster Recovery is set, the Backup will be displayed with a Green Icon. A Green Icon means your Backup is now a recovery point that you can use to recover the site anytime.
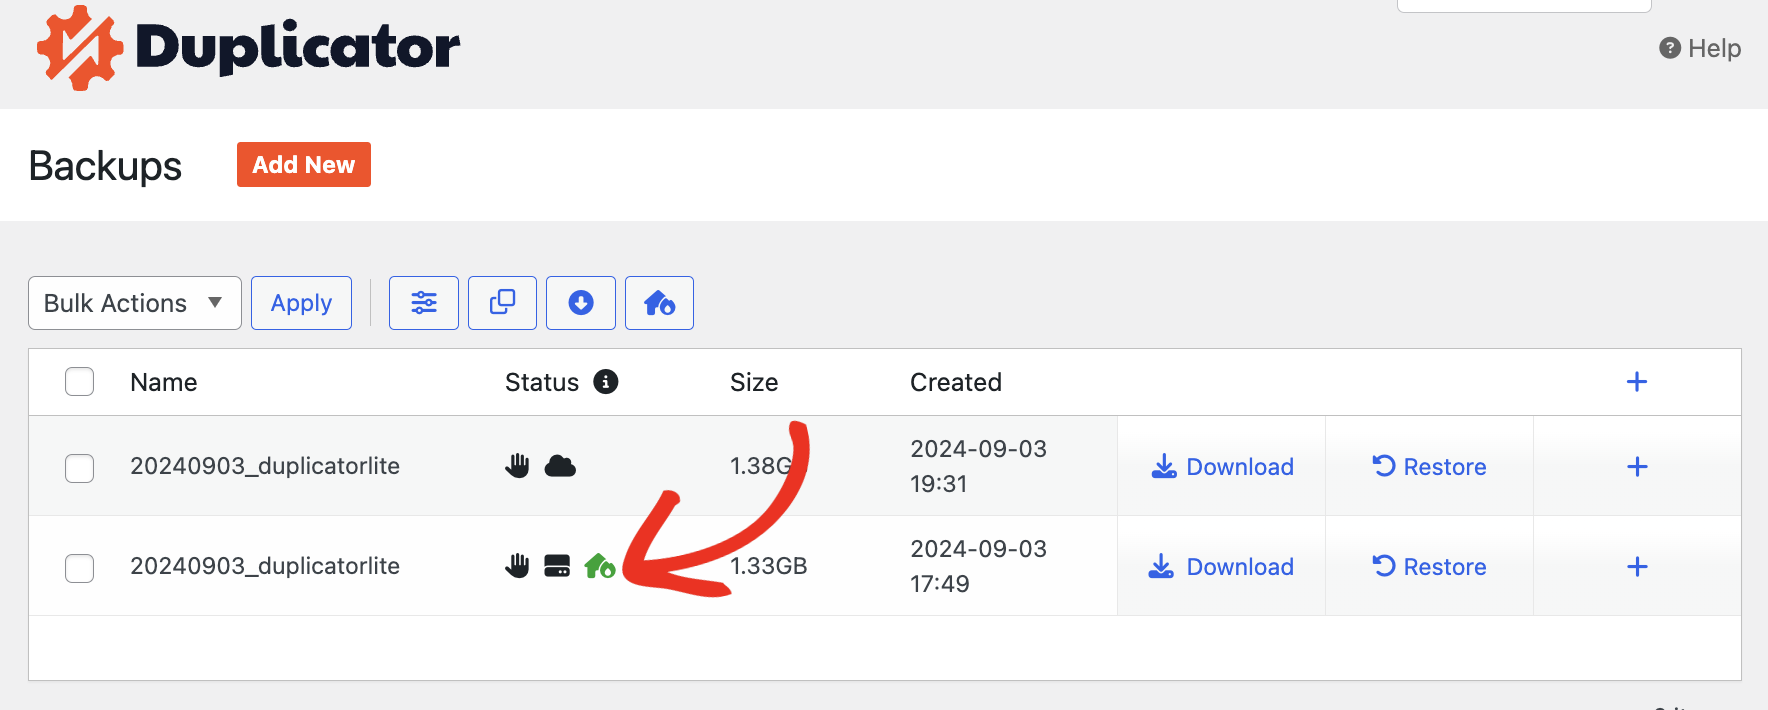
Next, to start the Disaster Recovery process, click on the Green Icon or click on the + and click on the Disaster Recovery Button as shown below:
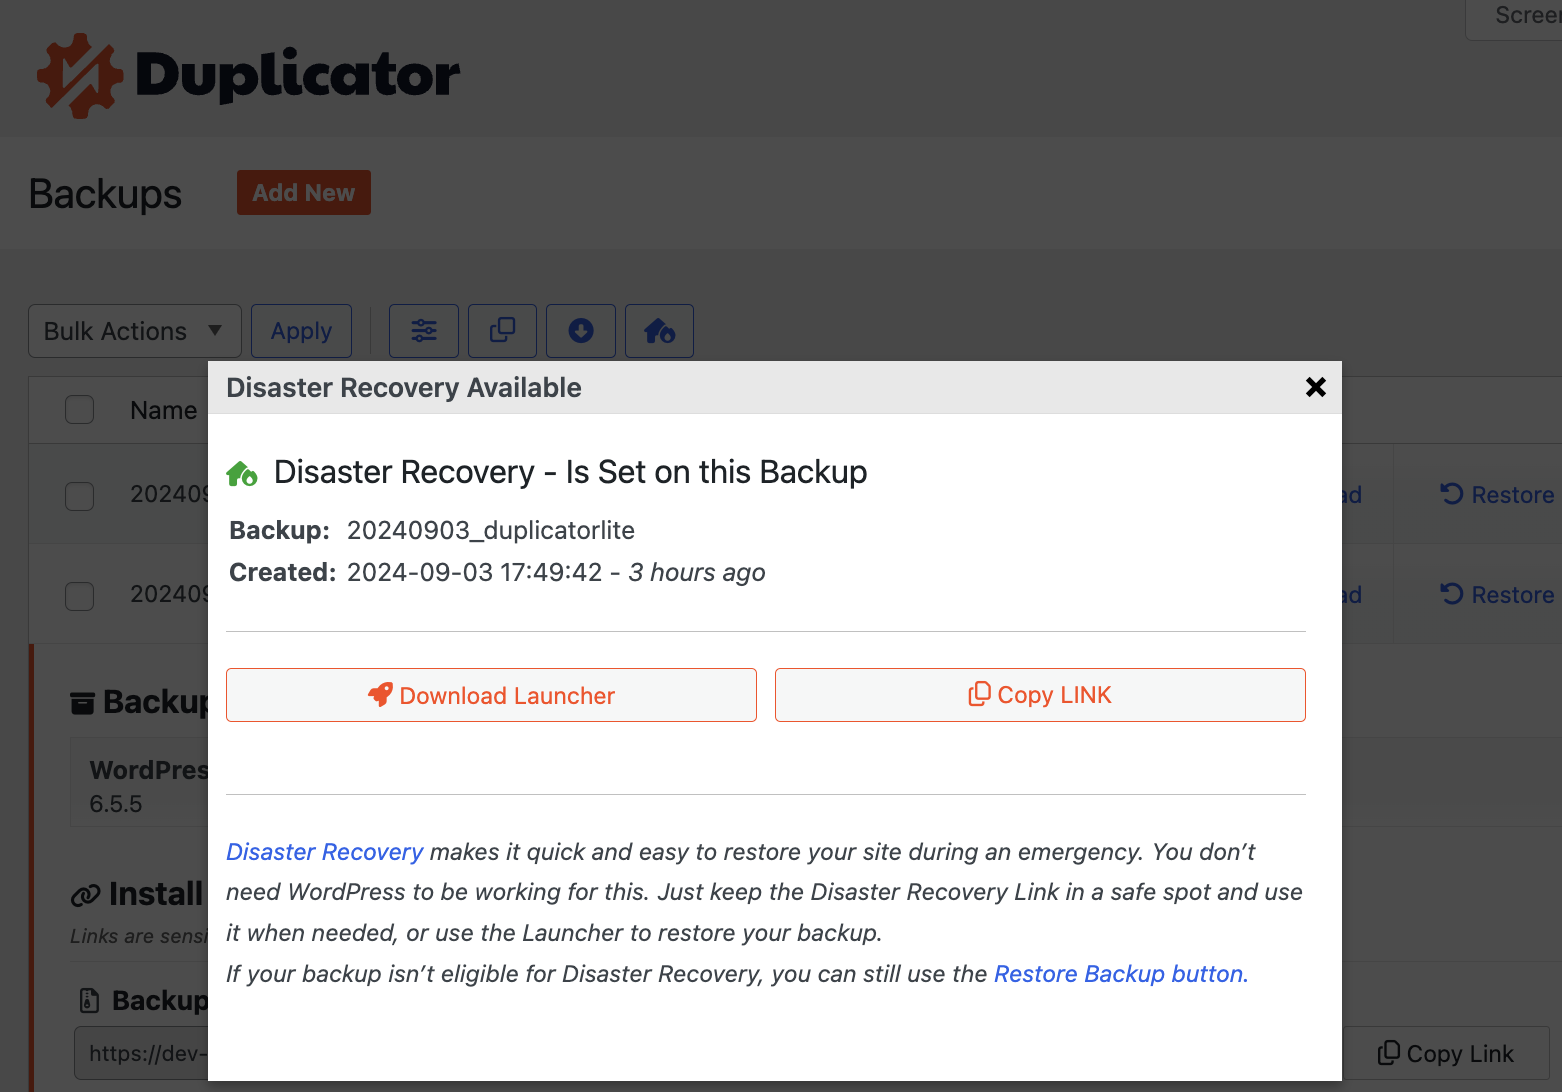
This will display a popup that says to download the launcher and copy the disaster recovery link. You can select any option.
Clicking the Download Launcher Button saves the disaster recovery .html file to your computer. If you want to open the recovery link in a new tab or window, simply use the Copy Link button.
Launching the Recovery Wizard Installer
When you open the downloaded launcher or access the link in a new tab, it opens the Wizard to initiate the disaster recovery process.
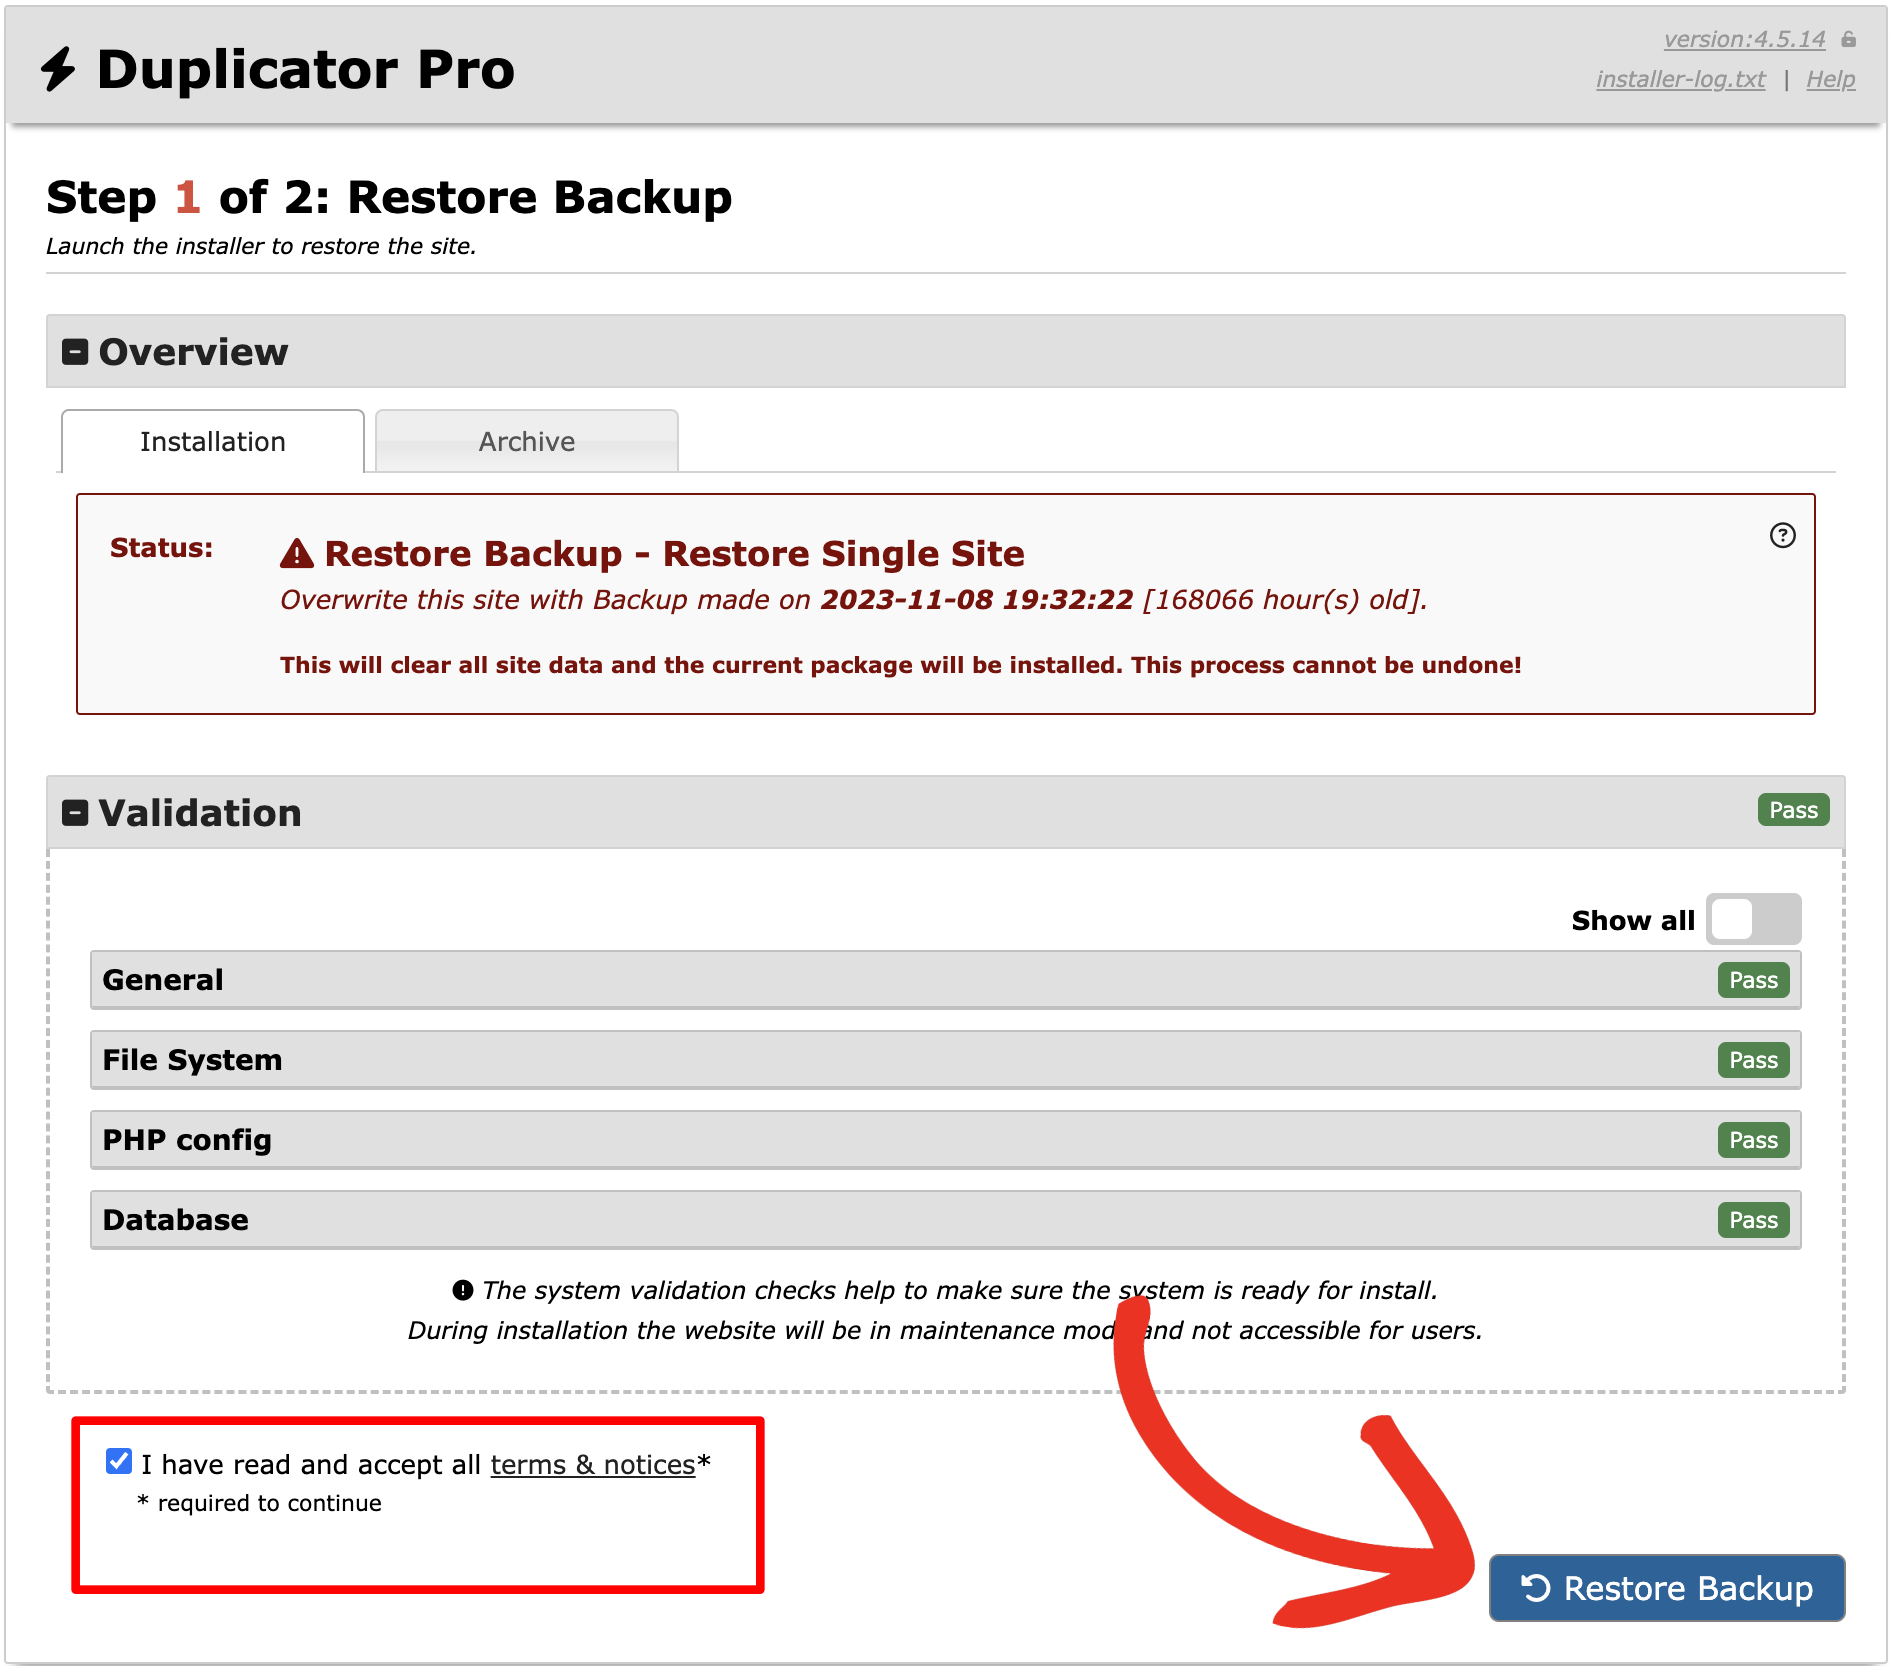
In Step 1 – Feel free to read and agree to the terms and notices by checking the box. Then, proceed by clicking the Restore Button.
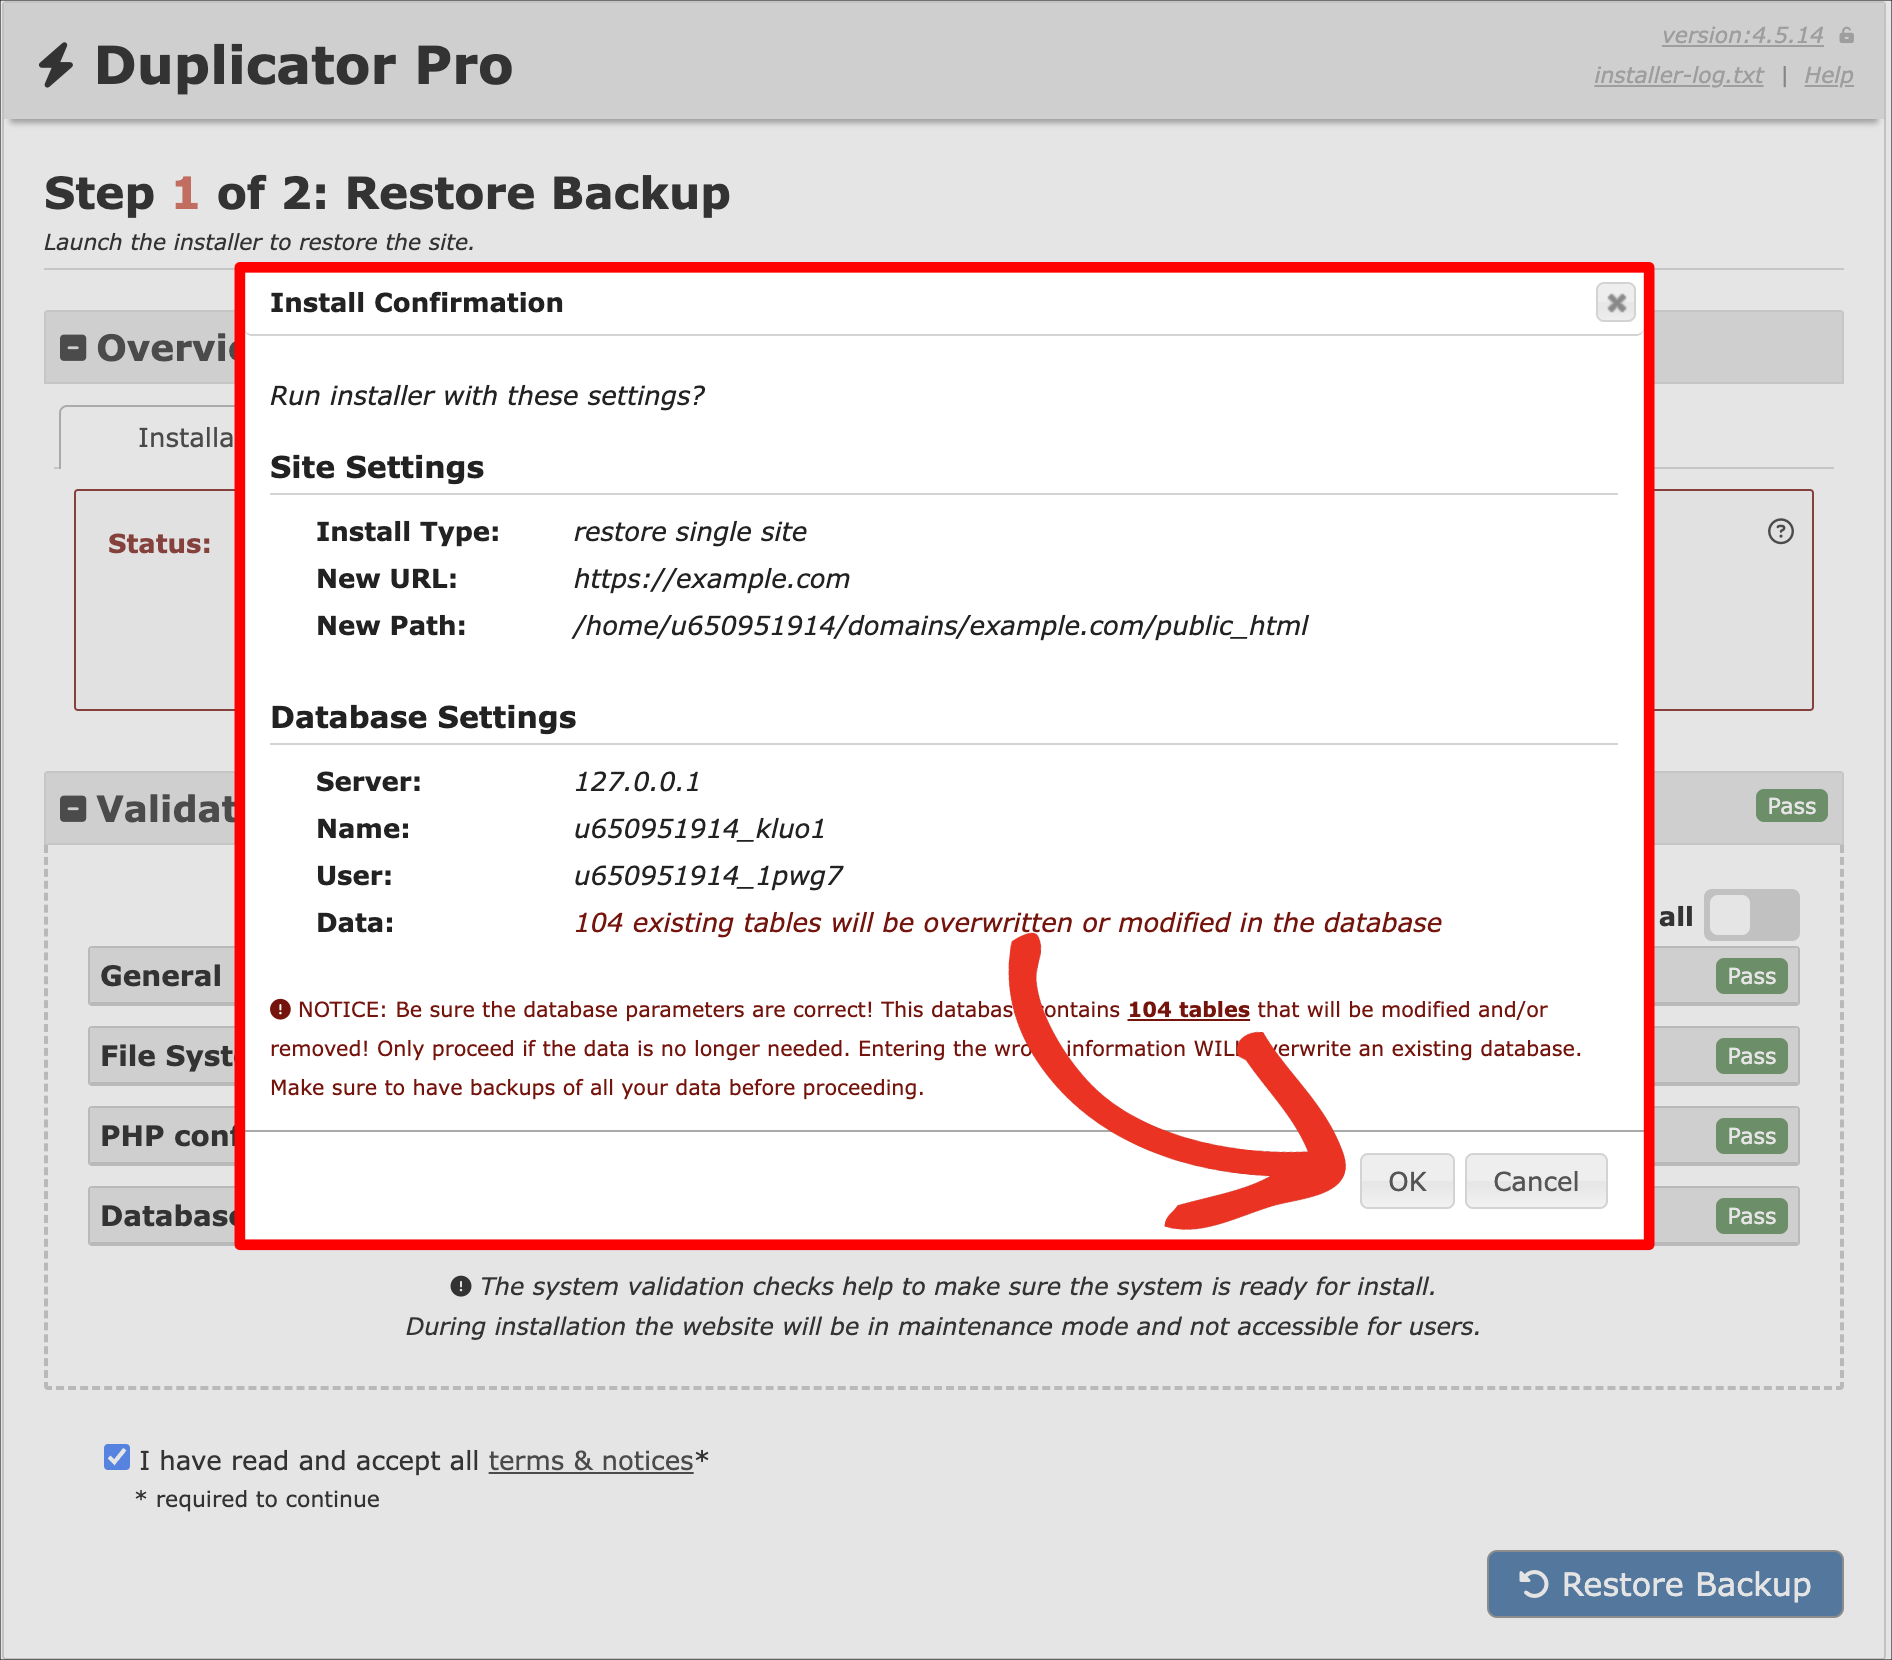
A confirmation popup will appear, showing the Site and Database settings information, before proceeding with the installer. Click on OK to proceed.
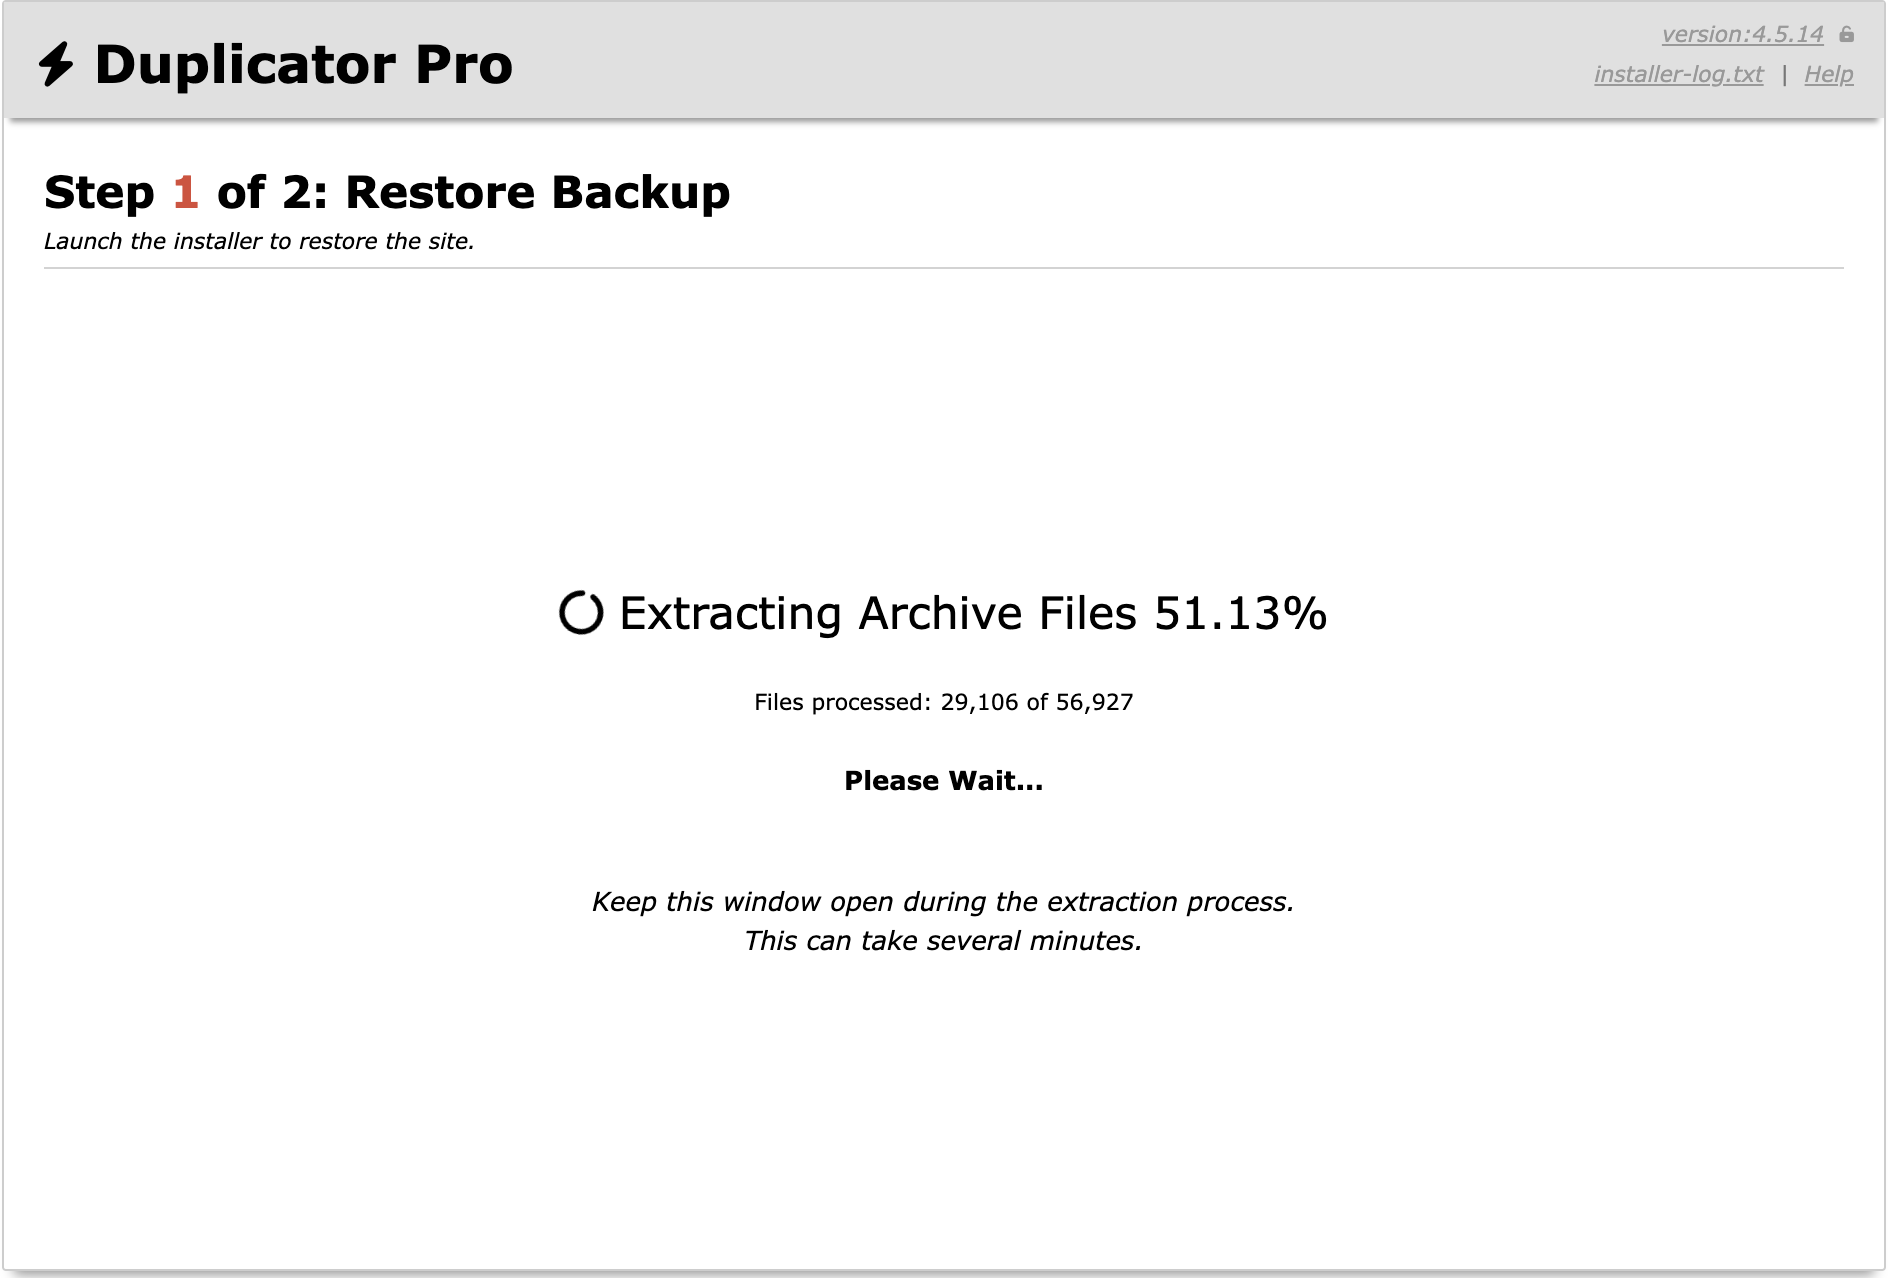
The installer will start extracting archive files. This can take several minutes, depending upon the size of the backup:
The recovery process will take a few minutes to restore your backup. When it’s finished, you can see reports about the uploaded files in Step 2:
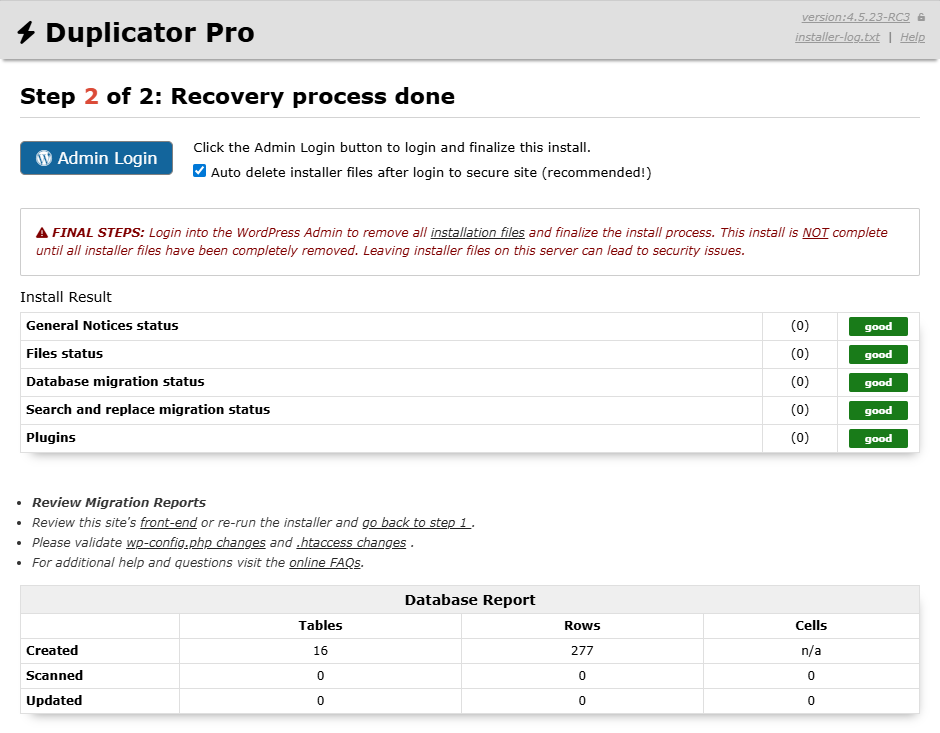
This way, you have successfully recovered your site!


