Local development environments are a game-changer for WordPress developers and designers. They let you experiment, test, and build without risking your live website.
Enter Vagrant: a powerful tool that makes creating local development environments a breeze.
In this tutorial, I’ll walk you through installing WordPress using Vagrant.
Whether you’re a beginner developer or an expert web designer, this guide will help you set up a rock-solid local WordPress environment.
By the end of this post, you’ll know how to:
- Understand what Vagrant is and why it’s useful
- Install Vagrant on your computer
- Set up a WordPress site in a virtual environment
- Test your new WordPress installation
Ready to level up your WordPress development workflow? Let’s dive in!
Table of Contents
What Is Vagrant?
Vagrant is a tool for building and managing virtual machine environments. It simplifies the process of creating consistent development setups across different computers.
Virtual machines are environments that run inside your main computer. Vagrant automates the process of creating and configuring these virtual machines.
With Vagrant, developers can:
- Create identical development environments for entire teams
- Test software without affecting their main computer’s configuration
- Quickly set up and remove server environments
- Maintain clean and organized development workspaces
For WordPress developers, Vagrant provides a reliable way to create isolated environments for testing themes, plugins, and code changes without risking a live website.
The key advantage is consistency. Every team member can work in an identical environment, reducing “it works on my machine” problems that often plague software development.
Why Install WordPress on Vagrant?
Local development environments are crucial for WordPress professionals. Many options are available, but Vagrant has several advantages.
A development environment with Vagrant provides complete isolation for your WordPress projects. You can test themes, plugins, and code changes without impacting your live website. This means you can experiment freely without any risk.
Developers appreciate Vagrant for its ability to reproduce specific server environments. If you’re building a project that needs to match a particular hosting configuration, Vagrant lets you mirror that setup exactly.
Cost is another major benefit. Instead of maintaining multiple hosting accounts for testing, you can create as many development environments as you need on your local machine. This saves money and reduces complexity.
Speed matters in development, and Vagrant environments load quickly. You can make changes, test immediately, and troubleshoot without waiting for online uploads or live server constraints.
For WordPress developers, designers, and developers, Vagrant is a powerful tool for creating reproducible, safe, and efficient development workflows.
How to Install WordPress on Vagrant
Now that you know the benefits of using Vagrant, you’ll want to get started. Let’s discuss how to set up WordPress on Vagrant!
Step 1: Install Vagrant
To get started, you’ll need to install virtualization software like VirtualBox or Docker. This allows you to create virtual machines on your computer.
In most cases, VirtualBox is best. However, macOS users should download Docker instead.
First, go to the VirtualBox or Docker website. Download the version that matches your operating system (OS).
Open the downloaded file and follow the installation instructions.
Once this is installed, it’s time to install Vagrant.
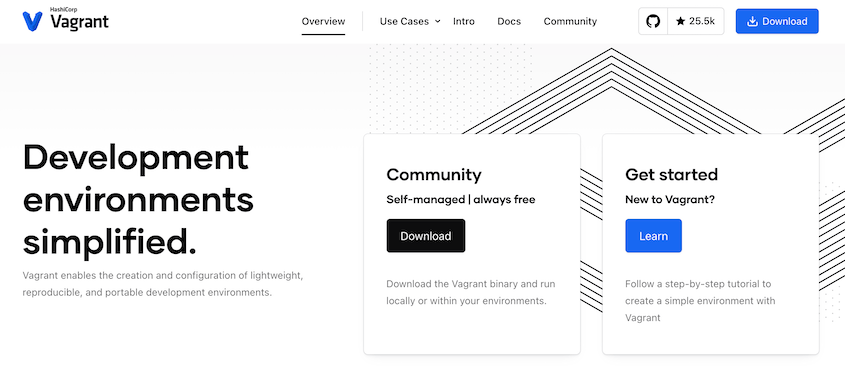
Visit the downloads page, where you’ll see versions for macOS, Windows, and Linux. Download the right one for your system.
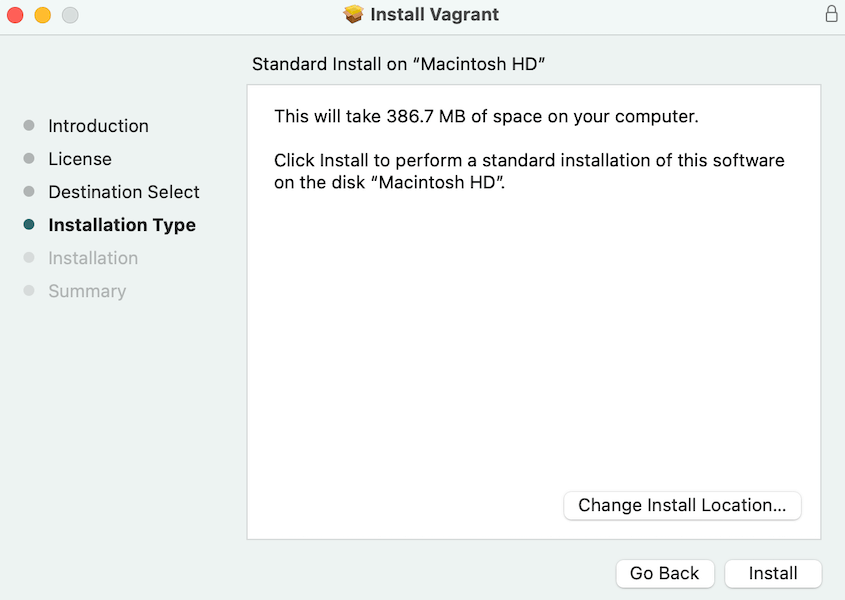
Open the file and follow the installation steps.
After this, open the command line. Run this command:
vagrant -v
If Vagrant was installed correctly, it’ll show you what version is running.
Step 2: Install WordPress
Now that you have Vagrant installed, let’s set up your WordPress environment.
Make sure you have Git installed.
You could set up Vagrant from scratch, but it’s easier to use a pre-built WordPress configuration. For this tutorial, we’ll be using Varying Vagrant Vagrants.
For Mac users, open your terminal. Use these commands for installing VVV:
git clone -b stable https://github.com/Varying-Vagrant-Vagrants/VVV.git ~/vvv-local

cd ~/vvv-local

vagrant plugin install --local
Windows users can use these commands instead:
git clone -b stable https://github.com/Varying-Vagrant-Vagrants/VVV.git %systemdrive%%homepath%/vvv-local

cd %systemdrive%%homepath%/vvv-local

vagrant plugin install --local
Then, run this command on Mac:
cd ~/vvv-local

vagrant up
For Windows:
cd %systemdrive%%homepath%/vvv-local

vagrant up
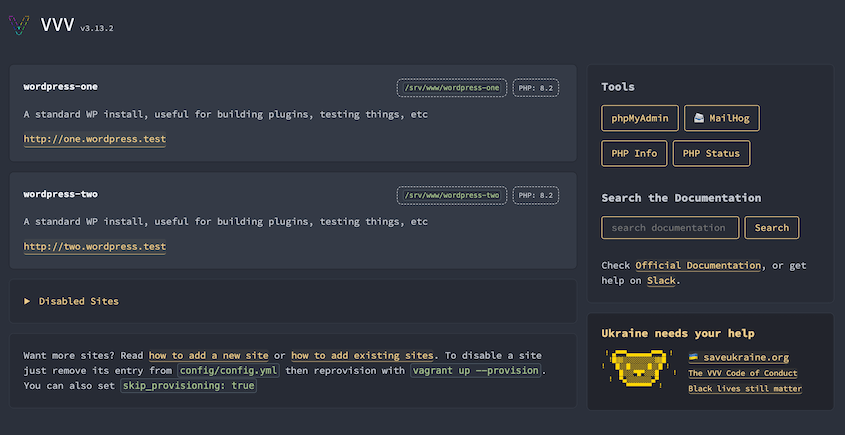
When Vagrant and VVV start, you’ll see a teddy bear and a confirmation message.
Step 3: Test Your New WordPress Installation
Now it’s time to verify your WordPress setup is working correctly.
Visit your dashboard at http://vvv.test/. You’ll see a couple of different test sites available.
Here are the credentials to log into your WordPress dashboard:
- Username: admin
- Password: password
For editing the database, use these credentials:
- Username: wp
- Password: wp
For SFTP, SSH, and other connections, see all of VVV’s default credentials.
If everything loads and functions properly, congratulations! You’ve successfully installed WordPress on Vagrant.
Frequently Asked Questions (FAQs)
How do I install WordPress on a local machine?
Install WordPress on a local machine by first downloading and installing Vagrant and VirtualBox (Docker for macOS). Next, create a Vagrantfile with a WordPress development environment like Varying Vagrant Vagrants (VVV). Run vagrant up to initialize the environment, and access WordPress locally via the provided URL.
How do I set up WordPress on a VPS?
Set up WordPress on a VPS by installing a web server (such as Apache or Nginx), configuring PHP and MySQL, and downloading WordPress files from WordPress.org. Configure the wp-config.php file, upload it to your server, and run the WordPress installation script through your browser.
What is the difference between Vagrant, MAMP, and XAMPP?
The main difference between Vagrant, MAMP, and XAMPP is their intended use. Vagrant is a tool for managing development environments using virtual machines. MAMP is a local server environment for macOS and Windows designed for web development. XAMPP is a cross-platform local server stack with pre-configured Apache, MySQL, PHP, and Perl for web development.
Can I create multiple WordPress sites using Vagrant?
Yes, you can create multiple WordPress sites using Vagrant. Vagrant allows you to configure and manage isolated virtual environments for each site. By setting up multiple Vagrant files or using tools like VVV (Varying Vagrant Vagrants), you can efficiently manage multiple WordPress installations on the same system.
What do I need to use Vagrant for WordPress?
To use Vagrant for WordPress, you’ll need virtualization software like VirtualBox or Docker, Vagrant itself, Git, and a pre-built Vagrant box like Varying Vagrant Vagrants (VVV). Install VirtualBox or Docker, download Vagrant, and configure a WordPress development environment using a pre-built Vagrant box or custom setup.
Final Thoughts
Vagrant provides an isolated, consistent local environment for testing and building websites. By now, you’re all set to start developing WordPress sites on Vagrant!
While you’re here, you might like these extra WordPress guides:
Ready to simplify your WordPress migrations and backups? Download Duplicator Pro for drag-and-drop migrations, automatic backups, cloud storage, and more!
Joella is a writer with years of experience in WordPress. At Duplicator, she specializes in site maintenance — from basic backups to large-scale migrations. Her ultimate goal is to make sure your WordPress website is safe and ready for growth.


