Are you looking to create a Cloudflare R2 backup? Welcome to our guide on using Cloudflare R2 and Duplicator for storing your backups. In today’s world, keeping your important backup safe is super important. Cloudflare R2 is a cool way to store your backups online, and Duplicator makes it easy to do. This guide will show you step-by-step how to connect Duplicator with Cloudflare R2, so you can keep your website backups safe and sound. Whether you’re a tech whiz or just starting out, we’ve got you covered!
Cloudflare R2 is an object storage service for storing large amounts of unstructured data like pictures, videos, data lakes, website backups, and more. Similar to other providers like Amazon S3, Wasabi, and Google Cloud, Cloudflare R2 organizes data as objects inside buckets.
Create a Cloudflare R2 Bucket
The first 10GB of storage is free, so you can hit Get Started for Free.
Register and create a new account. Be sure to verify your email address.
In Cloudflare dashboard, click on the R2 tab, enter your payment information and you’ll only be charged if you exceed the monthly storage limits:

Now, go ahead and click on Create Bucket:

Name the new bucket. You can allow Cloudflare to automatically choose your bucket’s region or specify one yourself. Next, hit Create Bucket again:

This step enables you to have a cloud storage bucket to store your backups!
Copy Your Access Keys
To authenticate, you’ll need to generate the access keys.
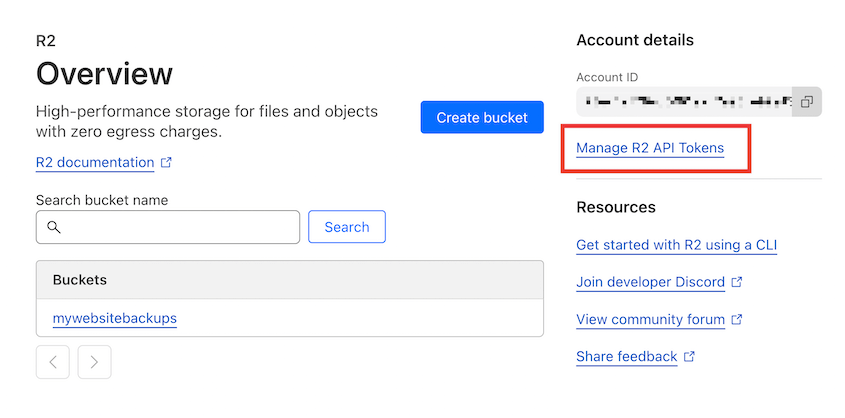
On the Overview page in your dashboard, click on Manage R2 API Tokens:
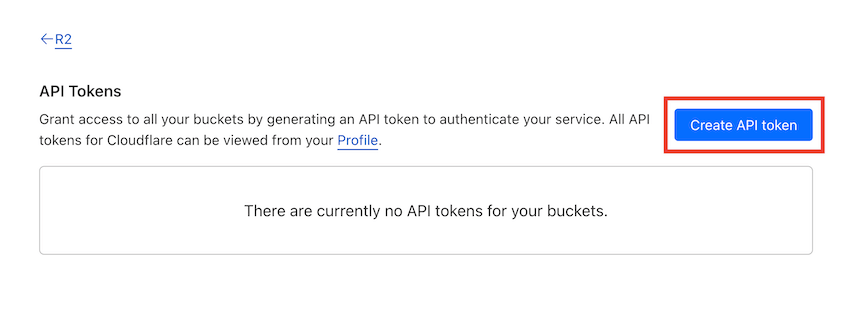
Next, click on Create API Token:
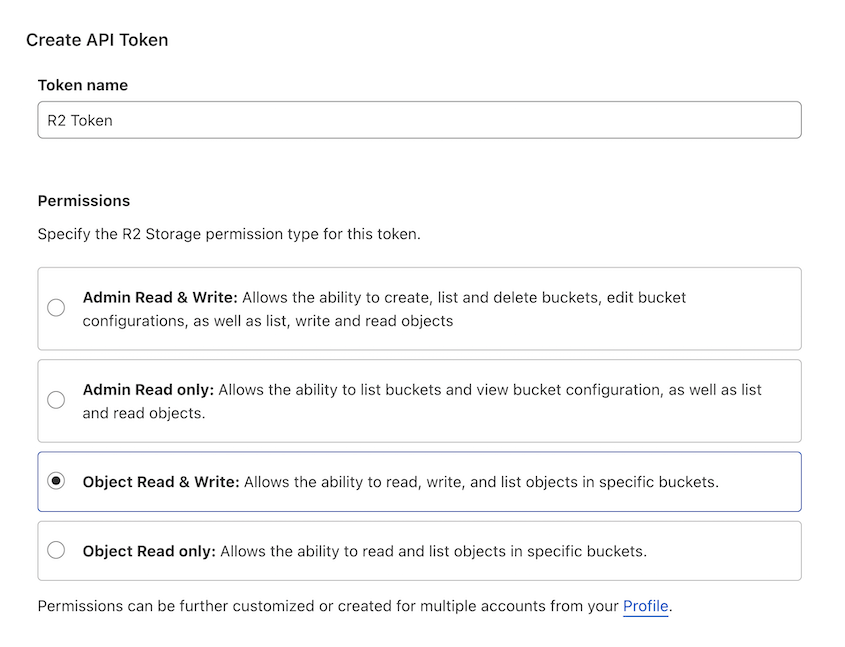
Name the token, and select the Object Read & Write permissions level:
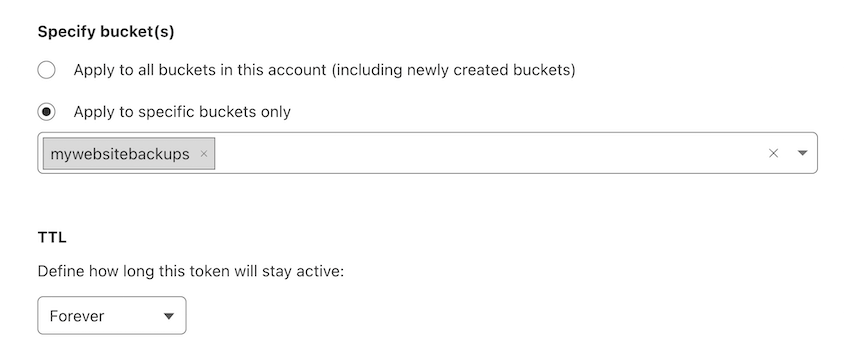
Apply these permissions to all of your buckets, or the one you just created. You can also decide how long this token will stay active:
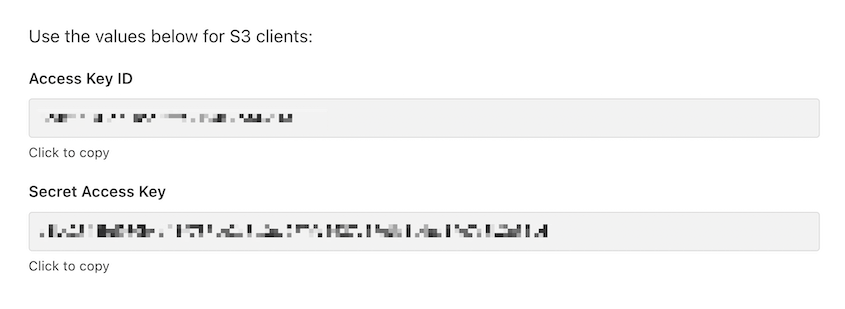
Once the API token is generated, you’ll get access keys. Copy these so you can use them in the next step:
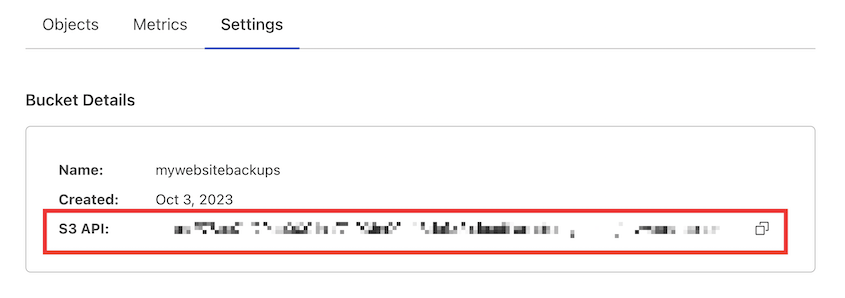
You’ll also require your S3 API endpoint. You can fetch it from your bucket settings:
With the above information, you can successfully authorize Duplicator to send backups to Cloudflare R2!
Connect Cloudflare R2 to Duplicator
Navigate to Duplicator Pro » Storage » Add New:

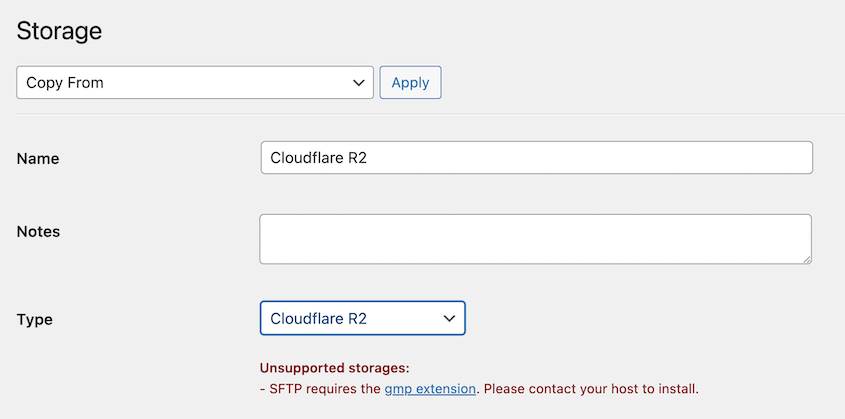
Name the new storage location and select Cloudflare R2 as the Type:
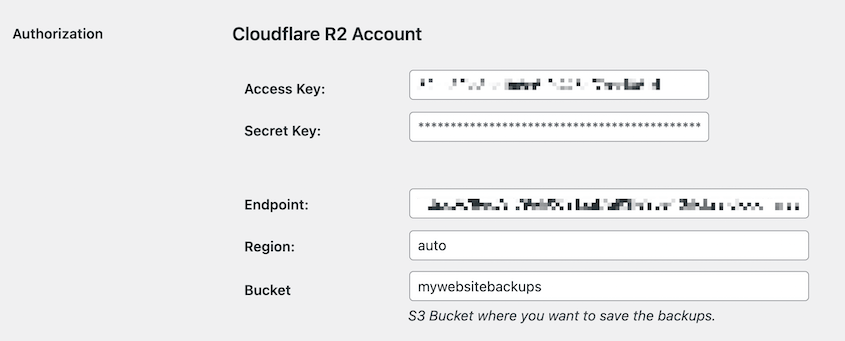
Under Authorization, paste your access key, secret key, and endpoint. If you allowed Cloudflare to choose your region, enter auto. Finally, add your bucket name:
You can adjust the Max Packages value if you want to avoid storing too many backups in your Cloudflare account. Duplicator will delete old packages, optimizing your storage space.
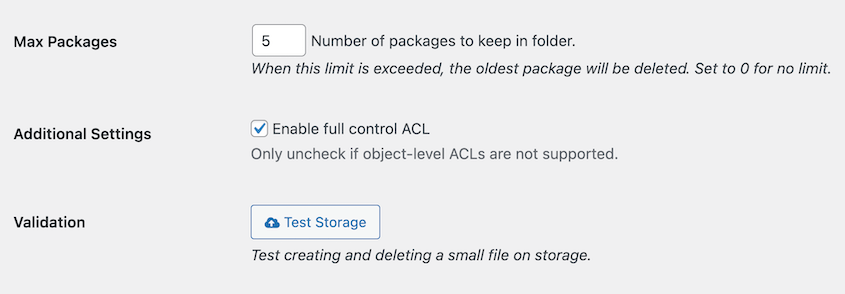
To make sure the setup is correct, click Test Storage. If Duplicator can create and delete a small file on Cloudflare R2, you have a new cloud backup location!
Now, when you are all set, you can automate your backup by scheduling it. Please see the guide to Create Automated Backup.

