Are you tired of the limitations and high costs of running your e-commerce store on Shopify?
Many online store owners are switching to WooCommerce, a powerful and flexible e-commerce platform built on WordPress.
WooCommerce (or Woo) has extensive customization options, lower transaction fees, and seamless integration with the WordPress ecosystem. Using WooCommerce, you have complete control over your online store’s design, functionality, and user experience.
In this blog post, we’ll guide you through the process of migrating your Shopify store to WooCommerce. We’ll highlight the benefits of using WooCommerce and provide a step-by-step guide to ensure a smooth transition.
Let’s get started!
What’s the Difference Between Shopify and WooCommerce?
Shopify is a user-friendly e-commerce platform that makes it easy to set up and manage an online store. On the other hand, WooCommerce is a WordPress plugin that transforms your existing WordPress website into a fully functional online store, offering greater control and customization.
Imagine Shopify as an all-in-one solution. It’s easy to use, with built-in features like website hosting, shopping cart software, and payment processing.
Shopify is perfect for beginners who want a quick and easy setup. You won’t have to worry about maintenance tasks like backups or updates. However, many useful features are add-ons with extra fees.
In comparison, WooCommerce adds free e-commerce functionality to a WordPress site. It offers more flexibility and customization but requires some technical know-how for setup and maintenance.
Why Is WooCommerce Better Than Shopify?
When it comes to running an online store, choosing the right e-commerce platform is crucial. While Shopify is a popular choice, WooCommerce offers several advantages that make it a better option.
It’s built on WordPress, which is an open-source software. You’ll access thousands of themes and plugins to customize every aspect of your store’s appearance and functionality.
This level of control is essential for creating a unique brand identity and optimizing your store for conversions. Important features won’t be behind a higher pricing tier. You can build and customize your online store for free!
WooCommerce has lower transaction fees and costs compared to Shopify. With WooCommerce, you only need to pay for the hosting and domain for your WordPress site.
Shopify charges a monthly subscription fee and transaction fees. You’ll lose 2% of all transactions on the lowest paid plan, not to mention the credit card fees.
We’d recommend moving to WooCommerce as a budget-friendly option. These savings can add up quickly, especially for stores with high sales volumes.
How to Migrate Your Shopify Store to WooCommerce
If you’re ready for more customization and fewer fees, it’s time to move to WooCommerce! With the right guidance and tools, it’ll be a smooth transition.
Step 1: Set Up Your WordPress Website
WooCommerce runs on WordPress. So, to get started, you’ll need to set up a new WordPress website.
A WordPress hosting provider will give you the server space and resources you need for your website. There are many options out there, but these are our top picks:
In this tutorial, we’ll be using Bluehost. But, the steps will be similar if you decide to use another web host.
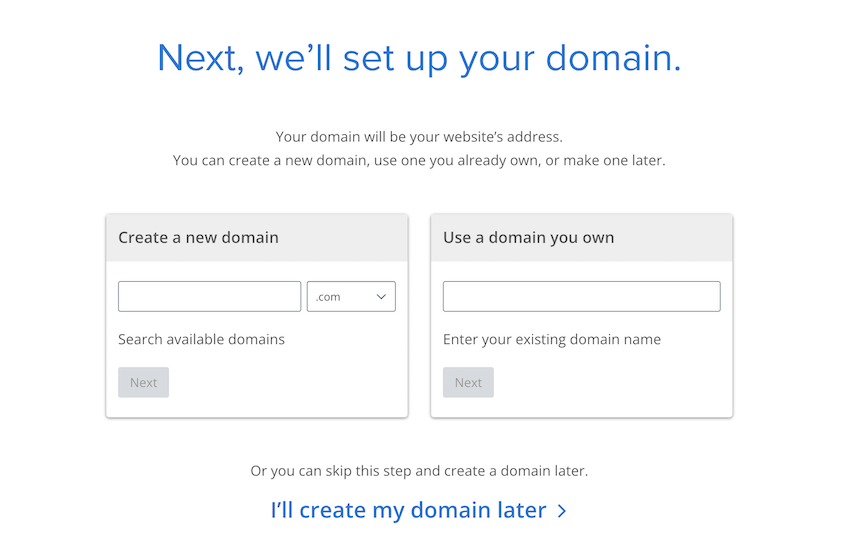
First, choose a hosting plan. Then, pick a domain name. Using WordPress, these two things are the only things you need to pay for.
Consider using the same domain as your Shopify store to maintain brand consistency and avoid confusion for your customers. If you can’t use the same domain, choose a memorable and relevant domain that reflects your brand.
Once you have a domain, your WordPress host will usually install WordPress for you. If not, read this guide on WordPress installation.
Step 2: Install WooCommerce
For the next step, you’ll need your WordPress dashboard. This is the back-end of your website where you can customize your theme, add new plugins, or edit settings.
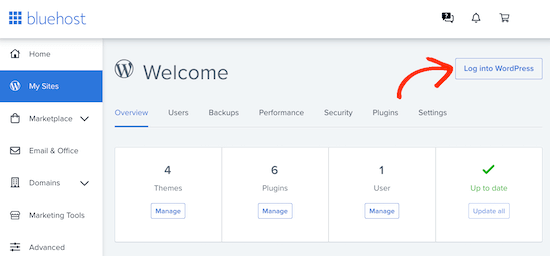
To open your dashboard with Bluehost, go to My Sites » Manage Site » Log into WordPress.
Other WordPress hosts may have a WordPress Admin button instead. If you aren’t sure how to open your site, read your host’s documentation or reach out to support.
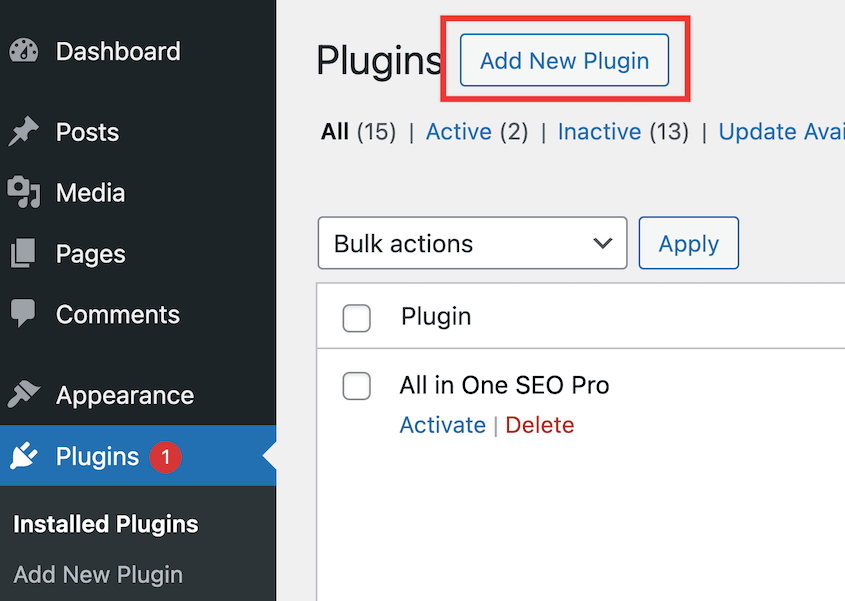
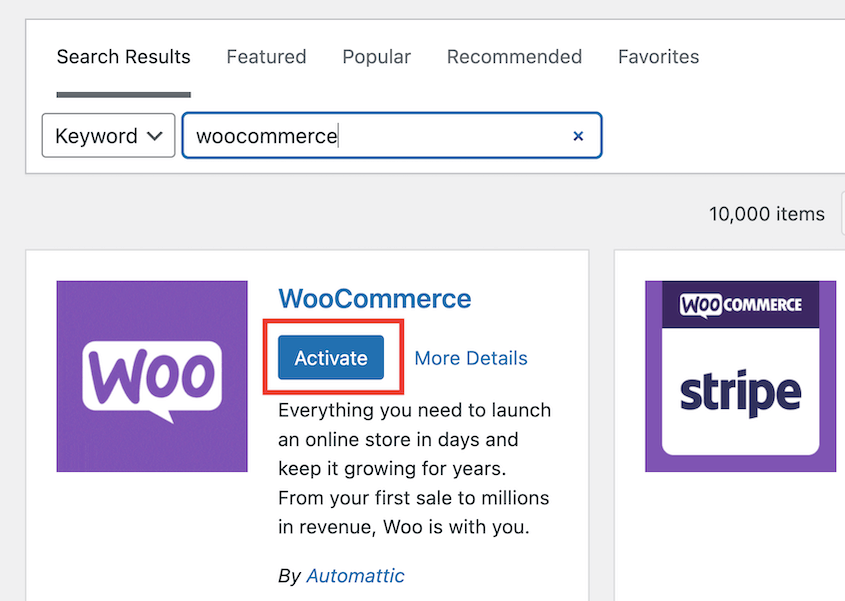
WooCommerce won’t automatically be installed, but you can easily do it yourself. In your dashboard, click on the Plugins tab and hit Add New Plugin.
Use the search bar to find WooCommerce. Then, install and activate it.
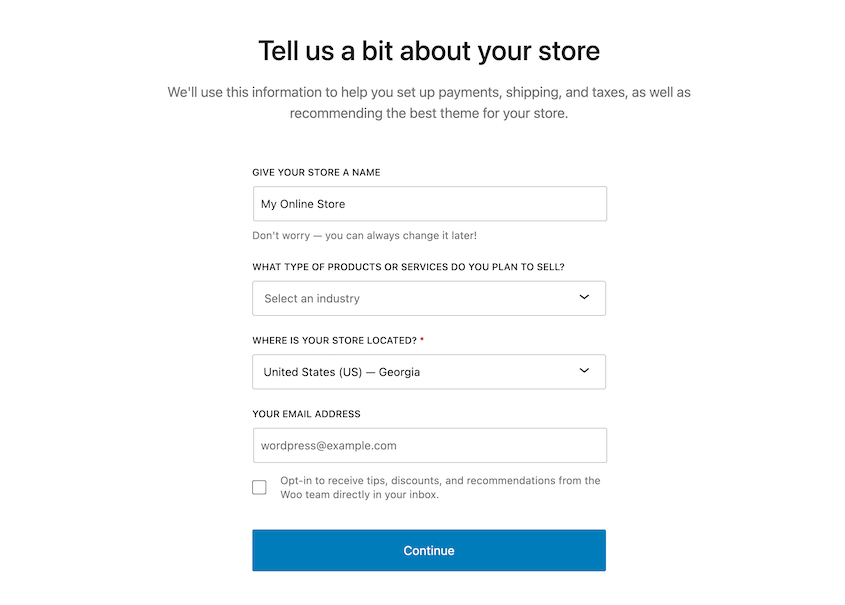
It’ll automatically open an onboarding wizard, which you can use to start setting up your online store. This is an easy way to add information about your website.
At this point, you have a new WooCommerce store!
Step 3: Download Your Shopify Store’s Data
Especially if your store has been around for a while, you won’t want to completely rebuild it from scratch. You need an easy way to download your data and move it to WooCommerce.
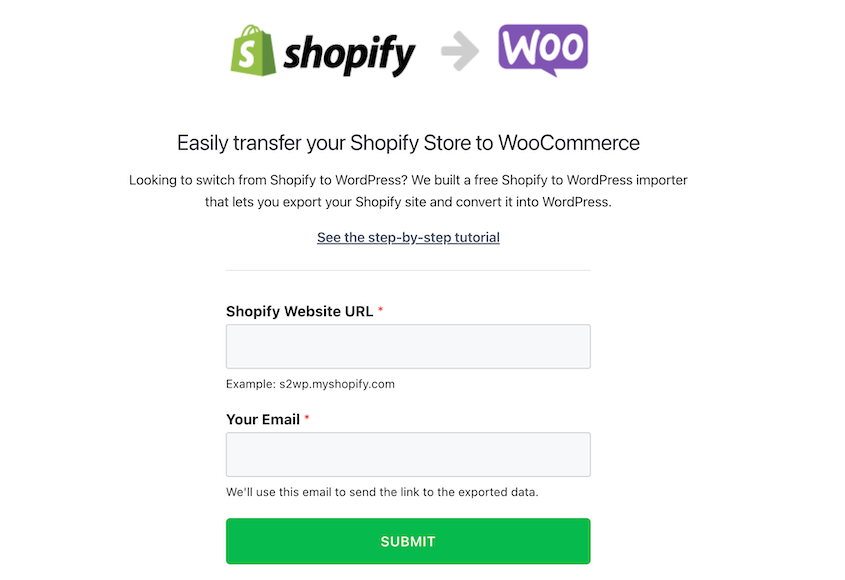
Rather than buying an expensive service or doing a manual migration, consider using Shopify to WP. This is a free tool that was made to switch Shopify stores over to WooCommerce.
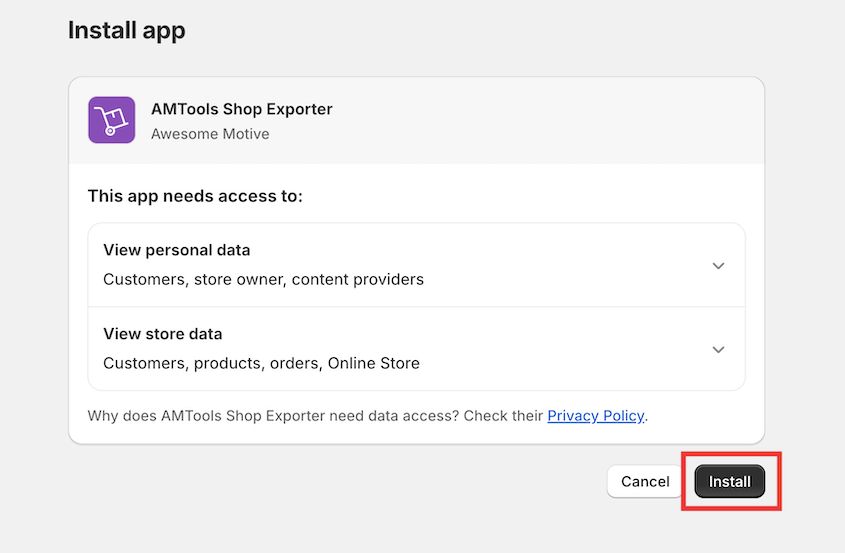
All you need to do is enter your email address and Shopify URL. You’ll be redirected to your Shopify control panel, where you can install the app.
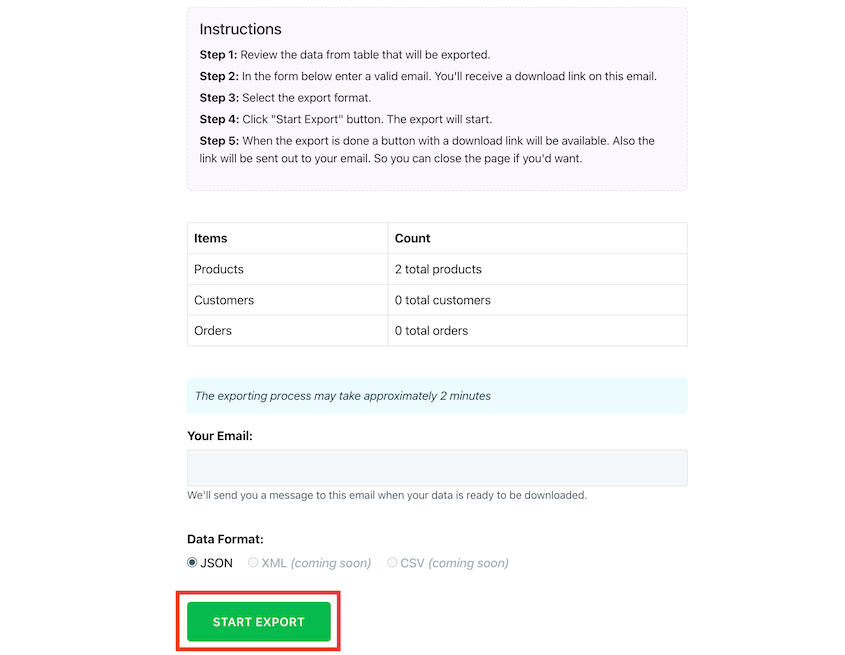
On the next page, add your email address. Make sure all of your store data is included in the table. Hit Start Export.
When it’s finished exporting, click on the Download button. You can also download this file from your email.
Step 4: Import Shopify Data into WooCommerce
Next, go back to your WordPress dashboard. Install and activate the Import Shopify to WP plugin.
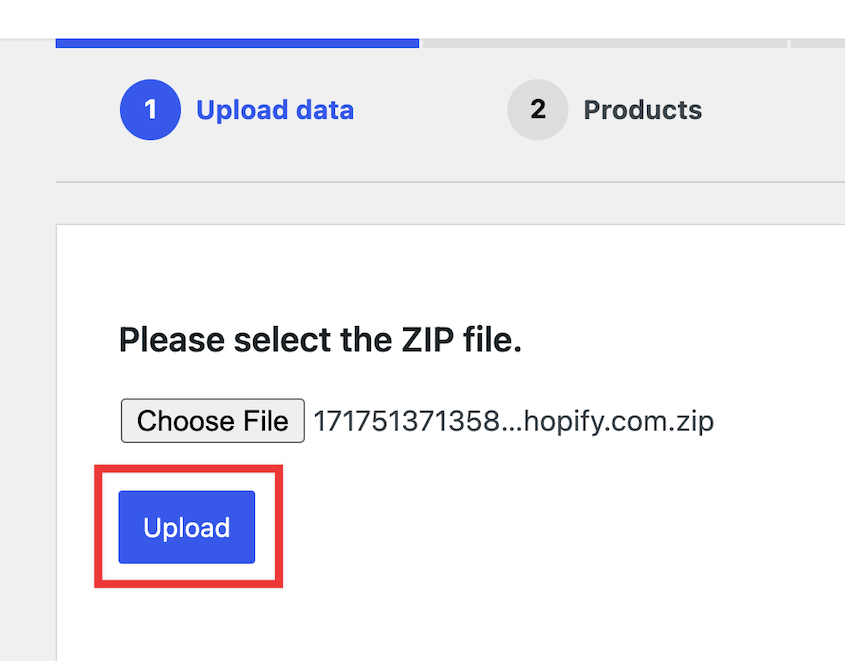
Find Tools » Shopify Importer. Upload the zip file that you just downloaded.
You’ll see a list of products from your Shopify store, but they haven’t been processed yet. Start the import.
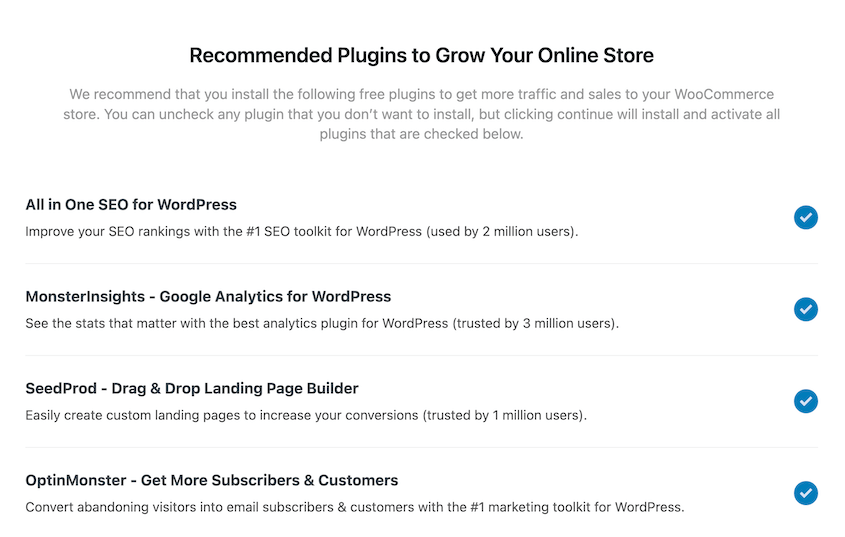
Then, you’ll be able to install some recommended WooCommerce plugins. These help optimize your store.
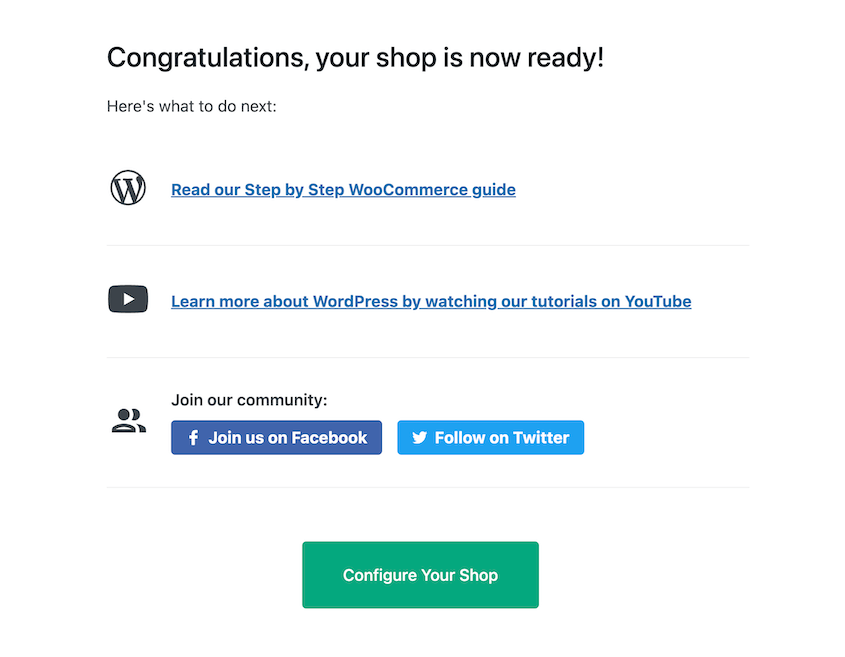
Continue to the next step. After your products are imported, you’ll see a success message.
The Configure Your Shop button will take you back to the WooCommerce tab. Be sure to check your product variants, order statuses, and other data to make sure it migrated correctly.
Step 5: Customize Your WooCommerce Store
By now, your WooCommerce site has all of your Shopify products, orders, and other data. With Shopify, this is all you had to experiment with. By upgrading to WooCommerce, you can completely customize your store’s design, functionality, and tools.
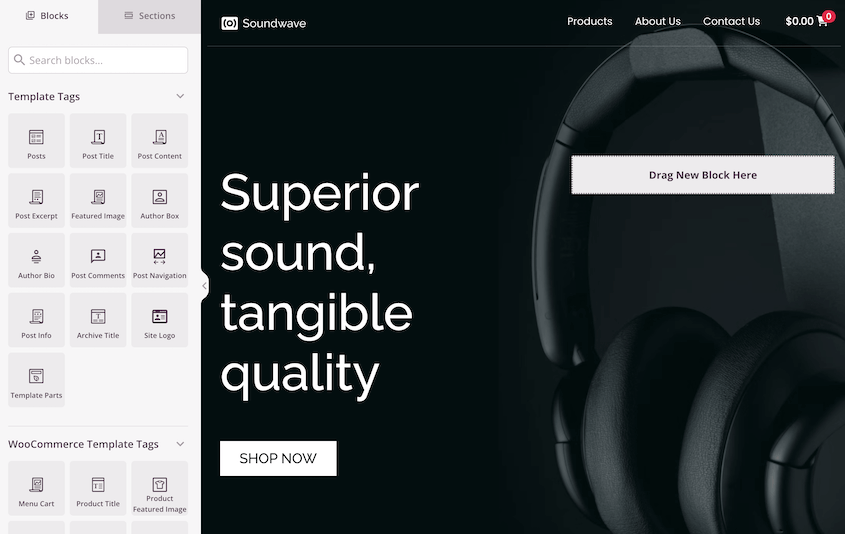
WordPress has thousands of themes, including ones created for WooCommerce. My favorite is SeedProd because it’s both a theme builder and a landing page builder. 2 for 1!
You can use SeedProd to build an entire theme from scratch. And don’t worry, you don’t need any coding experience.
Simply pick a pre-designed theme kit. There are tons of options for WooCommerce stores!
Then, use the drag-and-drop builder to rework the template to meet your needs. You’ll get pre-designed checkout and shop pages, but you can add custom features in the blink of an eye.
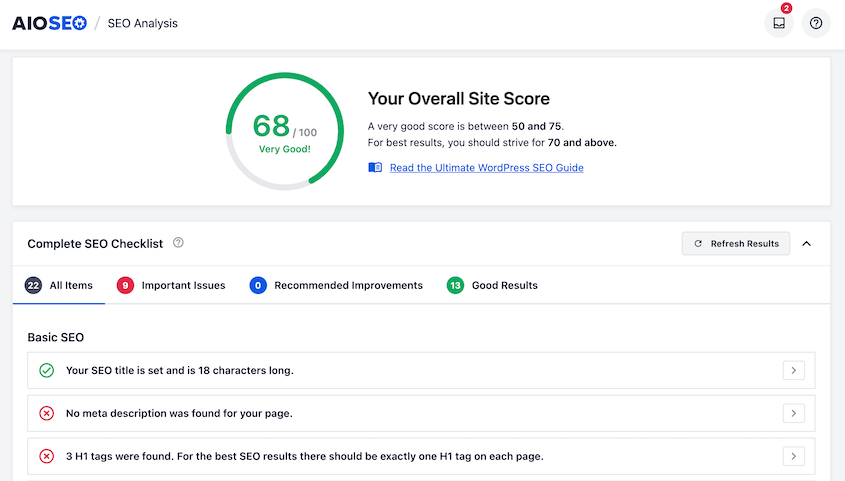
Now that you have a theme, it’s time to improve your visibility. I’d recommend installing All in One SEO for a full Search Engine Optimization (SEO) checklist, on-page suggestions, rich snippets, and more. It’s a great tool for appearing higher on rankings.
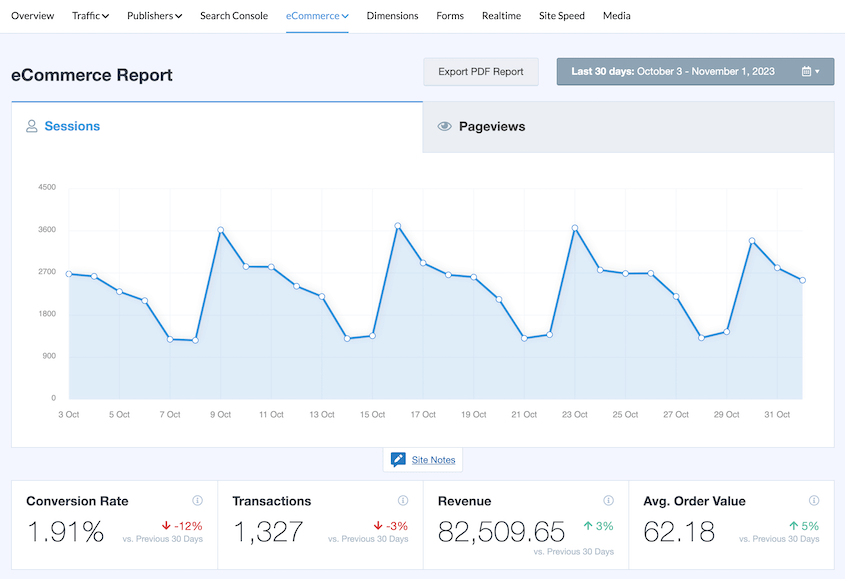
You can only level up your store if you know how you’re currently performing. For real-time analytics, use MonsterInsights. It’ll show you metrics like top products, total revenue, and conversion rates.
If you notice your conversion rate is low, OptinMonster can help. This is a lead generation plugin that uses pop-ups to convert visitors into customers.
Shopify automatically saved your data for you. With WordPress, you’ll need a backup plan. Duplicator is a beginner-friendly plugin for setting up automatic backups, cloud storage, and one-click restores. You’ll never worry about hacks or errors!
And that’s just the tip of the iceberg. For more helpful tools, see our top recommended WooCommerce plugins.
Step 6: Redirect Your Old Store to the New One
All of your customers are used to finding your store on Shopify. To avoid losing any traffic, you’ll need to redirect these customers to your new WordPress site.
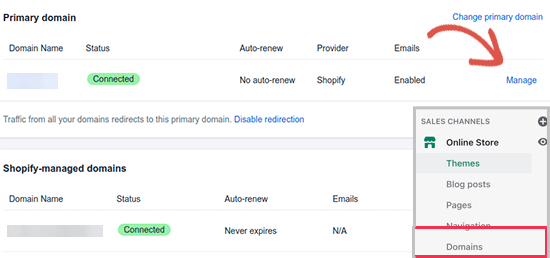
If you had a Shopify-branded domain name, you won’t be able to create individual redirects. Instead, you can add a link to your new site on the old Shopify store.
If you registered for a custom domain through Shopify, you can edit your DNS settings in Shopify. Go to Online Store » Domains.
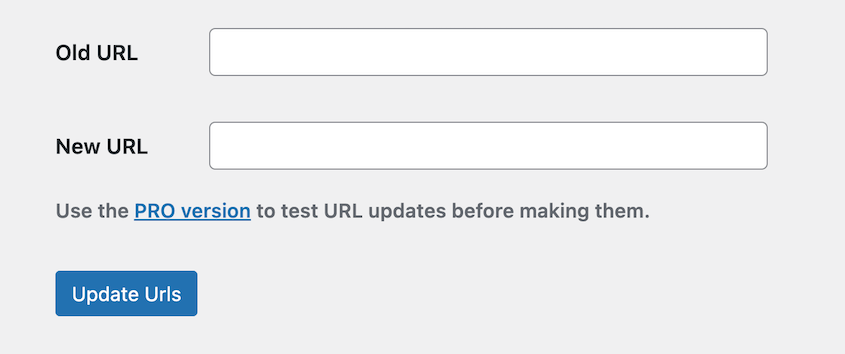
Even though you migrated data to WooCommerce, there may be old URLs pointing to the old domain. To fix this, install a plugin like Go Live Update Urls.
Then, find Tools » Go Live. Add your Shopify URL as the Old URL and the WooCommerce URL as the new one.
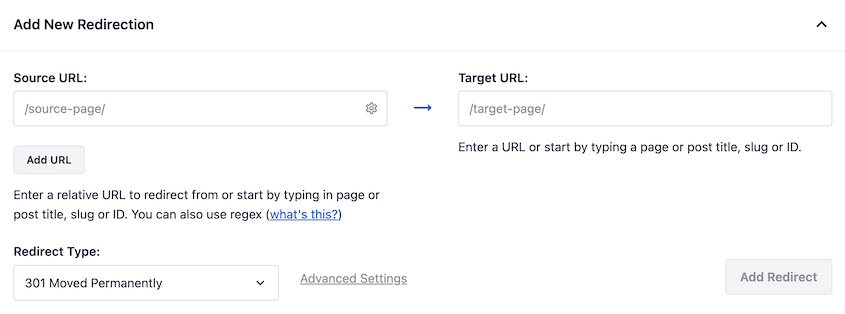
You might have extra blog posts or pages that need to be redirected. We’d recommend using AIOSEO’s redirect manager to set up 301 redirects.
Simply enter the original URL and the new one before clicking Add Redirect.
Other Ways to Migrate a Shopify Store to WooCommerce
I decided to only include one migration process in this tutorial to make it less overwhelming. However, there are other methods you could try.
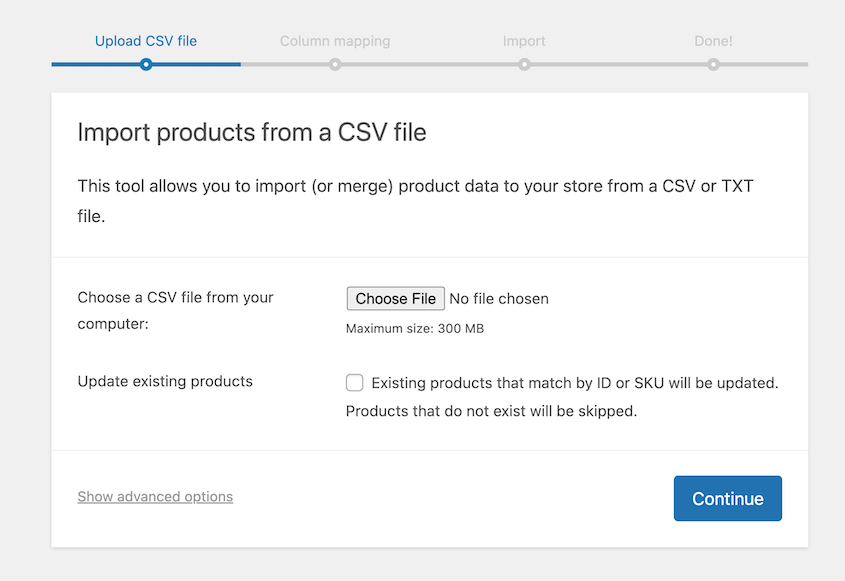
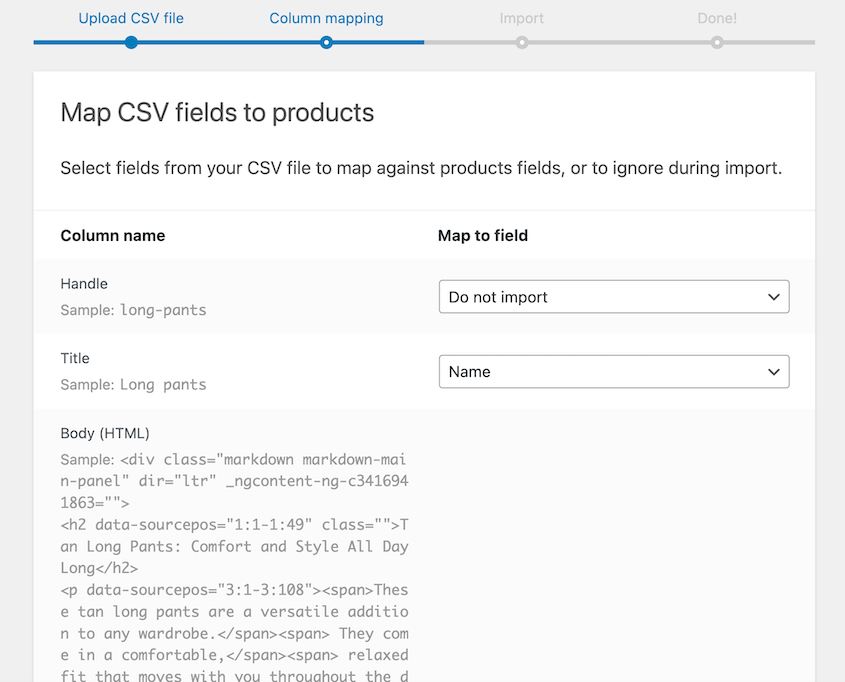
It’s more time-consuming, but you could manually export data from Shopify. Your product data can be exported as a CSV file.
In WooCommerce, navigate to Products » Import. Upload the Shopify CSV file.
WooCommerce will try to match the CSV fields to WooCommerce products. Manually check these before importing them.
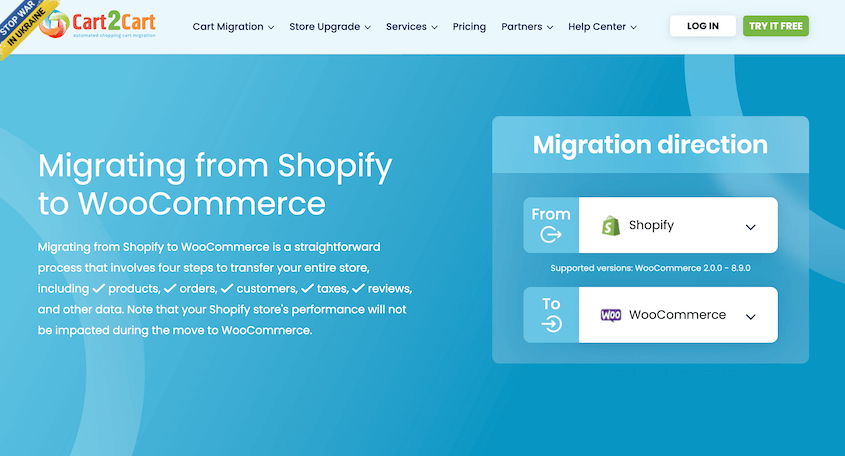
An easier method is to hire a migration service like Cart2Cart. After you choose the data you want to migrate, Cart2Cart will do it for you. It’ll import products, customers, orders, coupons, and blog posts into WooCommerce.
With Cart2Cart, you’ll add your source cart and source store URL. You’ll also need a Shopify API key. After providing WooCommerce as the target cart and your admin URL, Cart2Cart has the permission it needs to move your data.
However, Cart2Cart can cost upwards of $100 per data migration. If you want to save costs, I’d recommend using Shopify to WP or manually migrating your data.
FAQs About Migrating Shopify to WooCommerce
Can I migrate from Shopify to WooCommerce?
Yes, you can migrate your online store from Shopify to WooCommerce. You can use Shopify to WP, a WooCommerce migration tool made for Shopify sites. It’ll export customer data, order data, products, product categories, product images, and other useful information. After installing Shopify to WP on your WooCommerce site, you’ll import your old data.
Can Shopify and WooCommerce work together?
Shopify and WooCommerce are separate e-commerce platforms and cannot directly work together. However, it is possible to migrate from one platform to the other. It’s fairly easy to import data from Shopify into a WooCommerce store.
What are the disadvantages of WooCommerce?
At first, WooCommerce can seem challenging for beginners because it requires a WordPress site and some technical setup. Additionally, WooCommerce may require extensions for advanced features, which can add costs and potential compatibility issues if not well-maintained.
How do I transfer my Shopify domain to another store?
To transfer your Shopify domain to another Shopify store, you’ll need to send a transfer link to the second site. If you’re migrating to WooCommerce, edit your DNS settings to point to your WordPress hosting provider.
Conclusion
Now you have a WooCommerce store that’s ready to grow with your business!
While you’re here, I think you’ll like these WordPress guides:
Shopify took care of backups for you, but now you have to protect your own data. Set up automatic backups with Duplicator Pro today!
Joella is a writer with years of experience in WordPress. At Duplicator, she specializes in site maintenance — from basic backups to large-scale migrations. Her ultimate goal is to make sure your WordPress website is safe and ready for growth.


