Utilizing a cloud storage service such as Microsoft OneDrive can be a practical solution for storing WordPress backups. By opting for off-site storage in the cloud instead of burdening your web hosting plan, you guarantee the availability of backups whenever required.
This tutorial will walk you through the process of backing up your WordPress website to OneDrive!
Connect OneDrive Account
To get started, go to Duplicator Pro » Storage. Here, you’ll see that the default storage is your local server:

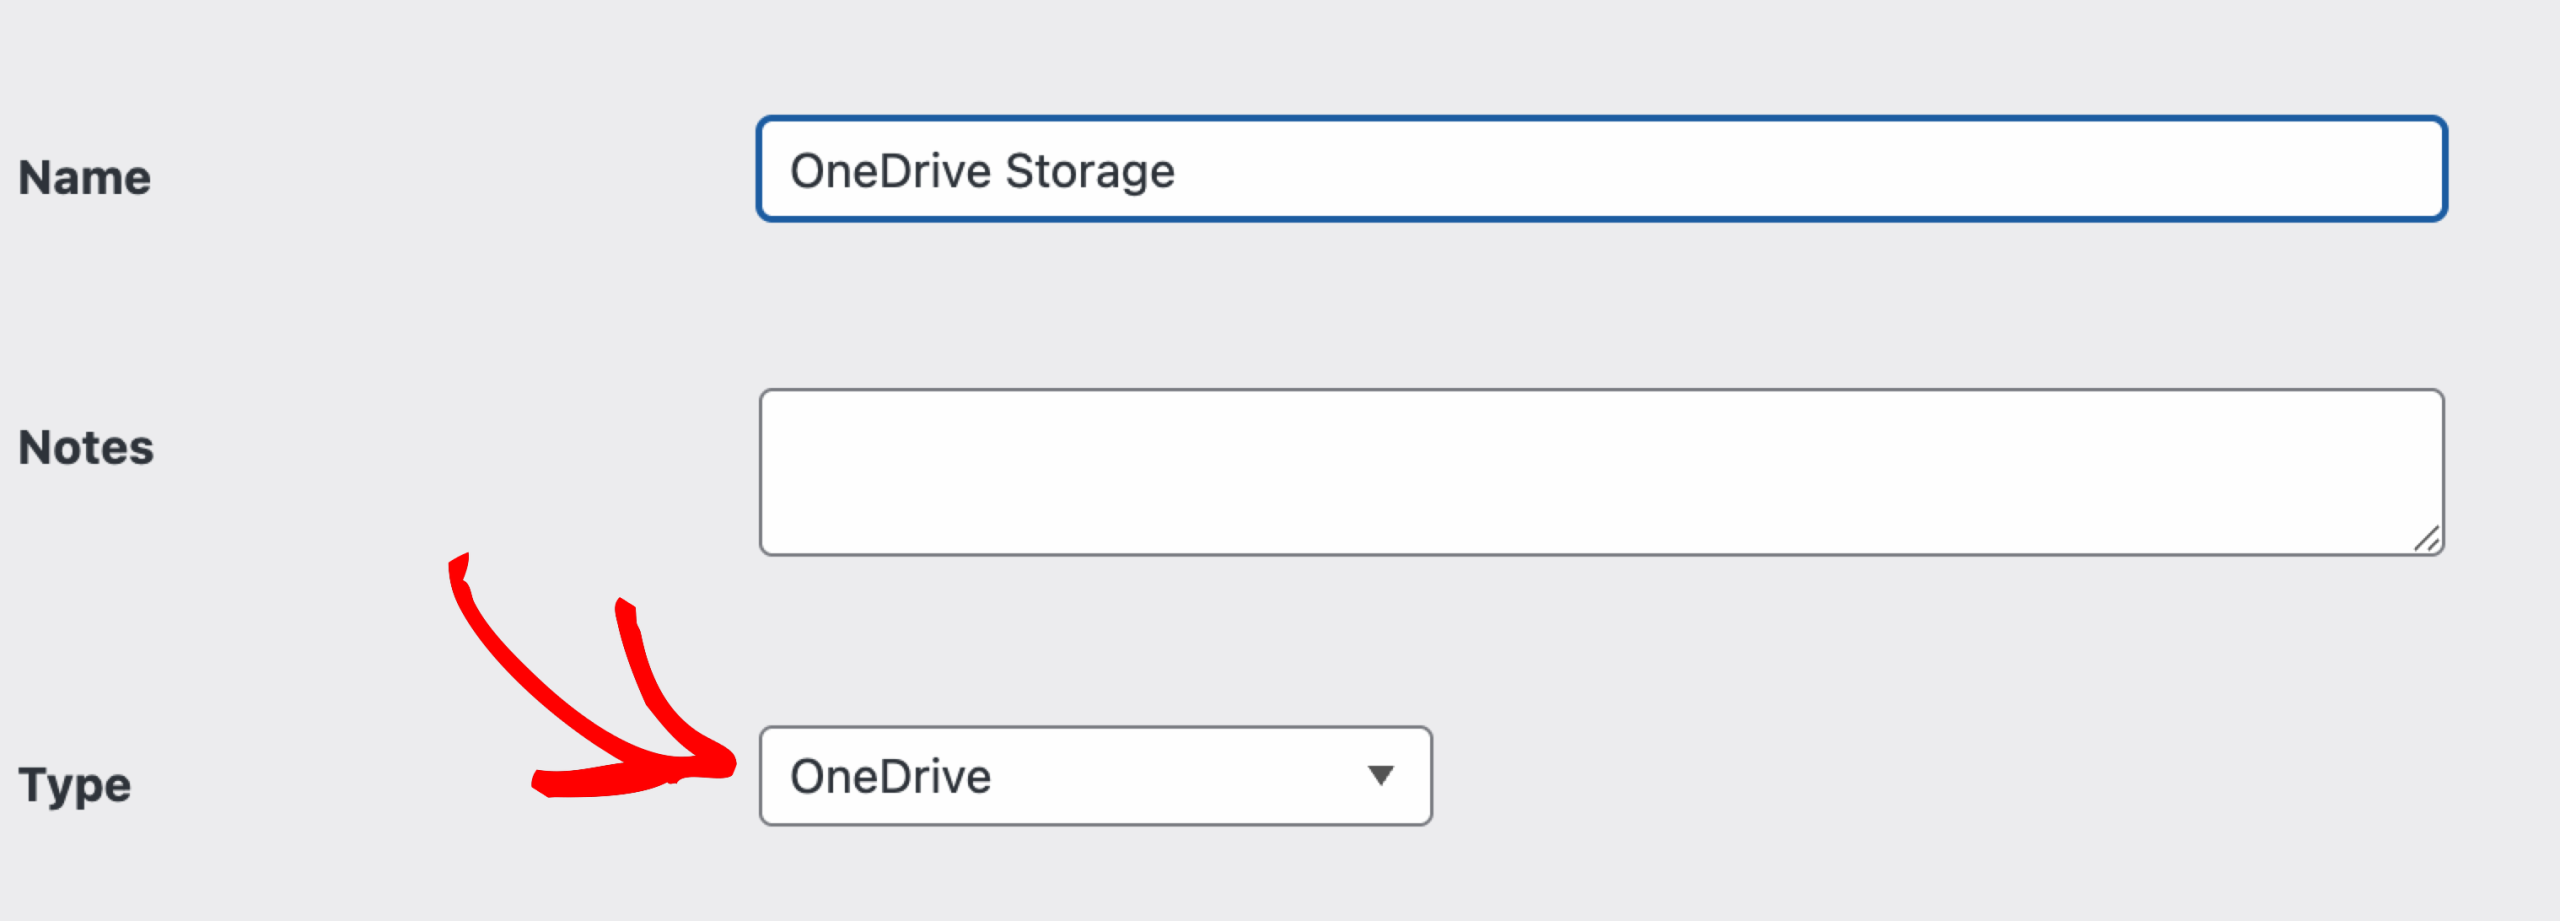
Click on Add New to start setting up your OneDrive storage. Give the new storage a name. Then, select OneDrive in the Type dropdown menu:

OneDrive Business Accounts:
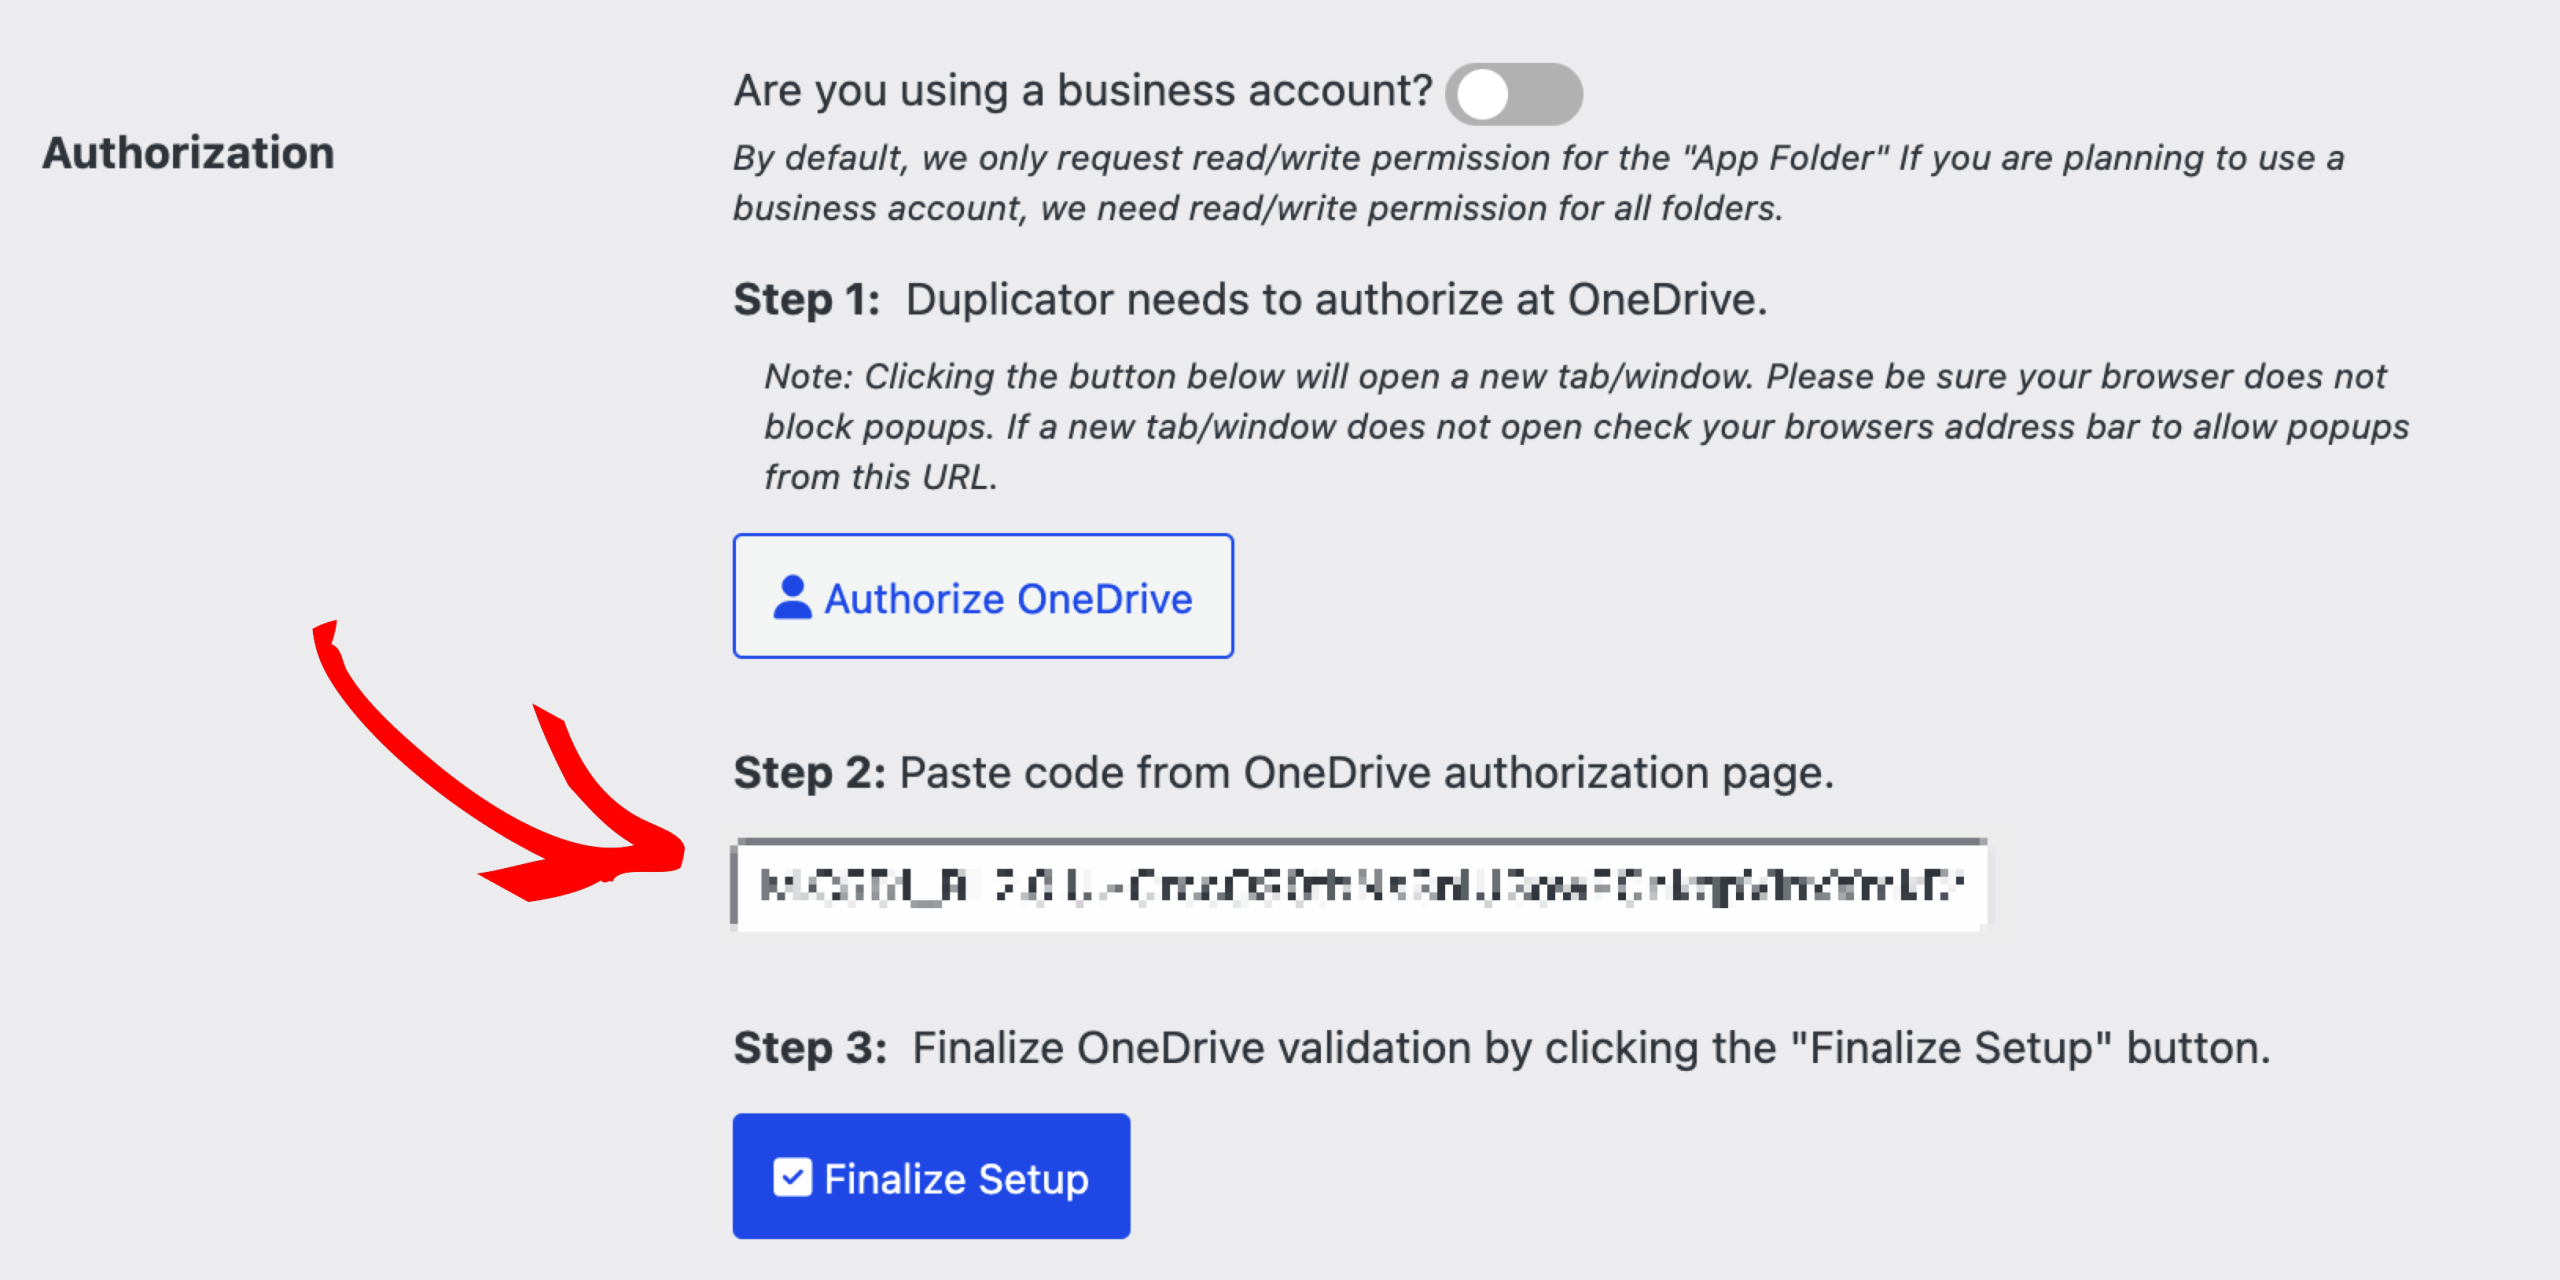
For OneDrive Business accounts, turn on the option “Are you using a business account?“. This grants Duplicator Pro the read/write permission for all folders of your account, not only the App folder.

Next, authorize Duplicator to make changes to your OneDrive account. This will allow backups to be sent automatically to your OneDrive storage folder. Next to Authorization, click on Connect to OneDrive:

After this, you’ll see new steps to authenticate the OneDrive connection. First, click on Authorize OneDrive:

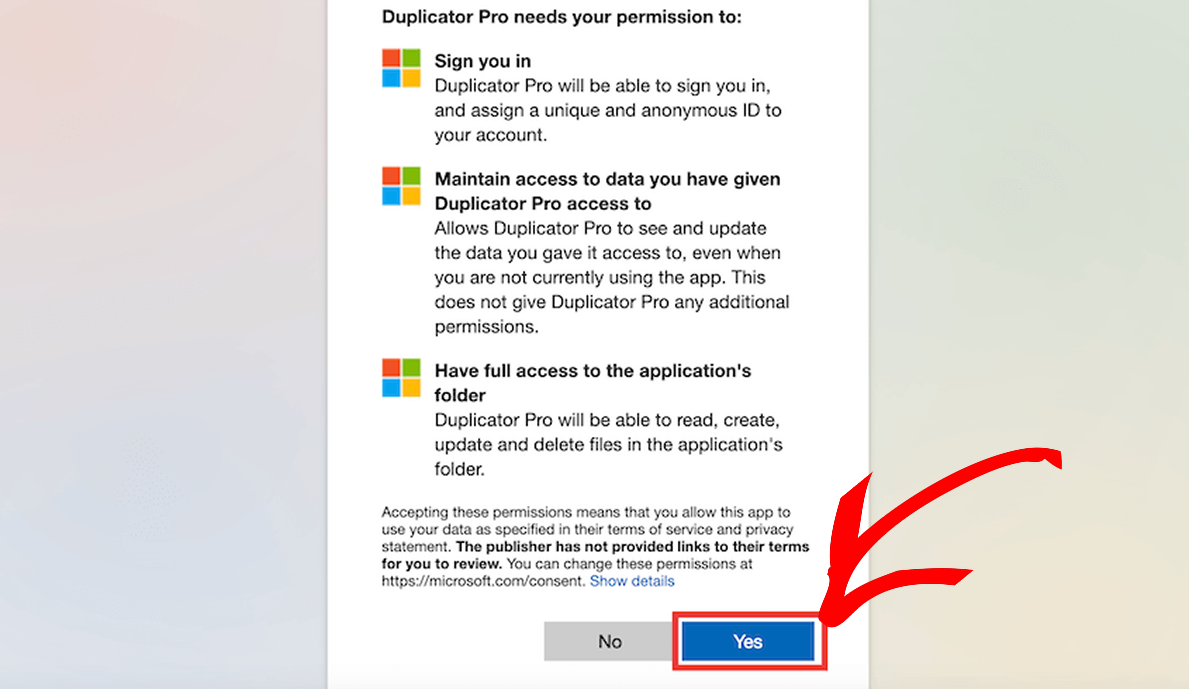
This will open a new browser window, where you’ll need to sign in to Microsoft OneDrive. When prompted, allow Duplicator to create and update your OneDrive files:

Once finished, you’ll receive an authorization code. Copy this and paste it into Step 2 of the authorization guide:

Finally, click on the Finalize Setup button. This will connect Duplicator to OneDrive!

Duplicator will delete any old backups that exceed this limit.


