You don’t have to wrestle with complicated code and server configurations to create a website.
What if you could build and test your WordPress site in a safe, offline environment, completely free of charge?
This guide focuses on using Local by Flywheel, a fantastic tool for installing WordPress locally. If you’re a beginner, Local is a great choice. It’s local WordPress development made simple.
We’ll walk you through installing WordPress on LocalWP. Let’s get started!
Table of Contents
What Is Local by Flywheel?
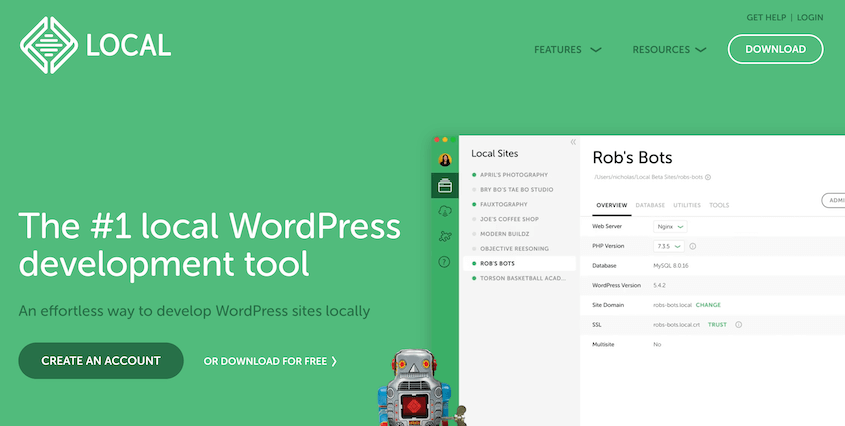
Local (formerly known as Local by Flywheel) is a user-friendly application that allows you to create and manage WordPress sites on your computer. It’s a local development tool designed to simplify the process of building and testing WordPress websites.
Developed by WP Engine, Local has become a popular choice among WordPress developers.
It eliminates many of the technical hurdles associated with setting up a local environment. Anyone can create, modify, and test WordPress sites without needing a live internet connection.
Key features of Local include:
- One-click WordPress installs
- Easy site management
- Cross-platform compatibility (Windows, Mac, and Linux)
- Built-in tools for database management
- Automatic SSL certificates for local sites
- Cloud backups
- Live links to share your local WordPress website privately
One of the most appealing aspects of Local is its simplicity. You can set up a new WordPress site in minutes, without needing to manually configure databases or server settings.
It’s worth noting that Local is free to use, making it an accessible option for developers at all levels.
Benefits of Installing WordPress on Local by Flywheel
Local environments are typically much faster than live servers. This speed boost allows you to make changes and see results almost instantly, accelerating the development process.
Once you’ve set up your local site, you can work on it without an internet connection. This is perfect for developers who travel or work in areas with unreliable internet.
Local makes it easy to create and manage multiple WordPress sites on your computer. You can switch between different projects with just a few clicks, keeping your work organized and efficient.
Local simplifies complex tasks with built-in tools for managing your database, handling SSL certificates, and even pushing your site live when it’s ready.
How to Install WordPress on Local by Flywheel
Ready to install WordPress on Local by Flywheel? Let’s walk through the process step-by-step.
Step 1: Download and Install Local by Flywheel
To get started, you need to get Local on your computer. But first, make sure your computer meets these requirements:
- 4Gb of RAM
- 1.5GB of disk space
For macOS users, install Catalina (10.15) or a higher version. For Windows, update to a version later than 8.1.
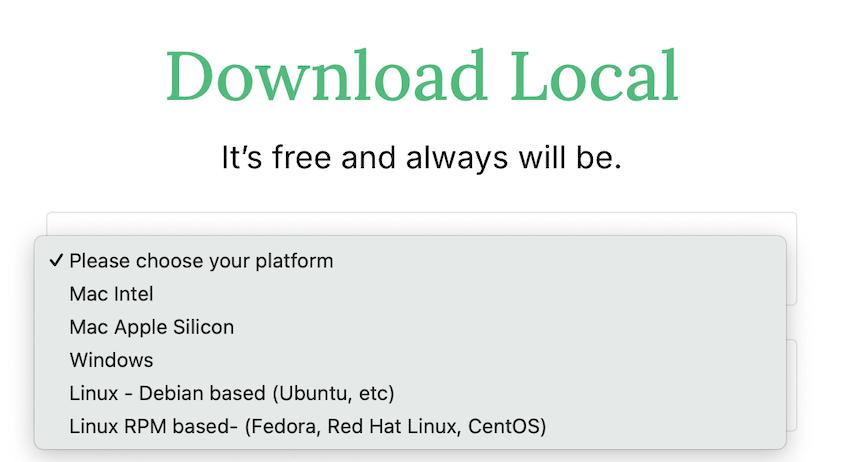
Then, head over to the official LocalWP website and hit the Download button. In the pop-up, choose your platform compatibility.
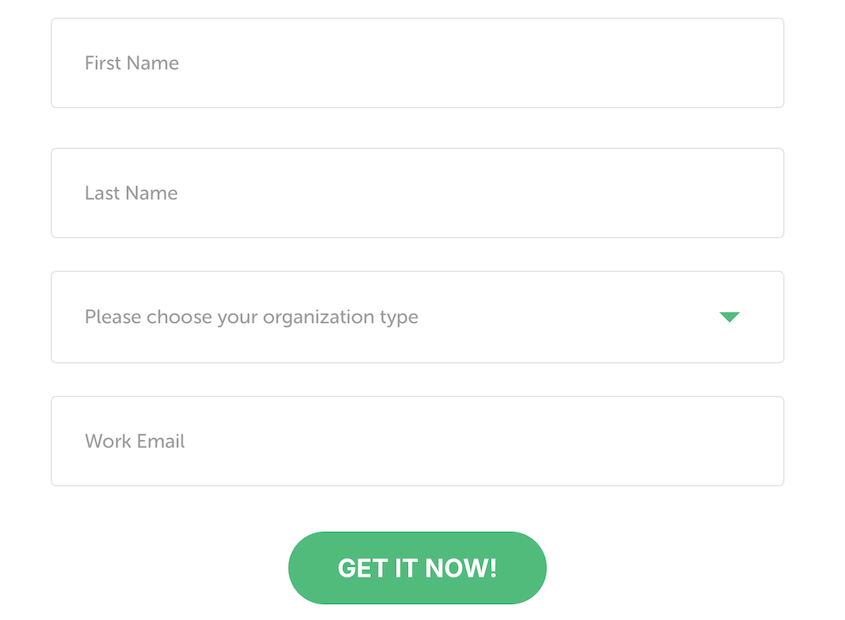
Enter your first name, last name, organization type, and work email. Click Get it now to download Local.
Once the download is complete, run the installer and follow the on-screen instructions.
Step 2: Set Up a Local Environment
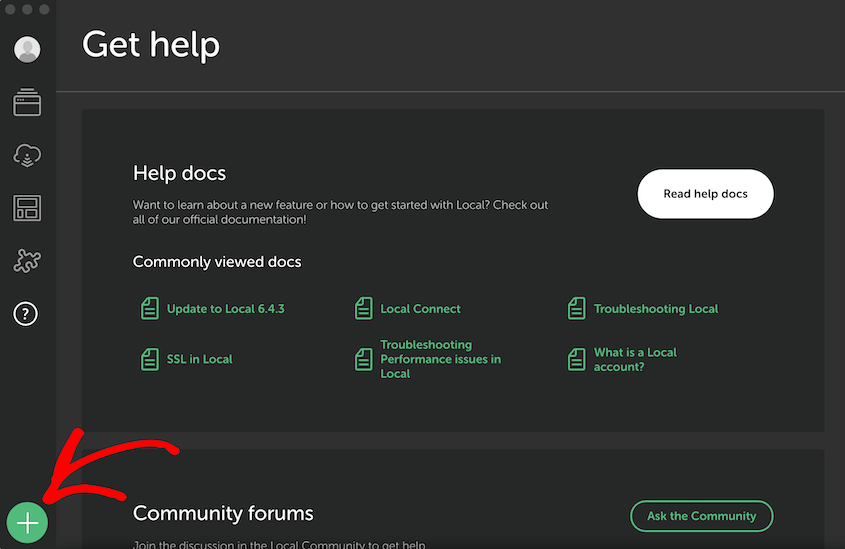
After installing Local, launch the app. Click the + button to add a new site.
LocalWP offers a choice: start with a custom WordPress installation or use a pre-configured “Blueprint.” Blueprints are essentially site templates that you can use to pre-install plugins, themes, and other data.
For a completely blank site, select Create a new site and Continue.
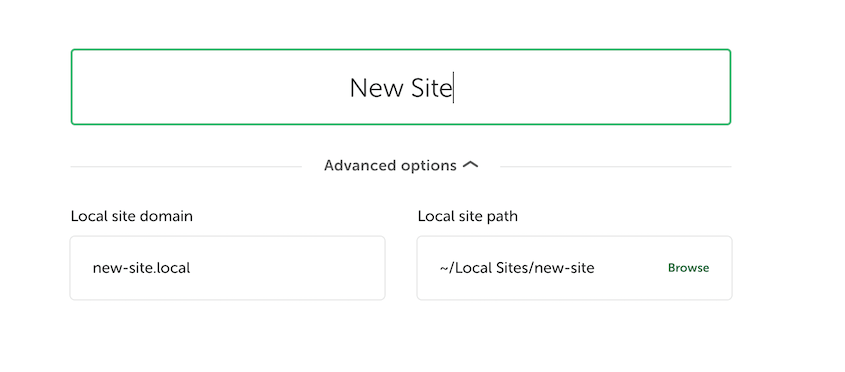
Enter a name for your site. This will also be for the local domain (e.g., mysite.local). However, you can customize the domain and local site path in the Advanced options.
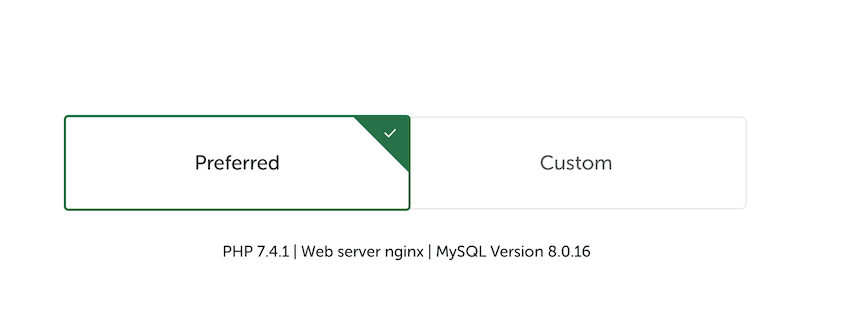
Now it’s time to select your environment preferences. For beginners, choose the Preferred option. LocalWP will set up your site with an optimal PHP version, web server, and MySQL version.
Feel free to set up a custom environment if you’d like. This gives you more flexibility to choose:
- PHP version
- Web server (Nginx or Apache)
- MySQL database version
After this, click on Continue.
Step 3: Set Up WordPress
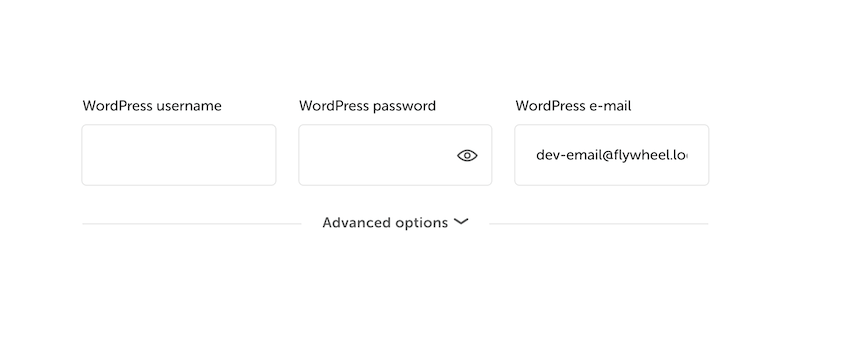
Next, you’ll reach the main setup page. Enter the username, password, and email address you want to use to log into your local wp-admin dashboard.
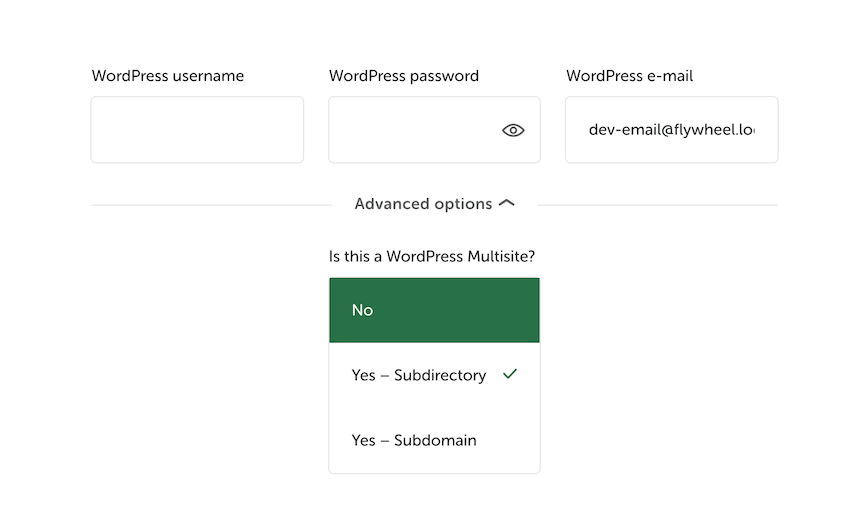
Normally, creating a WordPress multisite network is a fairly complicated process. With LocalWP, it’s easy.
All you’ll need to do is open the Advanced options and choose a subdirectory or subdomain setup.
Click the Add Site button, and Local will create your local WordPress site within minutes!
You can access your new site’s WordPress admin panel by hitting WP Admin.
(Optional) Step 4: Migrate Your Live Site to LocalWP
Already have a WordPress website hosted elsewhere? No problem! You can easily move it to Local for safekeeping, redesigns, or other updates.
This is where Duplicator, a powerful WordPress migration plugin, comes in. Duplicator simplifies the process of moving your WordPress website — even to a local environment.
On your live WordPress site, install and activate Duplicator Pro. You can use the free version, but I’d recommend upgrading for quick drag-and-drop imports.
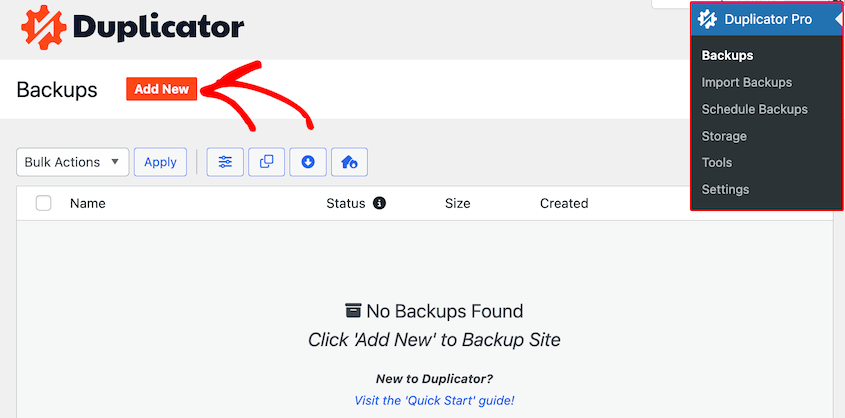
Next, find Backups » Add New.
To migrate all of your data over to the local site, make sure to select Full Site in the Backups section.
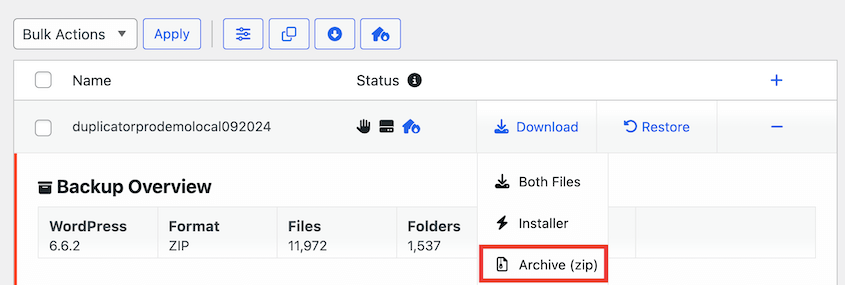
Continue creating the backup. Once it’s done, download the backup archive file.
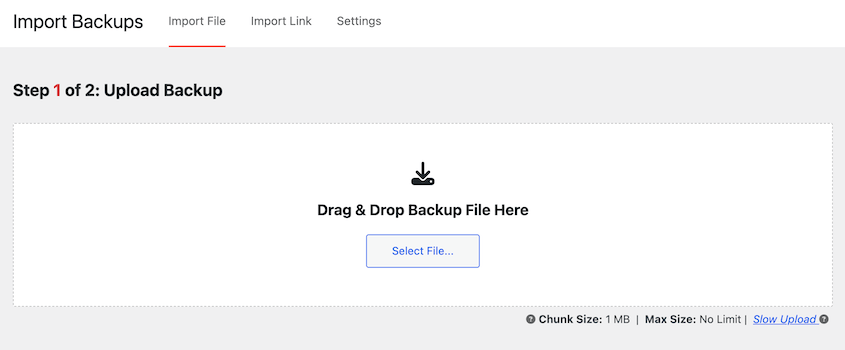
Open your new LocalWP site and install Duplicator here, too. Find the Import Backups page and drop your backup file into it.
Duplicator will replace the blank local site with a copy of your live site. You can then make changes knowing how they’ll affect your real data.
How to Migrate Your Changes to Your Live Site
Finished making changes to your WordPress site locally? It’s time to move them to your live server.
Duplicator Pro allows you to push your local WordPress website to a live server with just a few clicks. Simply create a full backup of your local site and download it.
Then, open your live site and drop the local backup into the Import Backups page. That’s it!
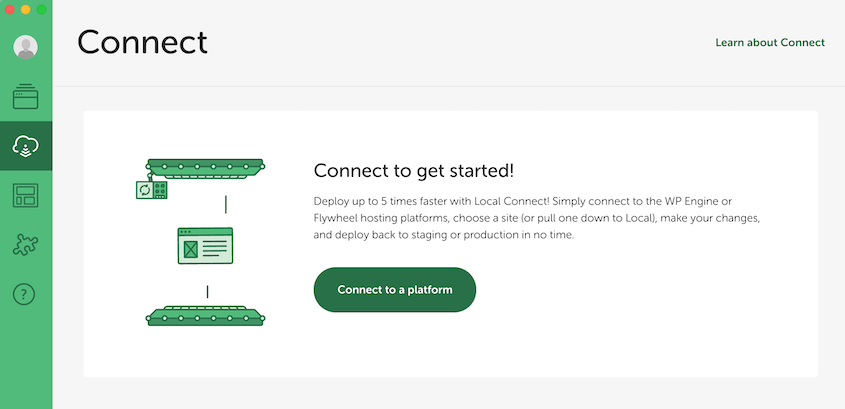
If your live site is hosted on WP Engine or Flywheel, you can use the Connect feature. LocalWP will directly connect to your live site, deploying your changes quickly.
However, Duplicator is a more flexible option. No matter where your site is hosted, Duplicator can move your data to and from your local environment.
How to Locate LocalWP Files and Database
LocalWP has many code-free methods to create and manage a local WordPress site. But what if you want to make a quick edit to a theme file or inspect your database?
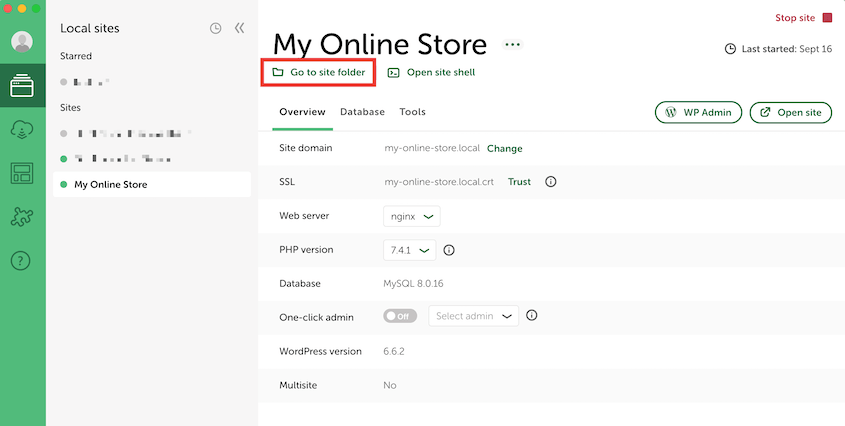
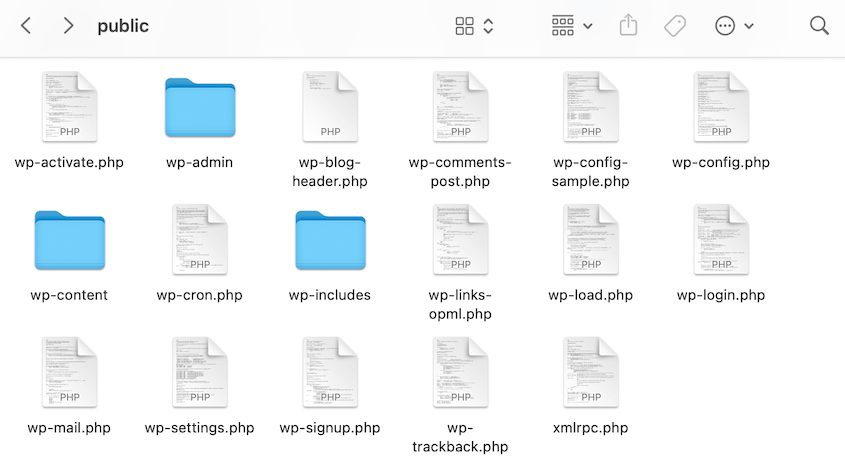
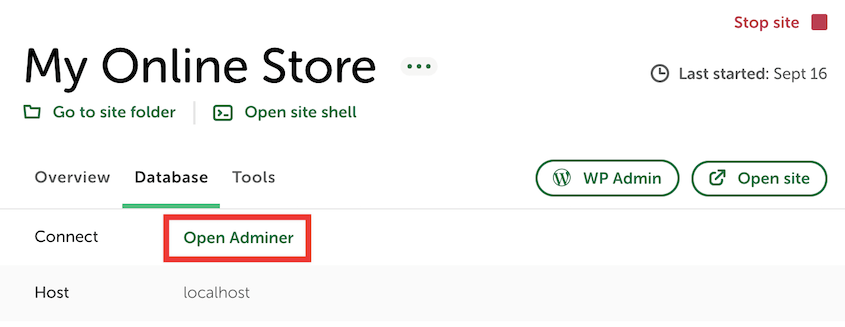
To open your site’s files, find your site on LocalWP. Underneath your site’s title, click on Go to site folder.
Within your site’s folder, go to app » public. Here, you’ll find the familiar WordPress file structure.
By double-clicking on a file, it’ll open in your default text editor.
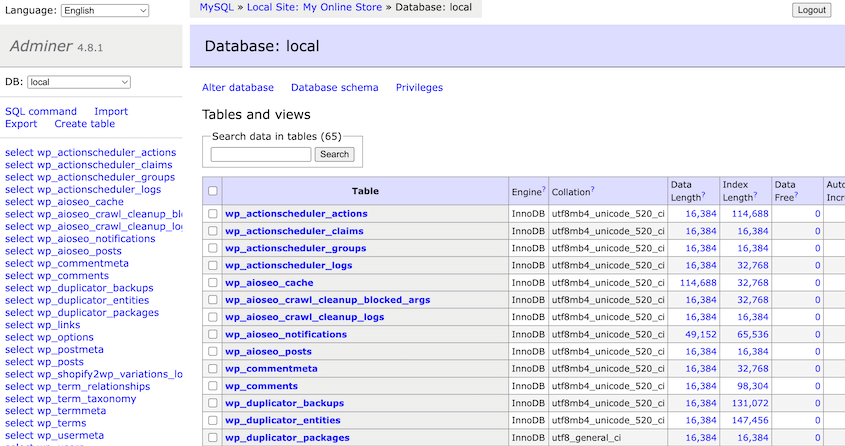
Editing your database is a similar process. Reopen LocalWP and find the Database tab. Click on Open Adminer.
Then, you can use this database manager in a browser window.
Local by Flywheel takes the mystery out of working with your site files and database, giving you the control you need while keeping everything organized.
Frequently Asked Questions (FAQs)
How do I deploy my WordPress site to a local server?
If you want to install WordPress locally, first create a local WordPress site using tools like LocalWP, MAMP, WAMP, or XAMPP. Then, create a backup of your live site with Duplicator Pro. Import it into your local site to replace the default configuration.
How do I import a site into Local by Flywheel?
Install Duplicator Pro on both your live and local sites. Create a full backup of your live site and download it. Then, import it into your local environment using Duplicator’s Import Backups page.
How much does Local by Flywheel cost?
Local by Flywheel is completely free to use.
Conclusion
Installing WordPress on Local opens up a world of possibilities for efficient website development and testing. You’re ready to work offline, experiment freely, and perfect your site before it goes live.
While you’re here, I think you’ll like these extra WordPress guides:
Do you want to move your site to a local testing environment without any data loss? Download Duplicator Pro for easy and safe drag-and-drop migrations!
Joella is a writer with years of experience in WordPress. At Duplicator, she specializes in site maintenance — from basic backups to large-scale migrations. Her ultimate goal is to make sure your WordPress website is safe and ready for growth.


