Ever wanted to build a WordPress website but felt scared of messing things up online?
There’s a way to learn WordPress without any risks. All you’ll need to do is install WordPress locally using WAMP, a local development tool.
This complete guide will walk you through installing WordPress on WAMP. You’ll have a private playground where you can experiment, learn, and build your dream website – all for free.
Ready to get started? Let’s get WAMP set up on your computer.
Table of Contents
What Is WAMP?
WAMP is a powerful tool for web developers. It gives you everything you need to run WordPress on your computer. It’s like having a mini web hosting service right on your desktop.
Let’s break it down:
- W – Windows (your computer’s operating system)
- A – Apache (the software that serves up web pages)
- M – MySQL (a system for storing your website’s data)
- P – PHP (the programming language WordPress uses)
WAMP bundles all these tools together, making it easy for you to set up a local server.
It’s perfect for Windows users, but don’t worry if you’re on a Mac or Linux – there are similar tools for those systems too (MAMP and LAMP).
Why Install WordPress on WampServer?
You might be wondering, “Why bother with all this local installation stuff?” Great question!
Let’s dive into some reasons for setting up WordPress on WAMP.
1. It’s free
Who doesn’t love free stuff? With WAMP, you can build and experiment with WordPress without spending a dime on hosting. It’s perfect for learning or testing out ideas before you commit to a paid plan.
2. A safe space to learn
Remember when you were learning to ride a bike with training wheels? WAMP is like that for WordPress. You can test new features, make mistakes, and learn from the experience — all without affecting a live website.
3. Work anywhere, anytime
No internet? No problem! Once WAMP is set up, you can work on your WordPress site even when you’re offline. It’s perfect for working on the go, especially when you have spotty internet.
4. Speed up your workflow
Local development is often faster than working on a live server. This means quicker load times and a smoother development experience.
How to Install WordPress on WAMP
Now that you understand why local WordPress development is so useful, let’s roll up our sleeves and get started. We’ll break this down into simple steps.
Step 1: Download and Install WampServer
First things first, we need to get WAMP on your computer.
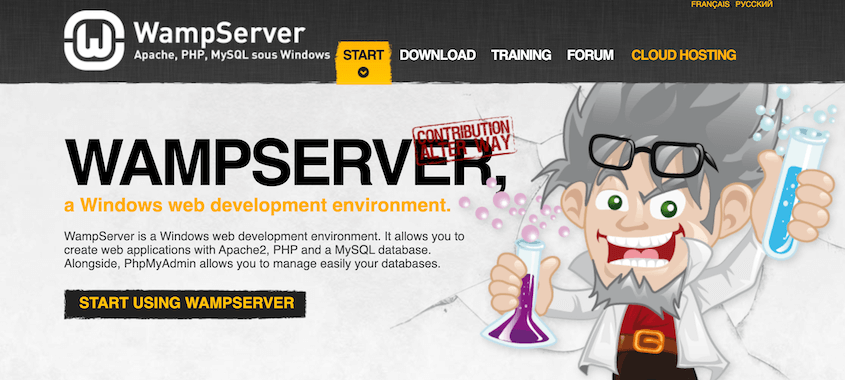
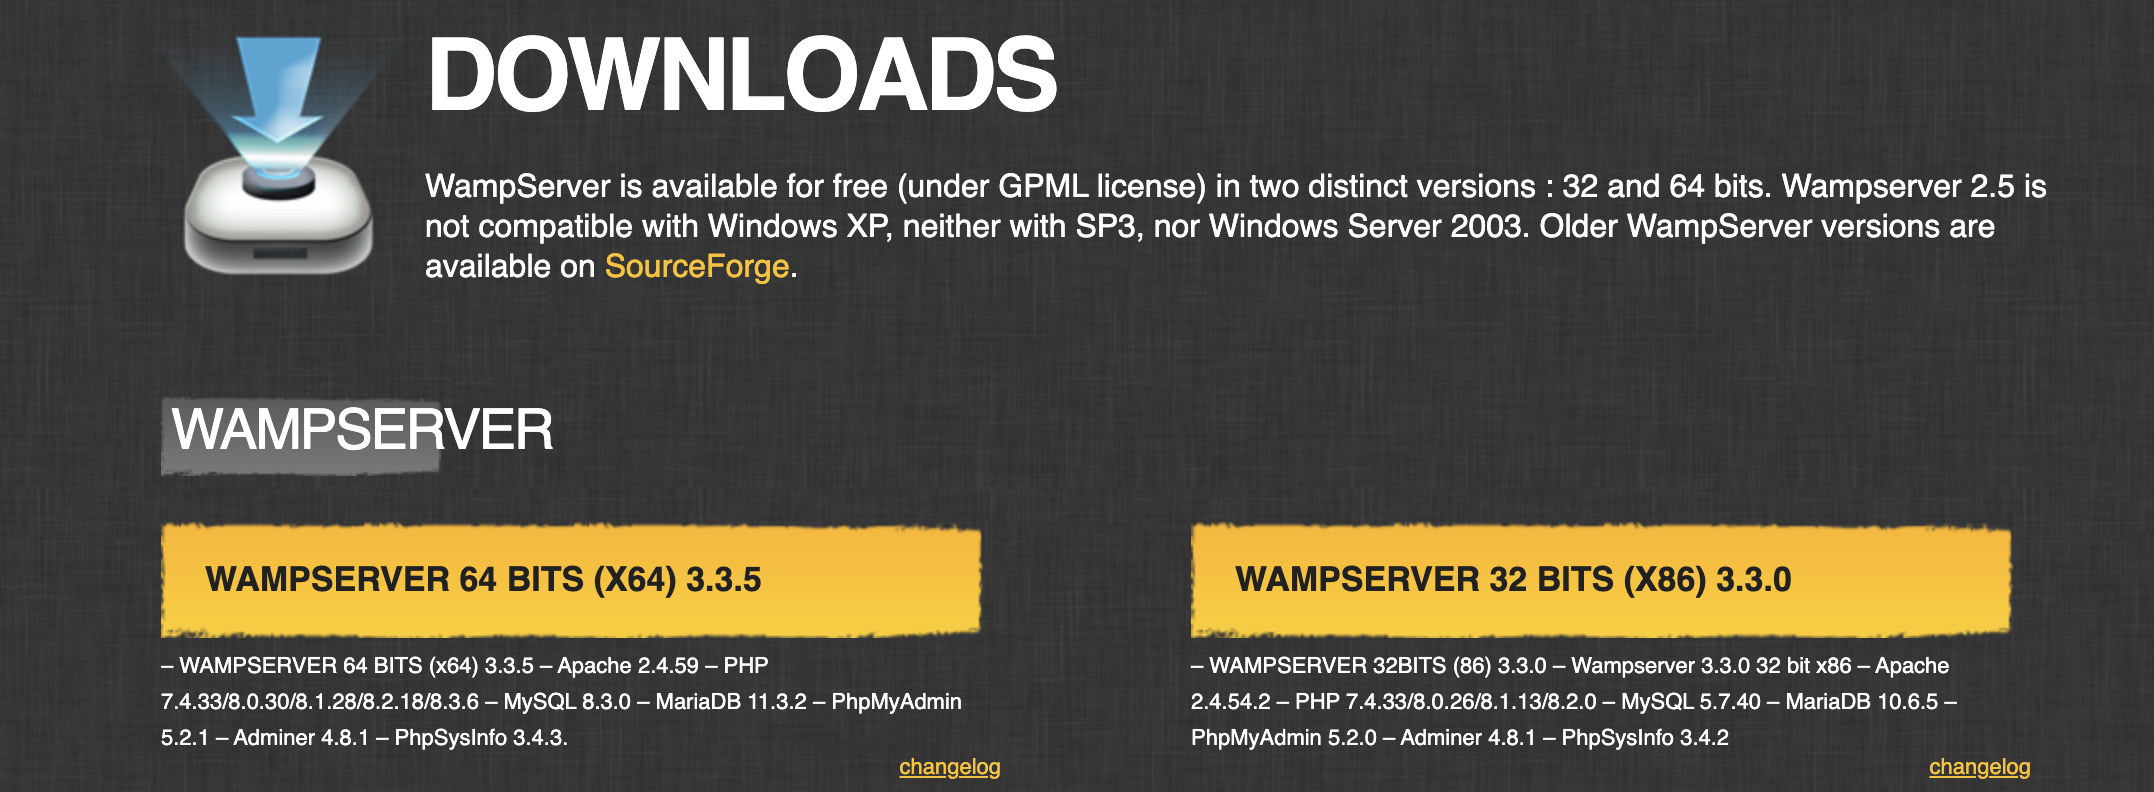
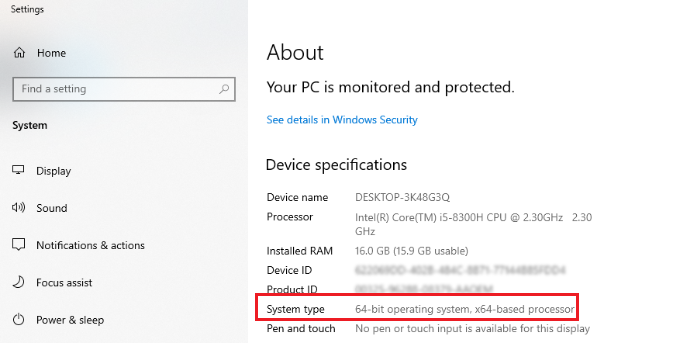
Visit the official WampServer website. Click on the download link. You’ll see two options: 32-bit and 64-bit.
Not sure which one you need? Open your Start taskbar and search for Control Panel. Then, go to System and Security » System. Look for your System type.
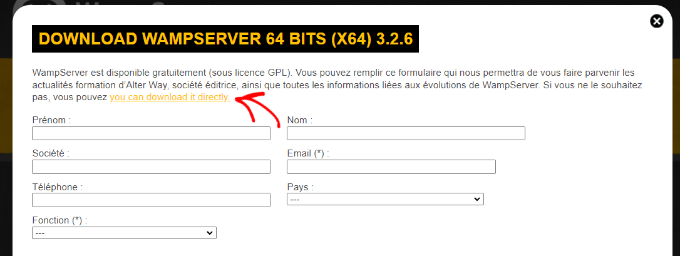
Download the WAMP version for your operating system. A form will open, but you can download the software directly.
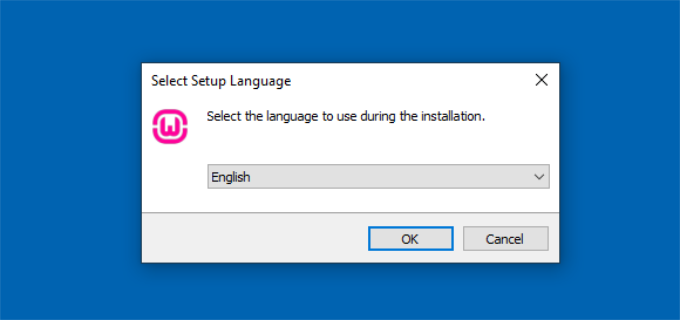
Once the download is complete, run the execution file. Select a language and hit OK.
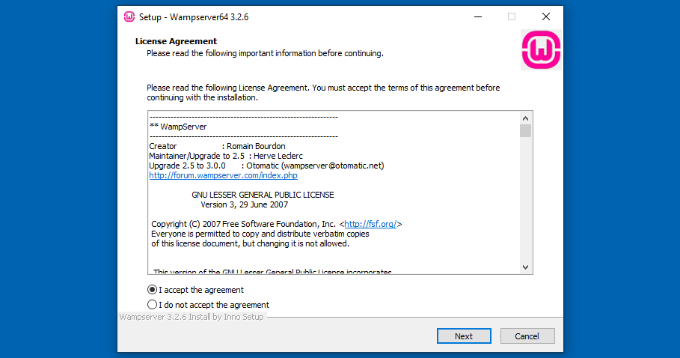
Next, accept the license agreement and continue.
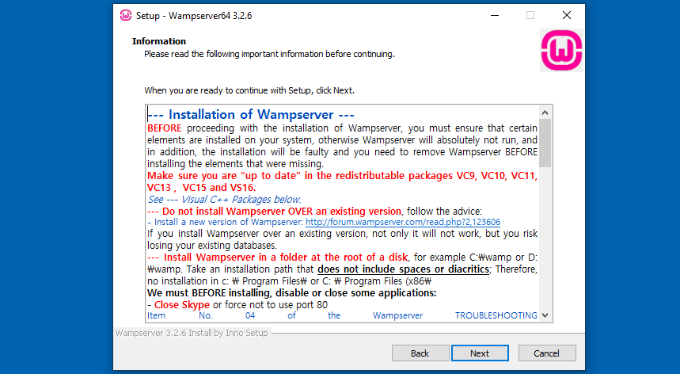
Feel free to read the installation details and click Next.
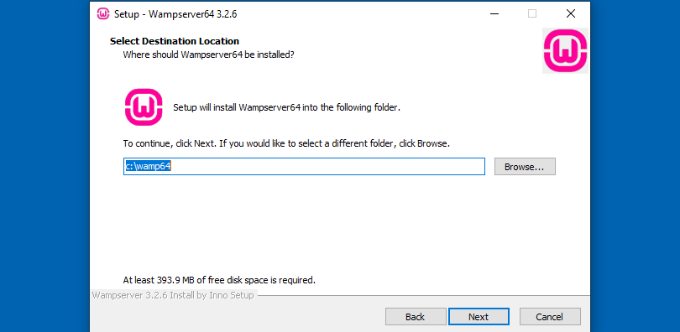
WAMP will have a default installation destination, but you can change this to a different folder.
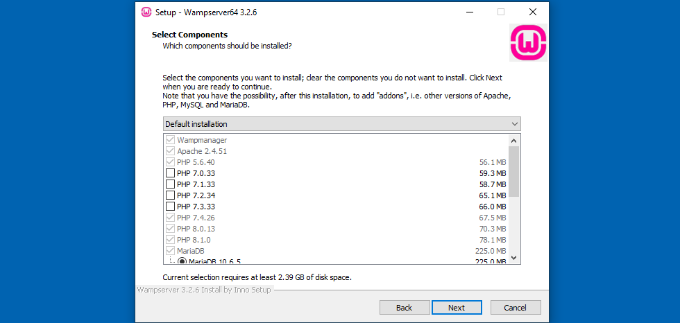
You’ll have the option to install specific WAMP components. Keep the default options and hit Next again.
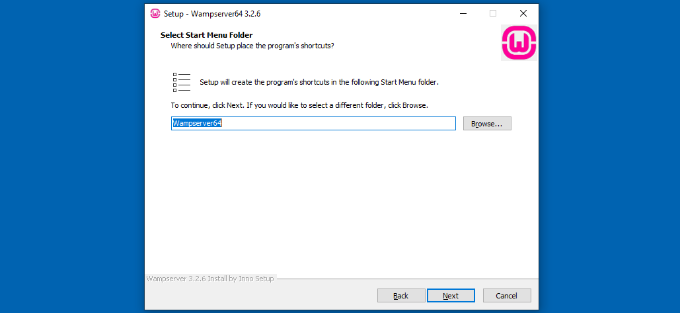
Like with the installation files, you can choose a custom start menu folder.
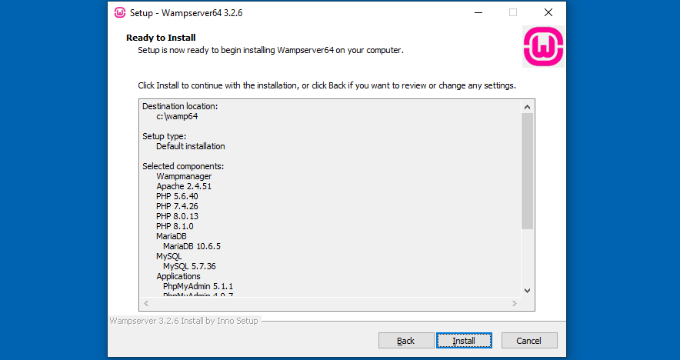
At this point, WAMP is ready to install. Review the summary and click Install.
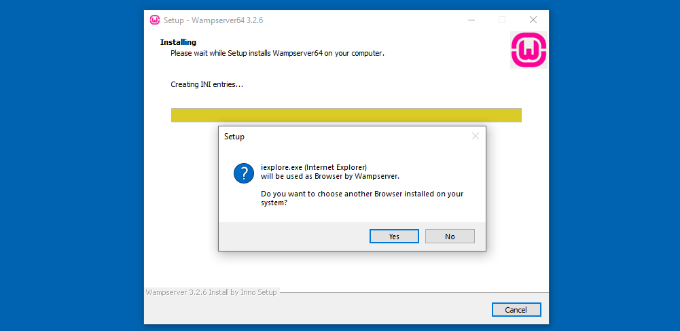
As WAMP sets up, it’ll use Internet Explorer as the default browser. You can change this to your preferred web browser.
It’ll also default to Notepad, but you’ll be able to change this too.
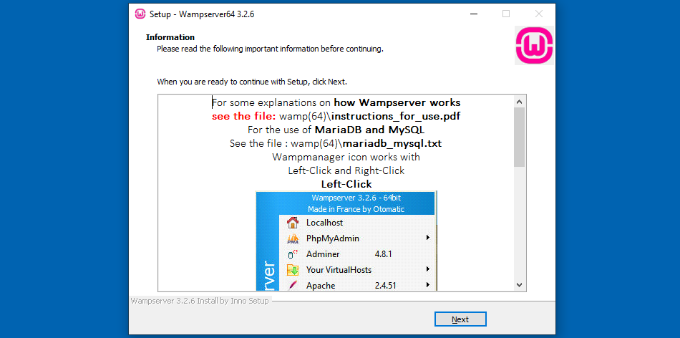
WAMP will show you some installation information. Click on the Next button.
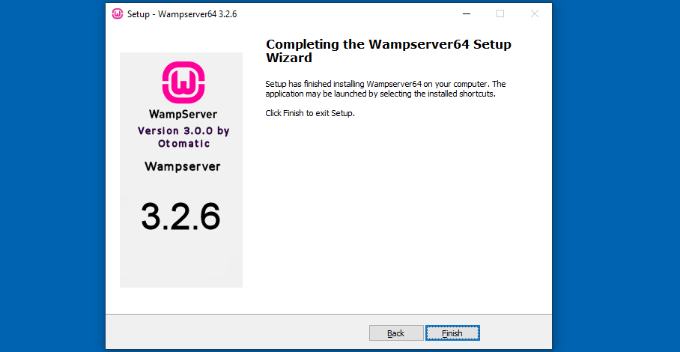
After you hit Finish, WAMP will be fully installed!
Pro tip: Before installing WAMP, close any programs that might interfere (especially Skype). These programs can sometimes use the same ports as WAMP, leading to conflicts.
Step 2: Start WAMP
Now that you’ve got WAMP installed, it’s time to fire it up and make sure everything’s running smoothly.
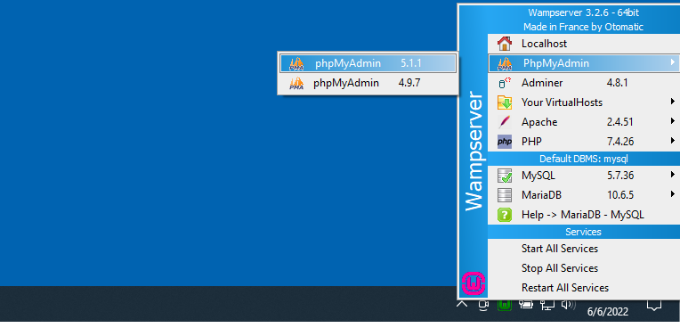
You should see a small ‘W’ icon in your system tray (the bottom-right corner of your screen). If it’s green, you’re good to go!
If it’s red or orange, select Start All Services.
The WAMP icon should turn green. This means all systems are working.
If your icon isn’t turning green, don’t worry. Here are some quick fixes for common issues:
- Make sure no other programs (like Skype) are using Port 80. You might need to close them temporarily.
- Check if your antivirus is blocking WAMP. You might need to add an exception.
- Restart your computer. Sometimes, the tried-and-true “turn it off and on again” really works!
Still having trouble? The WAMP forums are a goldmine of solutions for stubborn issues.
Step 3: Create a New Database
Now that WAMP is up and running, we need to create a database. This stores all your posts, pages, comments, and settings.
Left-click on the WAMP icon in your system tray. Select phpMyAdmin.
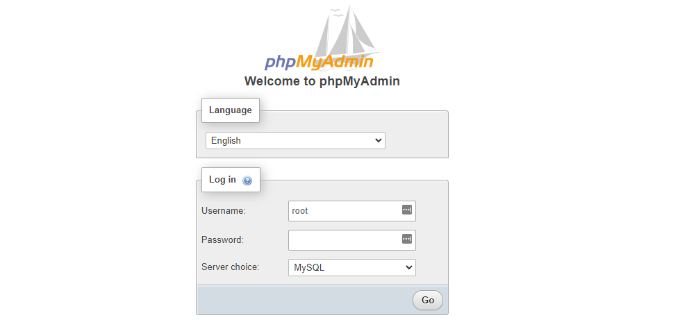
To log into phpMyAdmin, enter root as the username and leave the password blank.
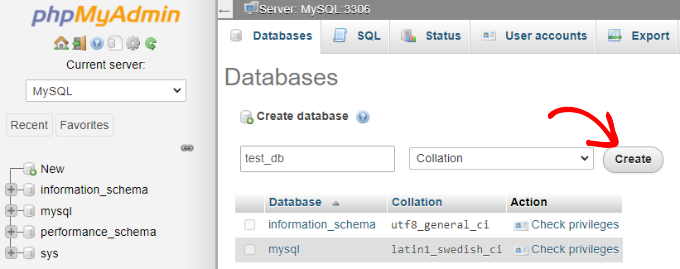
Then, open the Databases tab. Enter a name for the new MySQL database and hit Create.
Remember the name you gave your database (in this case, ‘test_db’). You’ll need it in the next step.
Step 4: Download and Install WordPress
We’re now ready to bring WordPress into your local environment.
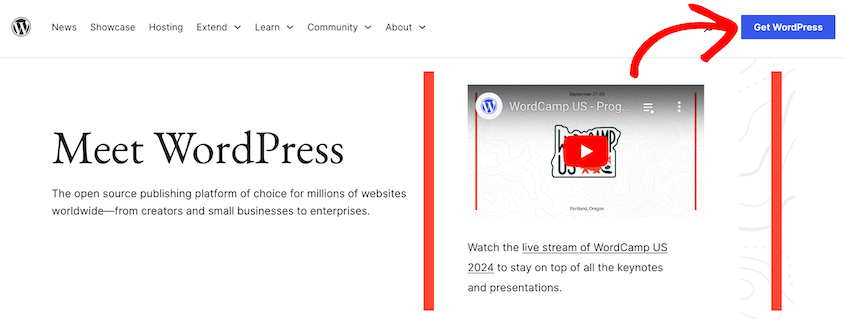
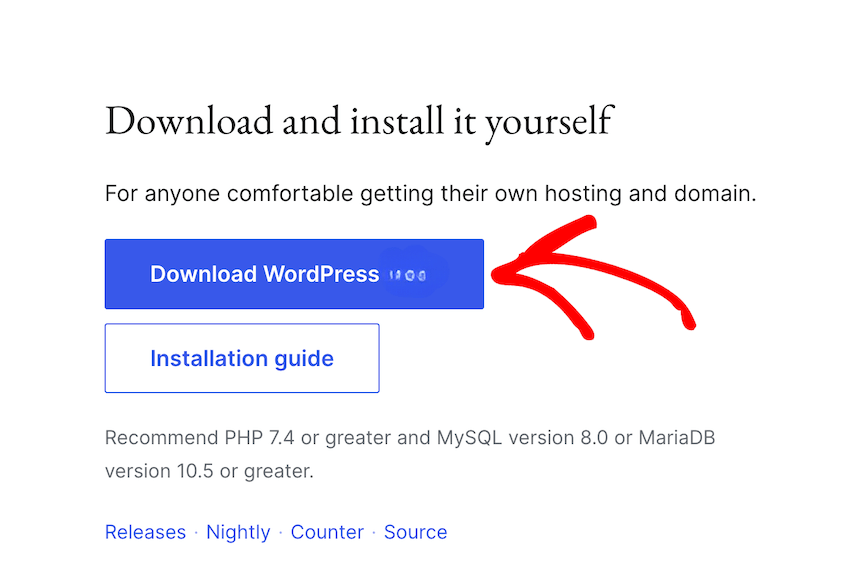
Go to wordpress.org. Click the blue Get WordPress button.
Download the latest version of WordPress.
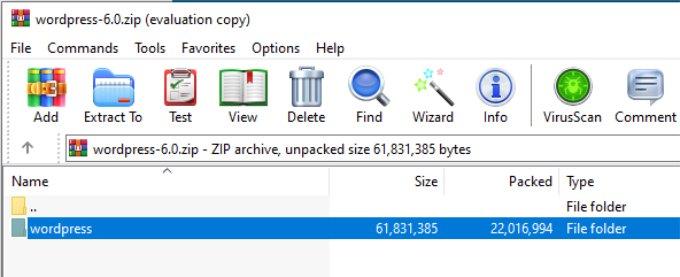
Once WordPress downloads, you’ll need to extract this zip file. We’ll use WinRAR for this.
Select the zip file and click on Extract to.
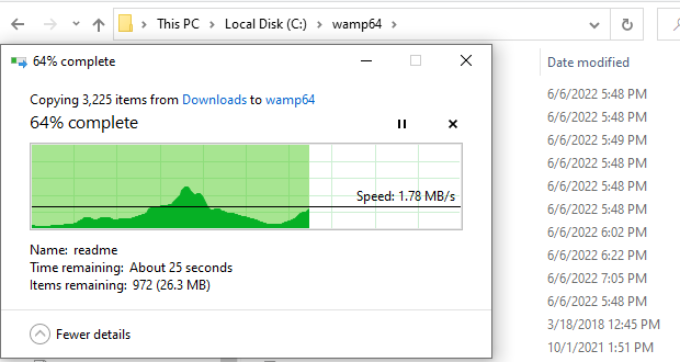
Select the file where you installed WAMP. In our case, this was C:\wamp64.
Rename the wordpress folder anything you want. It’s helpful to name it something like testing-site or mysite.
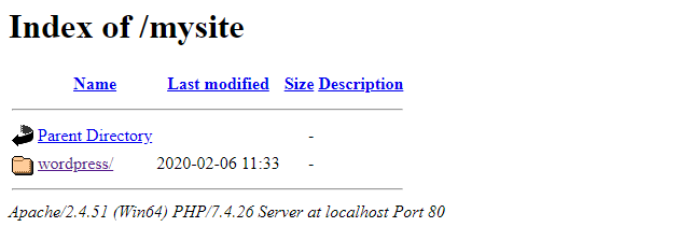
Open a new web browser and search for this URL:
http://localhost/mysite/
Change mysite to whatever you named your wordpress folder.
In the new tab, click on the wordpress folder.
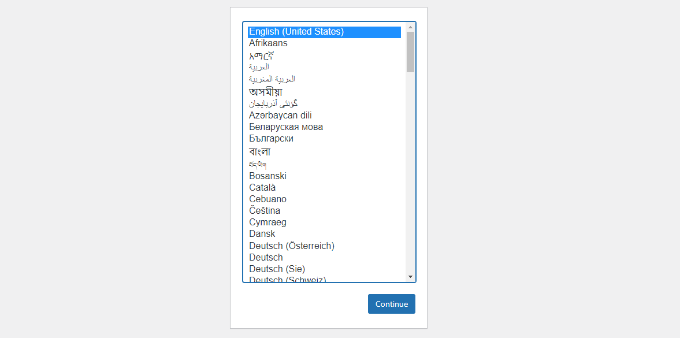
You’ll see the famous WordPress installation page. Start by selecting a language.
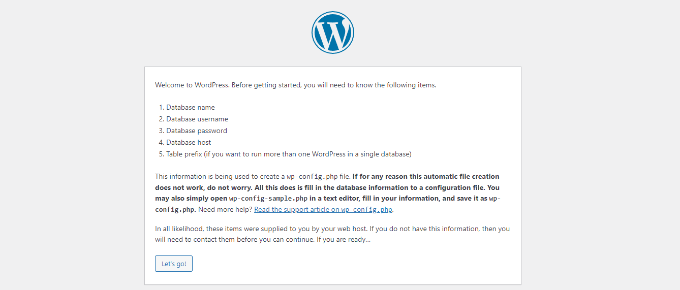
Next, click on Let’s go!
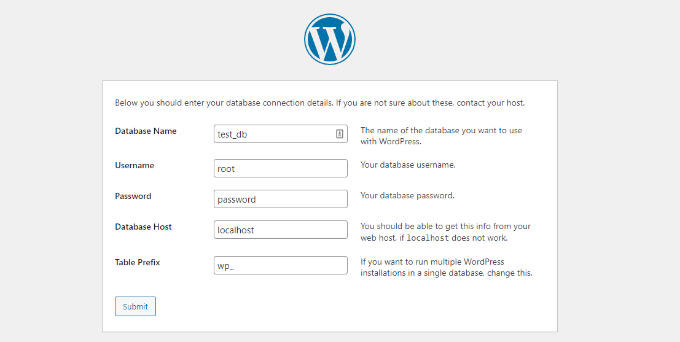
It’s time to connect that database you created earlier. Enter your database name, use root for the username, and leave the password blank. Leave the rest of the fields as the default options.
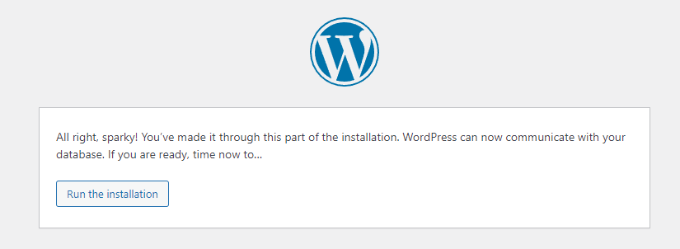
Submit this information. WordPress will create a wp-config.php file for you. If it’s successful, run the installation.
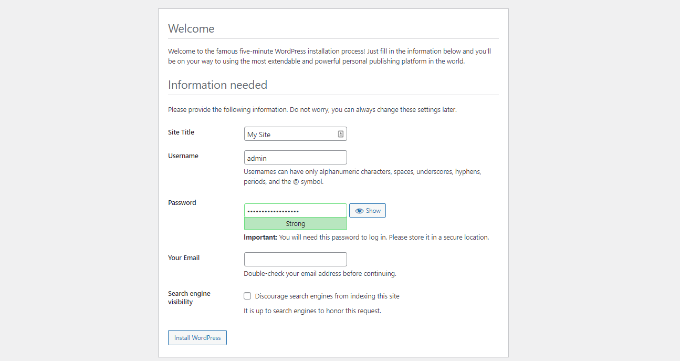
Now you can name your site and create an admin user. Once you’re done, install WordPress.
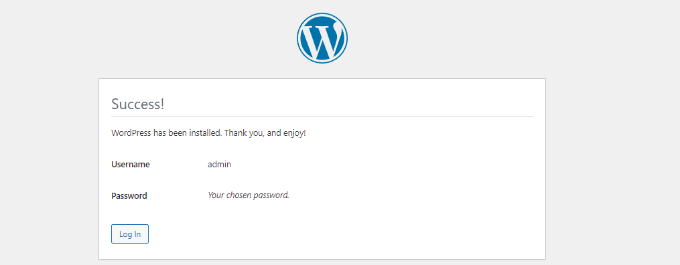
After this, you can log into your local WAMP site.
Congratulations! You’ve now successfully learned how to install WordPress on localhost using WAMP.
How to Migrate Changes From Local to Live
So, you’ve built an awesome WordPress site on your local WAMP server. Now what?
Moving a WordPress site from local to live isn’t as simple as copying and pasting files. But don’t worry — some tools make this process much easier.
Duplicator is a backup and migration plugin that can effortlessly move your local WAMP site to a live server. You won’t have to copy and paste files or any other complicated tasks.
Once you’re ready to move your local site, install Duplicator Pro. Create a full backup of your WAMP site.
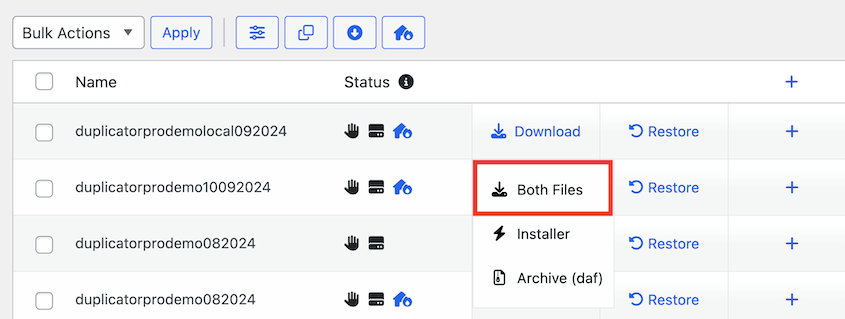
Download both backup files.
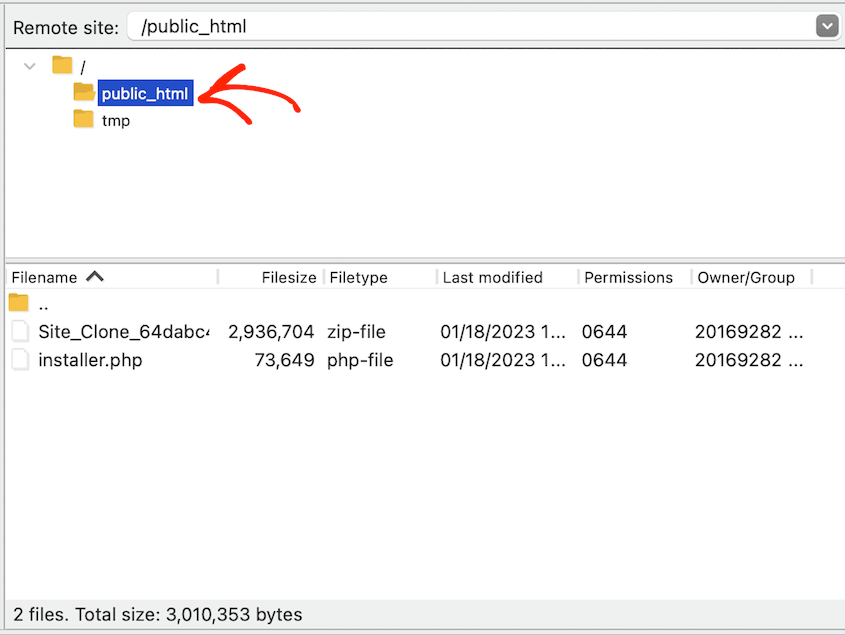
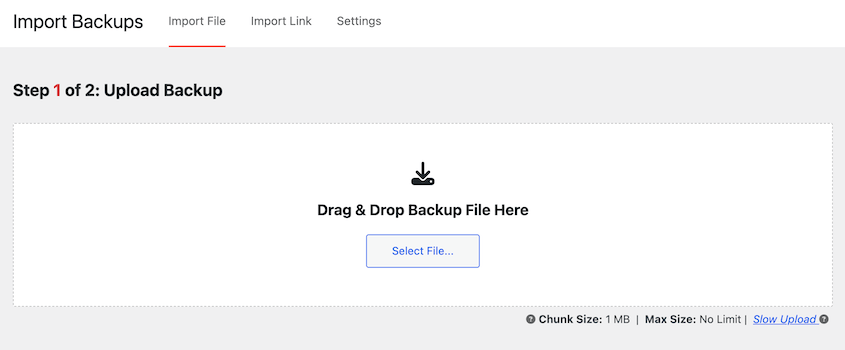
Set up your live server with a web host and domain name. Upload your backup files to the new server.
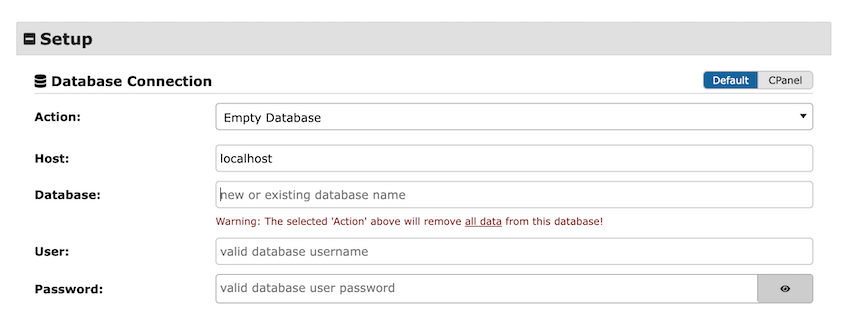
Then, launch the installer with this URL: https://your-domain/installer.php
Enter your new live site’s database information.
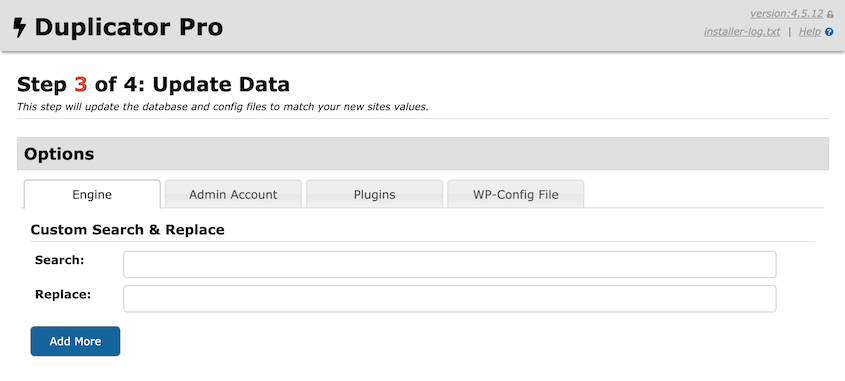
Duplicator also allows you to run a search and replace. You can replace the local URL with the live one.
Sounds simple, right? It is!
For now, keep building and perfecting your site locally. When you’re ready to go live, Duplicator will be there to help you make the leap.
Frequently Asked Questions (FAQs)
How do I install WordPress on localhost?
You can use tools like Local by Flywheel, WAMP, MAMP, or XAMPP to install WordPress on localhost. These all set up local development environments on your computer. Once you install the software, create a new database. Download the core WordPress files and install them.
How do I set up a WordPress website on a Windows server?
To install WordPress on Windows, you can use the WAMP software. This creates a local testing environment on your Windows computer. It’s built specifically for Windows, and many users prefer it over other Windows-compatible development environments.
How do I download a live WordPress site to localhost?
Can I set up multiple local WordPress installations using WAMP?
Yes, you can set up multiple WordPress installations on your local WAMP server. Each installation should have its own database and directory within the WAMP www folder.
Conclusion
By setting up a local server using WAMP, you’ve created a safe space to learn, experiment, and grow your skills.
While you’re here, I think you’ll like these extra WordPress guides:
Remember that Duplicator is here to help when you’re ready to take your site live. Upgrade to Duplicator Pro to drag and drop your local site into a live server!
Joella is a writer with years of experience in WordPress. At Duplicator, she specializes in site maintenance — from basic backups to large-scale migrations. Her ultimate goal is to make sure your WordPress website is safe and ready for growth.


