If your website’s hosting account gets compromised, your server crashes, or a bad plugin wipes your database, local backups won’t help you. They’ll disappear right along with everything else.
The fix is simple: store your backups somewhere else, off-site in the cloud. This is what professionals do, and it’s easier to set up than you might think.
In this guide, I’ll show you how to create cloud backups for your WordPress site so you have reliable, offsite data protection.
Here are the key takeaways:
- Cloud backups protect against server failures, hacks, and ransomware by storing your data separately from your hosting environment
- Use Duplicator Pro to automate backups and send them to cloud storage services like Google Drive, Dropbox, Amazon S3, or Duplicator Cloud
- Duplicator Cloud offers the simplest setup with no API keys or complex configuration required
- Schedule automatic backups (hourly, daily, weekly, or monthly) to eliminate manual maintenance tasks
- Restore backups directly from the cloud with one click using Duplicator’s recovery wizard
Table of Contents
Why Back Up Your Website to the Cloud?
Server disasters don’t give you warning.
Your hosting provider could have a catastrophic failure. A hacker could breach your account and wipe everything. Ransomware could encrypt your files and hold them hostage.
When any of these things happen, an on-server backup is worthless. It’s gone along with everything else.
Cloud backups give you a real safety net.
They’re completely separate from your hosting environment. If your server burns down (literally or figuratively), your backup is sitting safely in a different location.
Second, you can access them from anywhere. Even if you’re locked out of WordPress or your hosting account, you can still grab your backup files and restore your site.
Cloud backups protect against targeted attacks. Smart hackers know to look for and delete local backups. They can’t touch files stored offsite.
Offloading backups free up disk space on your server. Large backup files can eat through your storage quota fast, especially if you’re on a shared hosting plan.
Most importantly, cloud backups give you peace of mind. Once you set them up to run automatically, you can stop worrying about data loss.
How to Back Up Your WordPress Site to the Cloud
Let’s walk through the step-by-step process of creating a cloud WordPress backup!
- Step 1: Install a backup plugin with cloud storage: Get Duplicator Pro (a backup plugin with built-in cloud storage) and enter your license to activate it
- Step 2: Connect your cloud storage service: Choose from Duplicator Cloud (easiest), Google Drive, Dropbox, Amazon S3, or 10+ other options
- Step 3: Create a new cloud backup: Bundle your entire site into a zip file and transfer it to your chosen cloud storage
- Step 4: Schedule automatic cloud backups: Configure hourly, daily, weekly, or monthly cloud backups so you never have to remember to back up manually
Step 1: Install a Backup Plugin with Cloud Storage (Duplicator)
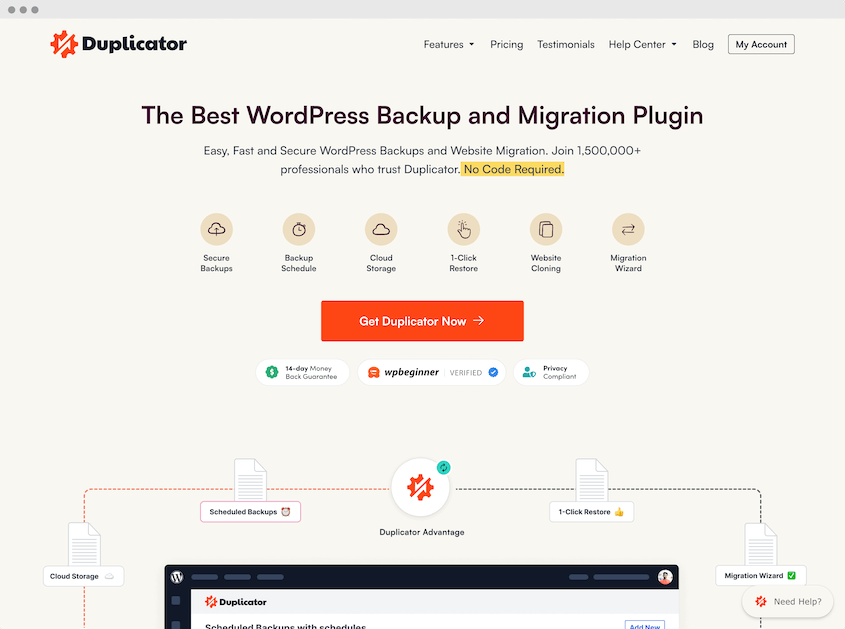
When it comes to creating cloud backups for your WordPress website, there’s one tool that truly stands out: Duplicator Pro. This WordPress backup plugin can build backups and send them directly to cloud storage.
No matter which cloud backup service you plan on using, Duplicator can support it. You can store backups in any of the following locations:
- Google Drive
- Dropbox
- OneDrive
- Amazon S3
- Backblaze B2
- Wasabi
- Google Cloud
- DreamObjects
- Vultr
- DigitalOcean Spaces
- Cloudflare R2
- Local server
- FTP
But Duplicator also includes built-in cloud storage. This is the simplest option because there are no API keys to generate or permissions to configure.
To get started, select a subscription for Duplicator Pro. Although there is a free version of the plugin, a premium plan will give you everything you need to connect your WordPress site to the cloud.
Then, open your WordPress dashboard and install Duplicator.
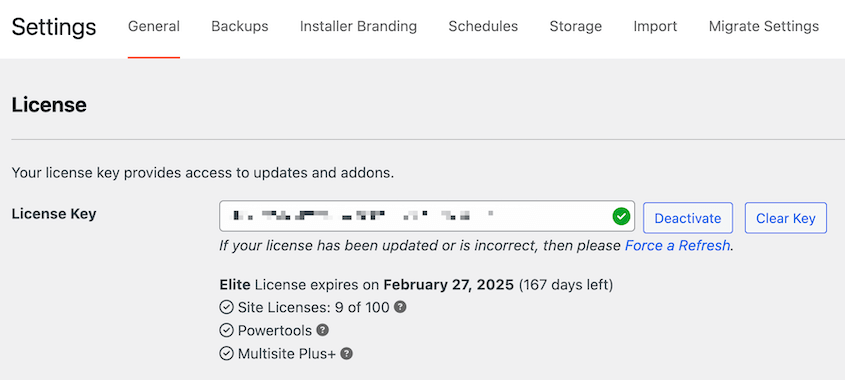
Before you start using Duplicator, you’ll need to activate your license key. To do this, go to Duplicator Pro » Settings » General.
Paste the license key you received with your purchase. Finally, hit Activate.
Step 2: Connect Your Cloud Storage Service
Now you can start saving your backups to a variety of different cloud storage options.
If you wanted to use Google Drive or Dropbox, you’d have to click through to those services, generate API credentials, copy and paste keys, authorize permissions, and hope you didn’t miss a step.
With Duplicator Cloud, you skip all of that.
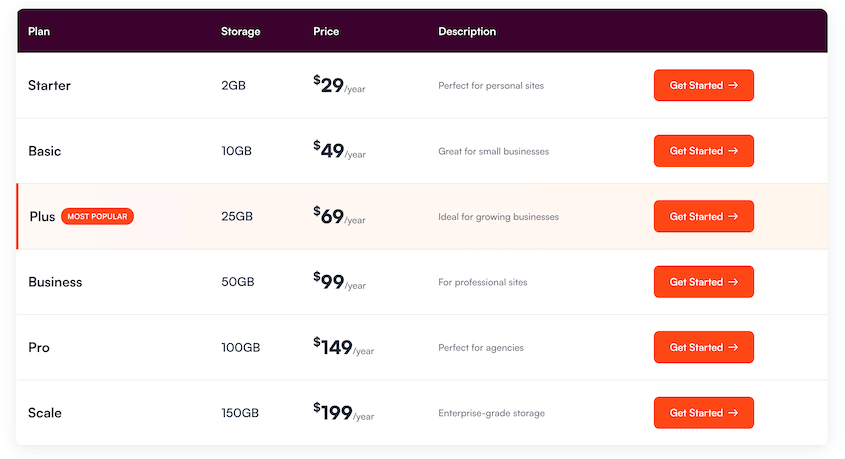
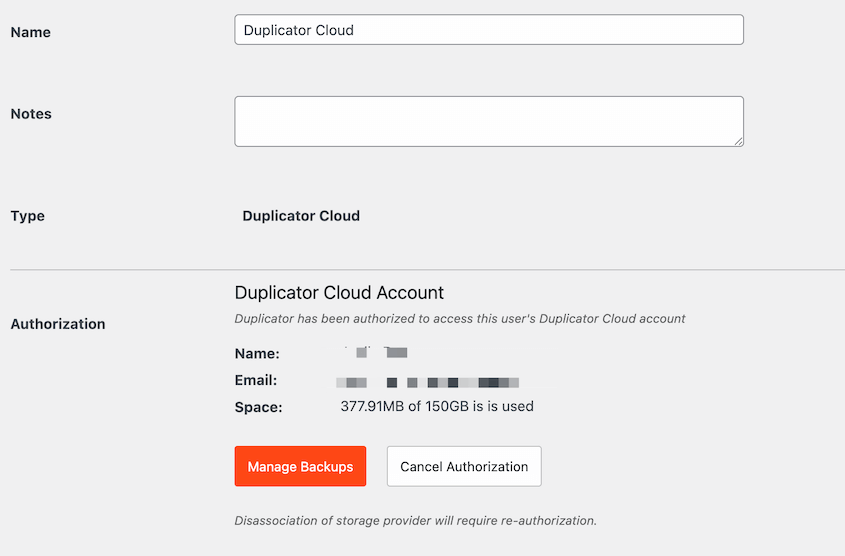
Pick a storage plan that meets your needs. After this, go to Duplicator Pro » Settings and use your license key to connect to Duplicator Cloud.
The plugin automatically creates a Duplicator Cloud storage location for you. It’s already configured and ready to use.
You’ll get instant access to secure cloud storage that’s designed specifically to work with Duplicator.
Step 3: Create a New Cloud Backup
It’s time to create a cloud backup! This will bundle all of your plugins, themes, core WordPress files, and database tables into a single zip file and send it to the cloud.
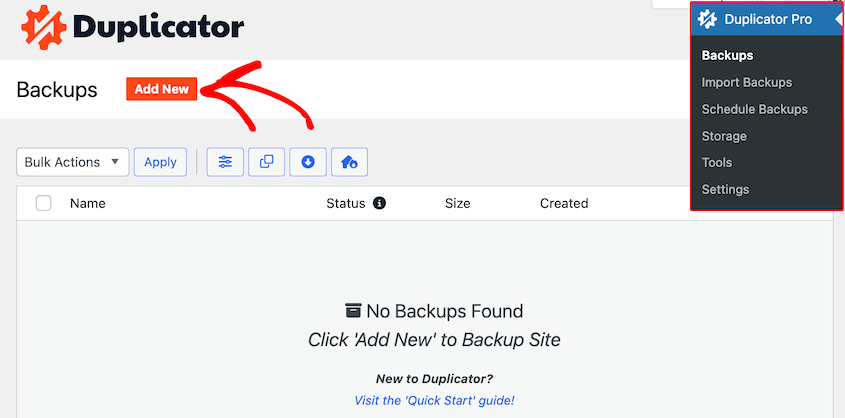
To start the backup process, head over to Duplicator Pro » Backups » Add New.
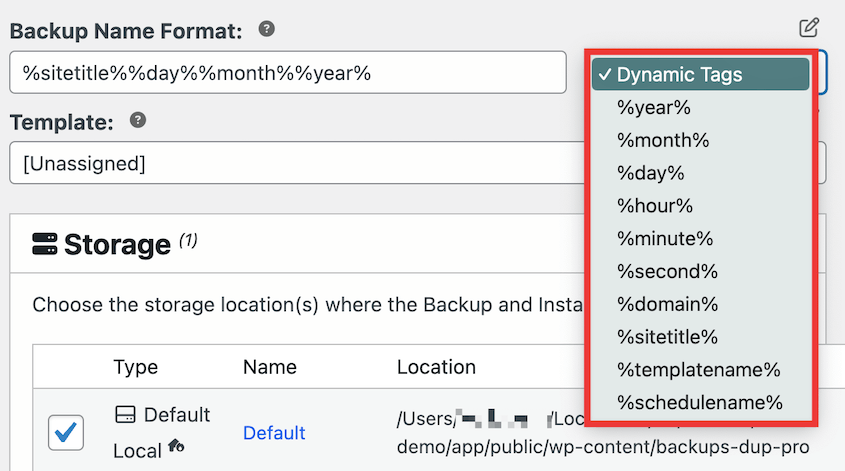
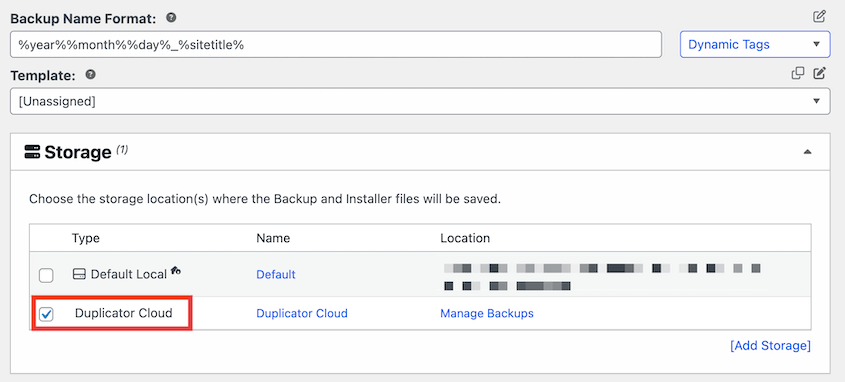
Use dynamic tags to make the backup more memorable. You could add your site title, the current time, the current date, and more. This will help you find the right backup in cloud storage.
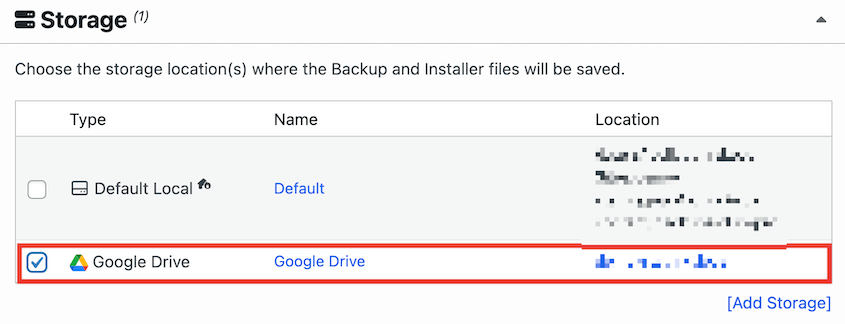
Then, find the Storage settings. Check the box next to Duplicator Cloud.
You can leave the local storage option checked too if you want a copy on your server, or uncheck it to save space.
For a complete backup, you don’t need to make any changes to the archive file. However, you can easily exclude unnecessary files from the backup.
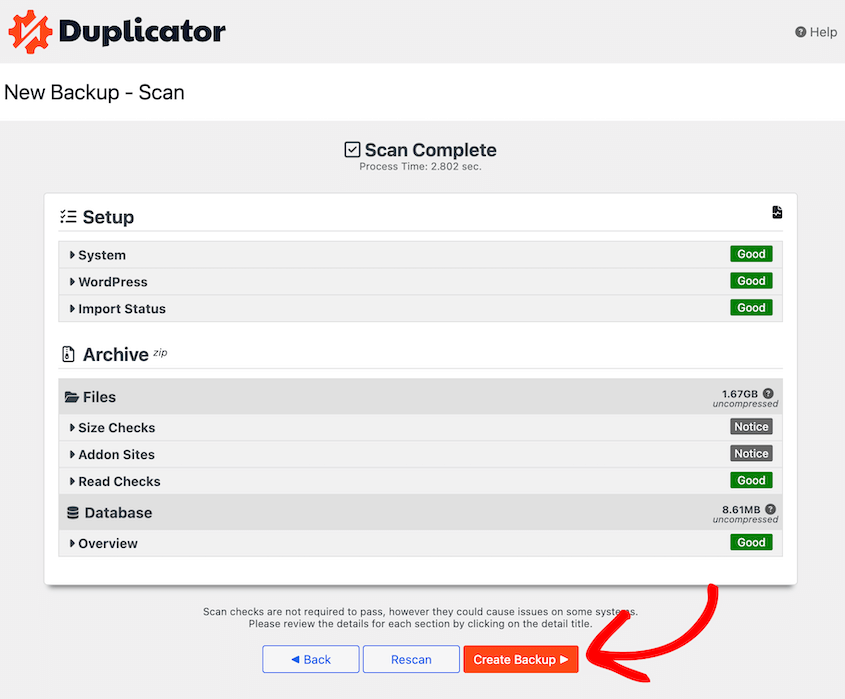
Next, Duplicator will scan your entire site. At the bottom, hit Create Backup.
Your website backup will be instantly created. Duplicator will send your backup files straight to the cloud!
Step 4: Schedule Automatic Cloud Backups
By now, you know how to create manual cloud WordPress backups.
To reduce your maintenance tasks and optimize your time, consider setting up automatic backups. This way, you’ll have a reliable backup plan.
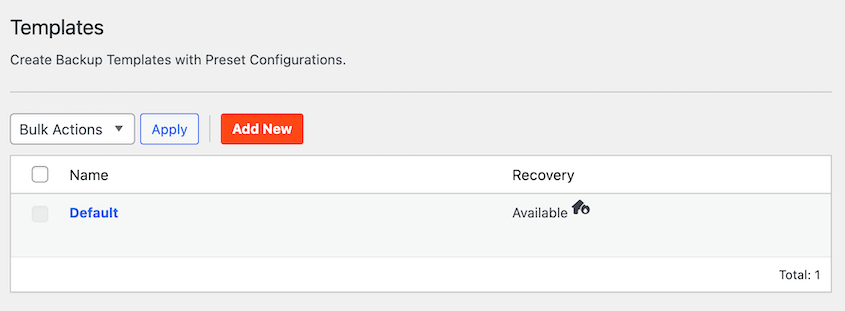
First, create a backup template in Duplicator Pro » Tools » Templates » Add New.
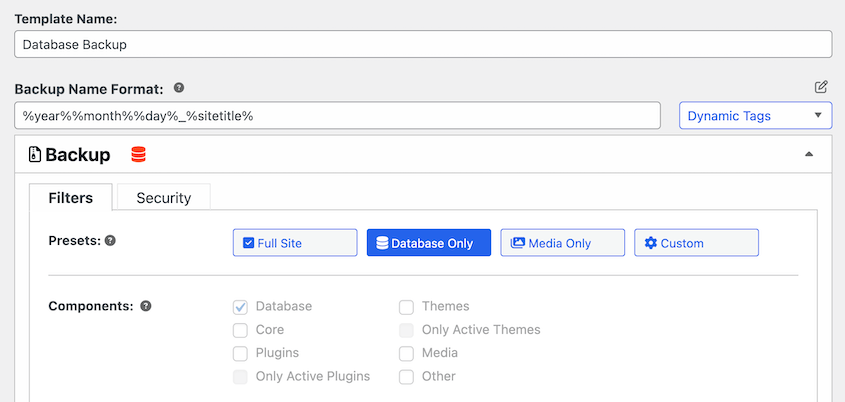
Here, decide what data you want Duplicator to save in the automatic backup.
If you want to back up your entire site, be sure to select Full Site. However, you can easily create custom backup templates. Save your changes.
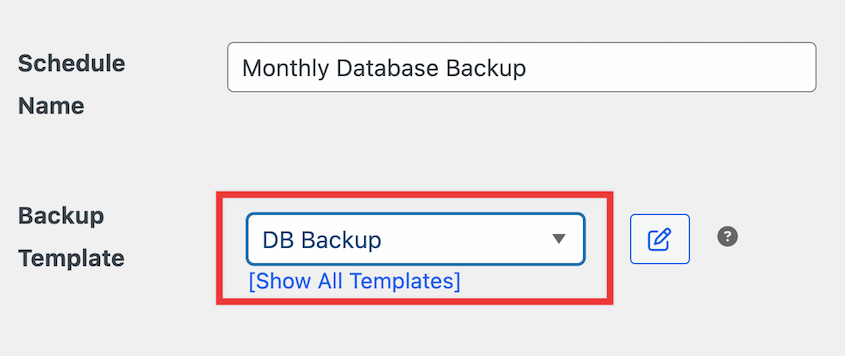
At this point, you’re ready to schedule backups! Go to Schedules » Add New. Name the new automatic backup schedule and select the template you made earlier.
To automatically send your WordPress backups to the cloud, you’ll need to choose a storage location like Duplicator Cloud.
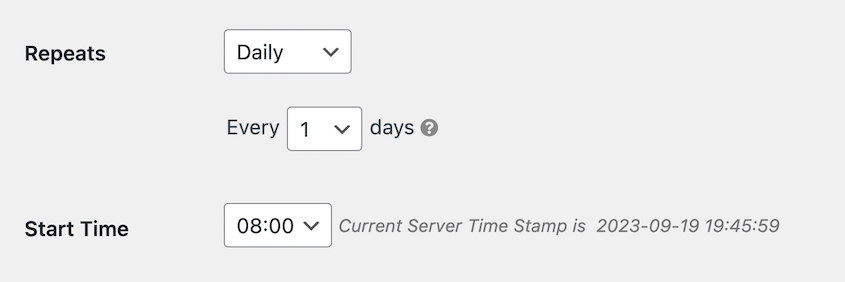
You can customize what time to schedule backups for. Duplicator can run monthly, weekly, hourly, and daily backups.
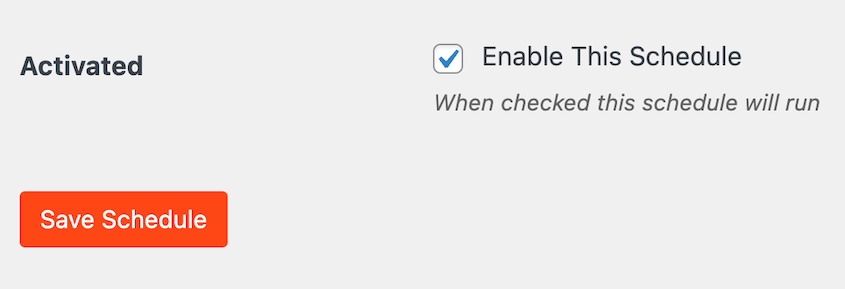
Enable the schedule and save it.
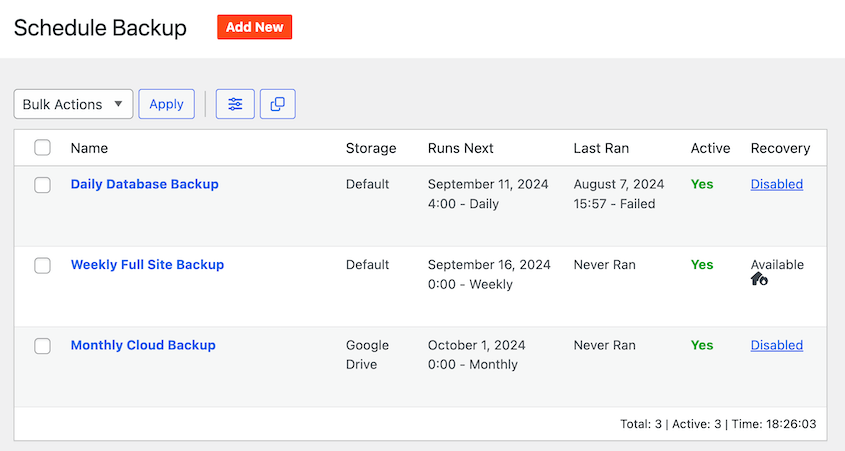
Feel free to add as many schedules as you want. You’ll see all of them listed on the Schedule Backups page.
This will show you when your backups last ran and when they’ll run next. You’ll also see whether each automatic backup schedule allows you to restore backups of your WordPress site.
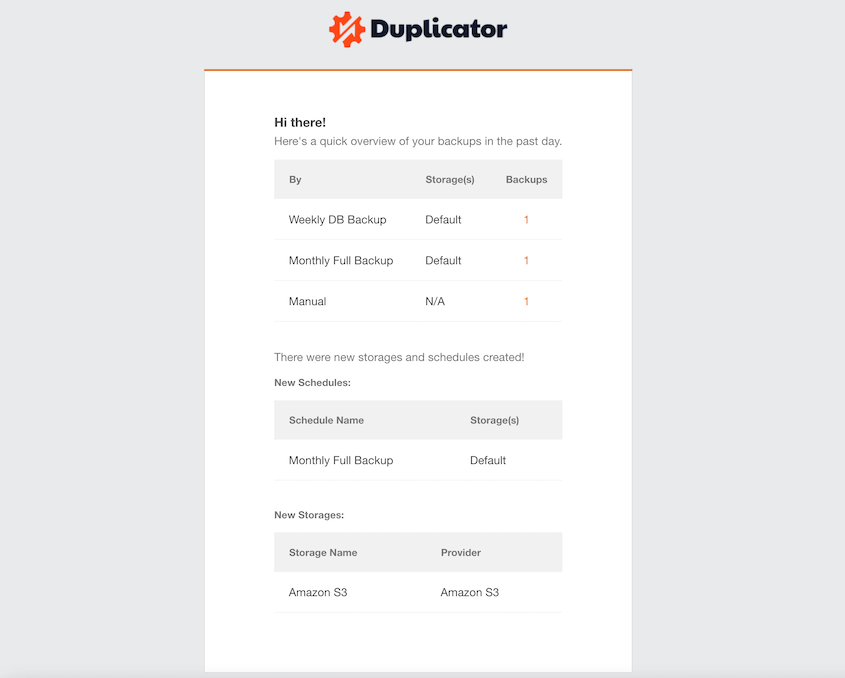
Duplicator will send you regular email summaries. You’ll get notifications about any new manual backups, added cloud storage locations, and successful automatic backups.
By receiving daily, weekly, or monthly email summaries, you’ll know exactly when and how your site is being backed up.
How to Manage Backups in the Cloud
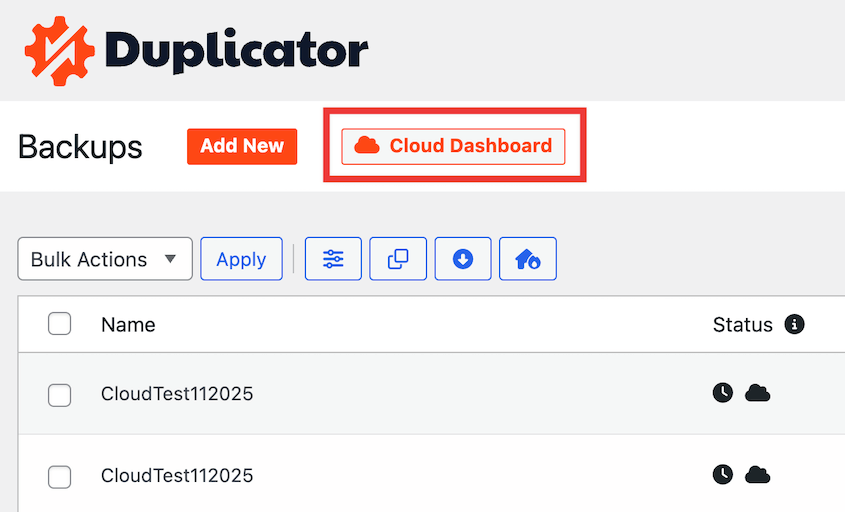
The Duplicator Cloud dashboard gives you a central place to view and manage all your cloud backups.
You can access it with one click on the Backups page. Just use the Cloud Dashboard button.
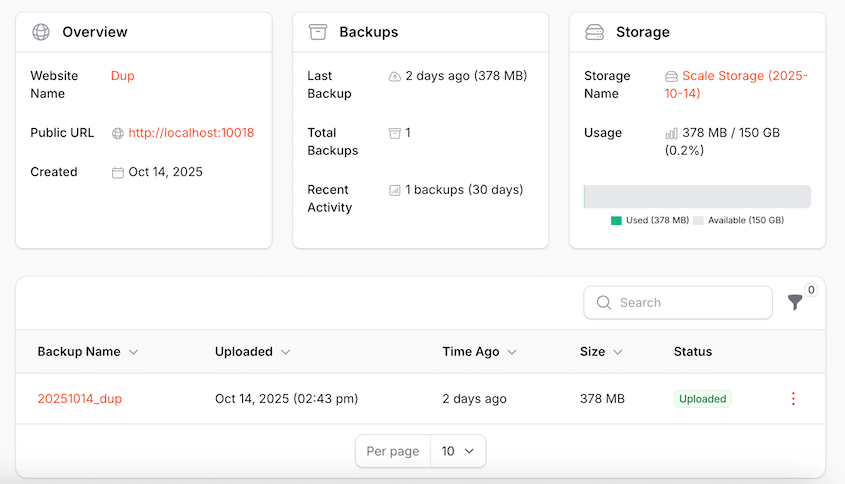
The dashboard opens in a new tab and shows you exactly what’s happening with your storage.
You’ll see your total storage usage. It displays how much space you’ve used versus how much you have available. This prevents any surprises when your storage starts filling up.
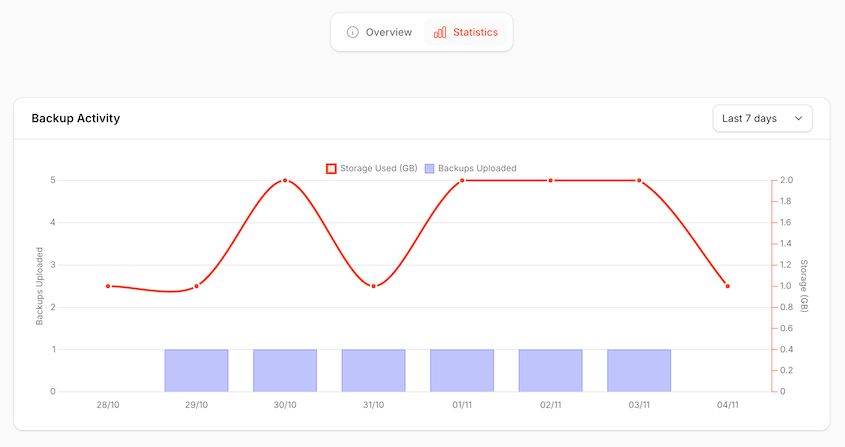
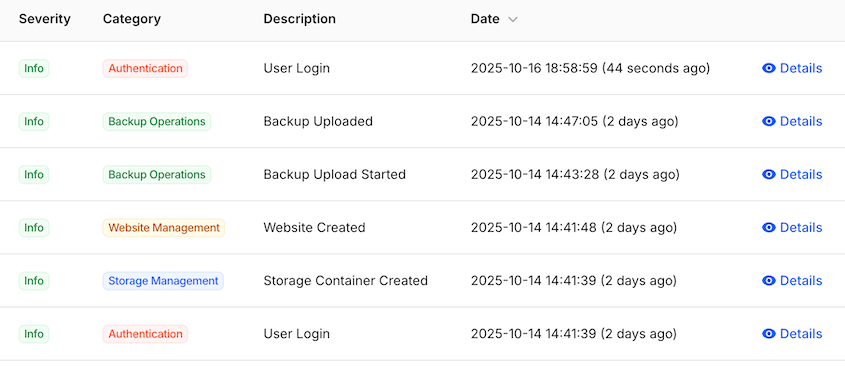
The activity log is one of my favorite features because it tracks everything, including every backup that gets uploaded, every file you download, and every backup you delete. It’s a complete history of your cloud storage activity.
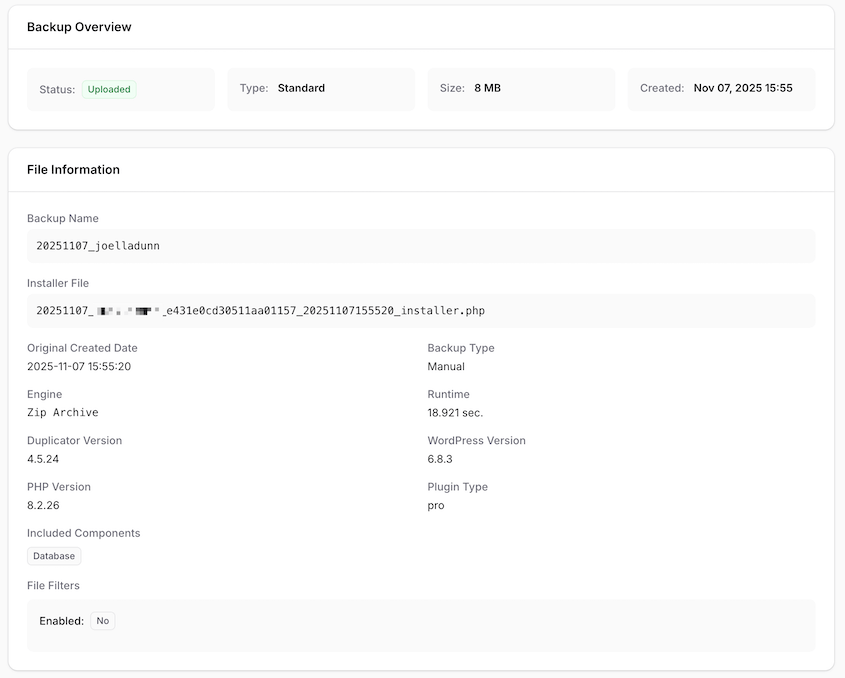
Click on any individual backup, and you’ll see detailed information about that specific file.
You can view the database size, the file size, how long the backup took to process, which PHP version was running when it was created, and more. This level of detail is useful when you’re trying to troubleshoot issues or just want to understand what’s in each backup.
The dashboard also lets you download backups directly to your computer or delete old ones to free up space.
It’s a clean, straightforward interface. Everything you need is right there, without extra clutter or confusing navigation.
How to Restore a Cloud WordPress Backup
Creating backups is only half the job. You need to be able to restore them when something goes wrong.
This is where Duplicator’s integration with its own native cloud storage really pays off.
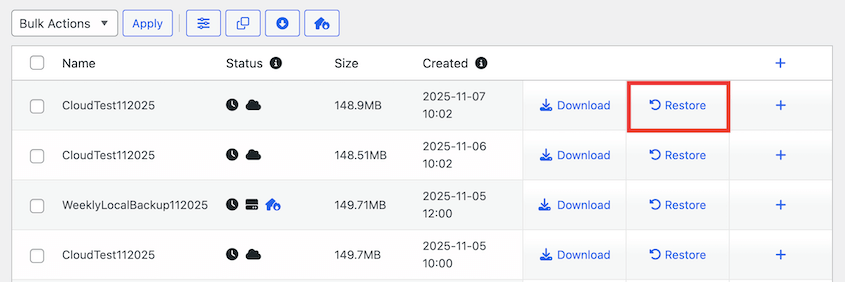
Go to Duplicator Pro » Backups in your WordPress dashboard. You’ll see all your backups listed here, including the ones stored in Duplicator Cloud.
Find the backup you want to restore and click the Restore button next to it.
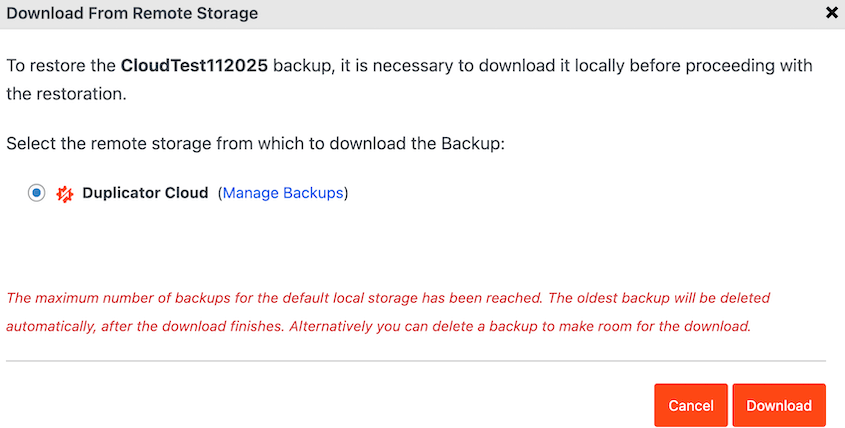
Normally, you’d have to log into your cloud storage, download a huge backup file to your computer, and then upload it back to your server via FTP. That takes time, bandwidth, and technical knowledge.
With Duplicator, you just click the button. The plugin downloads the backup directly from Duplicator Cloud to your server, then launches the recovery wizard.
You follow the prompts, confirm a few settings, and Duplicator restores your site. The whole process is designed to work even if you’re in panic mode and just need your site back online fast.
Frequently Asked Questions (FAQs)
What is the best way to back up WordPress?
The best approach combines automation, off-site storage, and reliability. Use a backup plugin like Duplicator Pro to create scheduled backups automatically, and store them in the cloud rather than on your server. This protects you from server failures, hacks, and human error without requiring you to remember to run backups manually.
How do I automatically back up WordPress to Google Drive?
Install Duplicator Pro, then go to the Storage settings and add Google Drive as a storage location. You’ll need to authorize the connection and provide API credentials from your Google account. After that, create a new backup and select Google Drive as the destination.
Does WordPress do automatic backups?
WordPress itself doesn’t include automatic backups. Some hosting providers offer their own backup systems, but these typically store backups on the same server as your site. For reliable automatic backups that go off-site, you need a plugin like Duplicator Pro that can handle scheduling and cloud storage.
What are the best backup plugins for WordPress?
Duplicator Pro is one of the top choices because it handles both backups and migrations and includes its own integrated cloud storage. Other popular options include UpdraftPlus, BackupBuddy, and BlogVault. The right choice depends on your specific needs, but look for plugins that offer scheduled backups, cloud storage, and easy restoration.
Simplify Cloud Website Backups
Your website represents hours of work, and protecting it shouldn’t be complicated.
Duplicator Pro takes the technical complexity out of WordPress backups. Set up your schedule once, and the plugin handles everything else: creating backups, transferring them securely to the cloud, and keeping them ready whenever you need to restore them.
Upgrade to Duplicator Pro today and stop worrying about whether your site is protected. You’ll get automated backups, cloud storage, drag-and-drop migrations, backup encryption, and more!
And if you want the absolute simplest cloud storage experience, try Duplicator Cloud. It gives you instant, integrated storage that works the moment you activate your Duplicator license.
Your site is too important to leave unprotected!
While you’re here, I think you’ll like these other WordPress resources:
Joella is a writer with years of experience in WordPress. At Duplicator, she specializes in site maintenance — from basic backups to large-scale migrations. Her ultimate goal is to make sure your WordPress website is safe and ready for growth.


