Ever wanted to tinker with WordPress without the fear of breaking your live site? Or maybe you’re just starting out and need a safe playground to learn the ropes.
Either way, installing WordPress locally is your ticket to worry-free experimentation.
In this guide, we’ll walk you through installing WordPress on your computer using XAMPP. Don’t worry if that sounds technical — we’ll break it down step by step.
By the end of this post, you’ll have your very own local WordPress website up and running.
Here are the key takeaways:
- XAMPP is a free tool that creates a local web server on your computer, giving you a safe space to build and test WordPress sites
- Installing WordPress locally costs nothing and lets you experiment without affecting live websites
- The process involves five simple steps: download XAMPP, start the servers, install WordPress files, create a database, and complete the WordPress setup
- You can work offline, making it perfect for learning at your own pace
- When ready, you can easily migrate your local site to a live server using plugins like Duplicator
Table of Contents
What Is XAMPP?
XAMPP is a free, open-source package that creates a local web server on your computer. Think of it as a personal playground for building and testing websites.
Here’s what XAMPP brings to the table:
- Apache: This is the actual web server software that processes requests and serves web pages.
- MySQL: A powerful database system that stores all your WordPress content.
- PHP: The programming language that WordPress is built on.
- Perl: Another programming language (though we won’t need it for WordPress).
The beauty of XAMPP is its simplicity.
With just a few clicks, you can set up a local environment that mimics a real web server. It’s perfect for beginners who want to learn WordPress without diving into the complexities of server management.
Why Use XAMPP to Install WordPress Locally?
XAMPP is completely free to download and use. You don’t need to pay for web hosting or a domain name to get started. XAMPP creates a web server environment right on your computer.
This means you can practice and learn without any financial commitment!
For beginners, XAMPP provides a controlled environment to learn WordPress basics, theme customization, and plugin development.
Changes you make to your local WordPress site won’t affect any live websites. You have the freedom to experiment without consequences.
Once set up, you can work on your WordPress site without an internet connection. This is particularly useful if you travel or have unreliable internet. Local web development often runs faster than working on a remote server, speeding up your workflow.
By using XAMPP, you create a risk-free space to build your WordPress skills. When you’re ready to take your site live, you can easily migrate it to a web host.
How to Install WordPress on XAMPP
If you’re here, you’re curious about how to install WordPress using XAMPP. Follow along, and you’ll have your local WordPress site set up on XAMPP in no time.
- Step 1: Download and Install XAMPP: Get the free XAMPP package from apachefriends.org and install it with Apache, MySQL, and PHP components
- Step 2: Start XAMPP: Launch the XAMPP control panel and start the Apache and MySQL servers to create your local environment
- Step 3: Download and Install WordPress: Download WordPress files from wordpress.org and place them in the XAMPP htdocs folder
- Step 4: Create a New Database: Use phpMyAdmin to create a MySQL database where WordPress will store all your site content
- Step 5: Finish Installing WordPress: Run the WordPress installation wizard and connect it to your new database
Step 1: Download and Install XAMPP
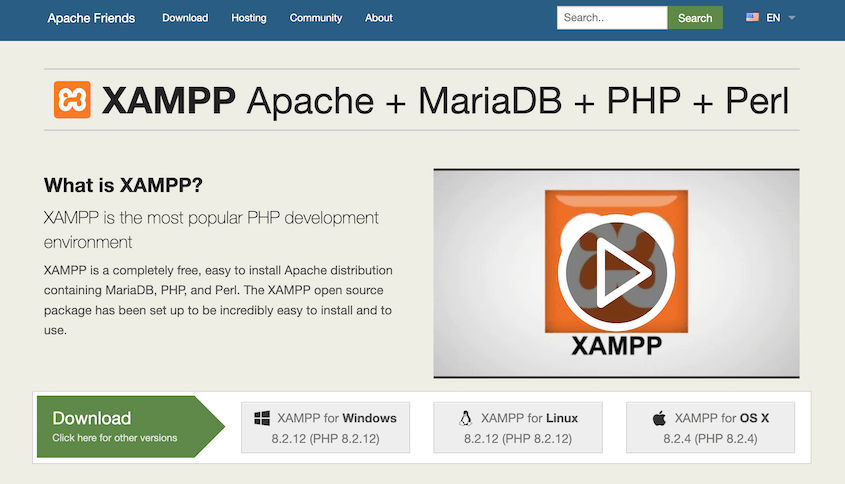
First stop? The XAMPP website. Head over to apachefriends.org and look for the XAMPP download button. Click it, choosing the version that matches your computer — Windows, Mac, or Linux.
In this tutorial, I’ll be using the Mac-compatible version. However, the steps are similar no matter which version you use.
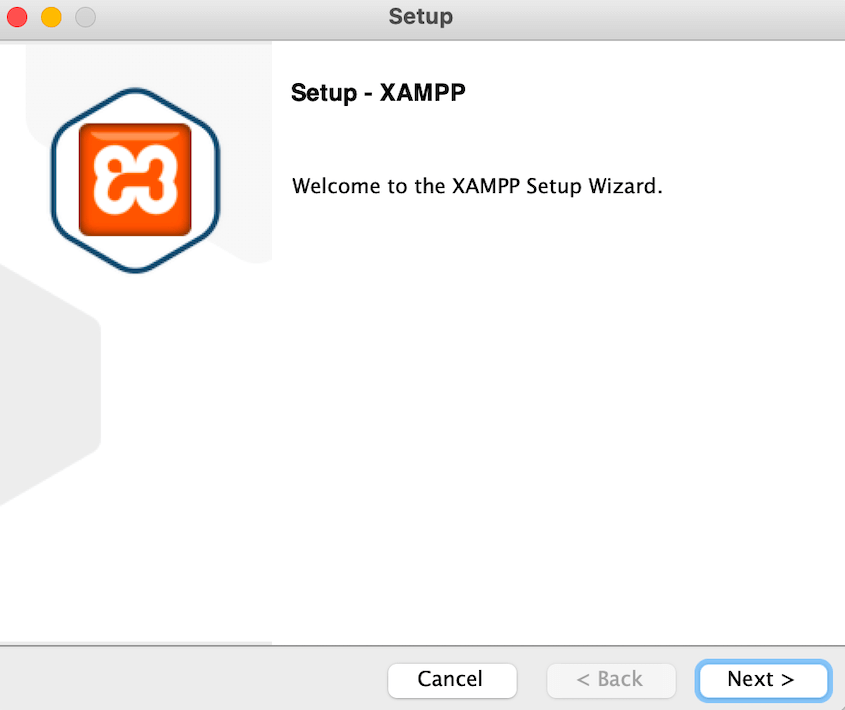
Once you download XAMPP, it’s time to install it. Double-click the file, which should launch an installation wizard. On the welcome screen, click Next.
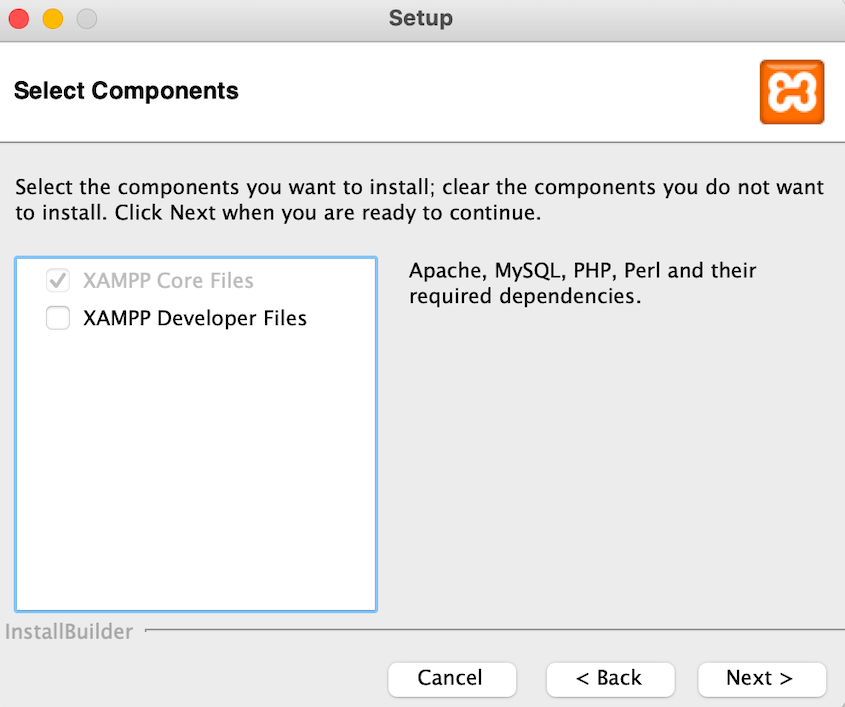
XAMPP will allow you to choose specific components to install. The default options should be fine.
Just make sure Apache, MySQL, and PHP are checked. These are the building blocks of your local WordPress site.
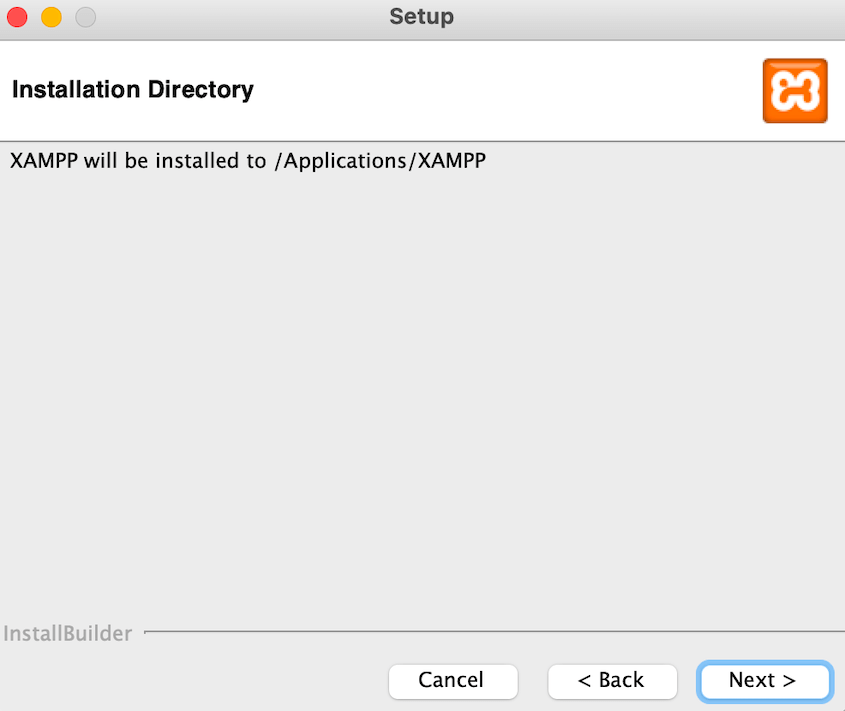
Then, you’ll see where XAMPP will be installed. Click Next again.
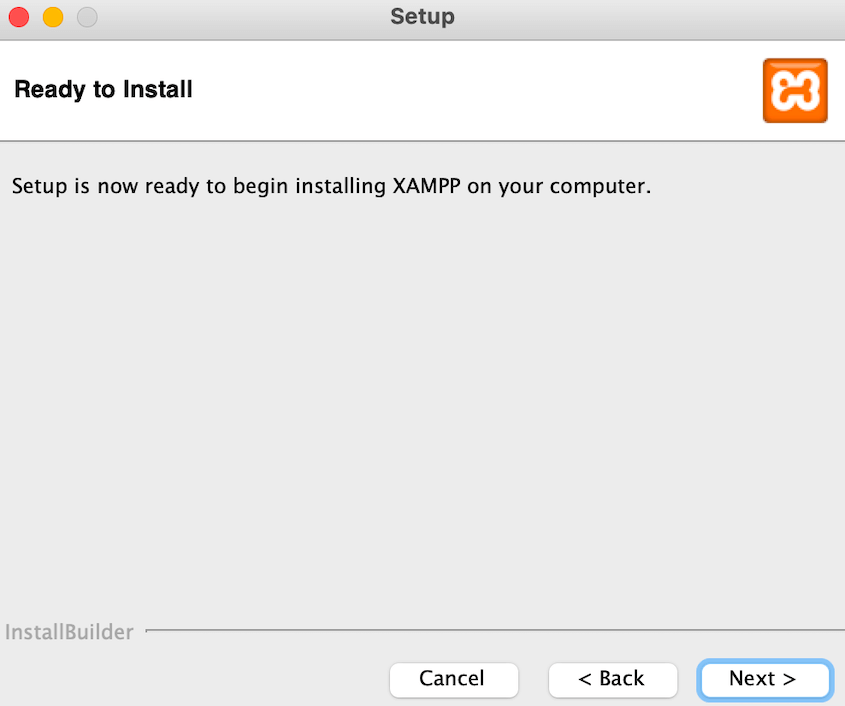
Now you can finish installing XAMPP. Give it time to unpack and install its files.
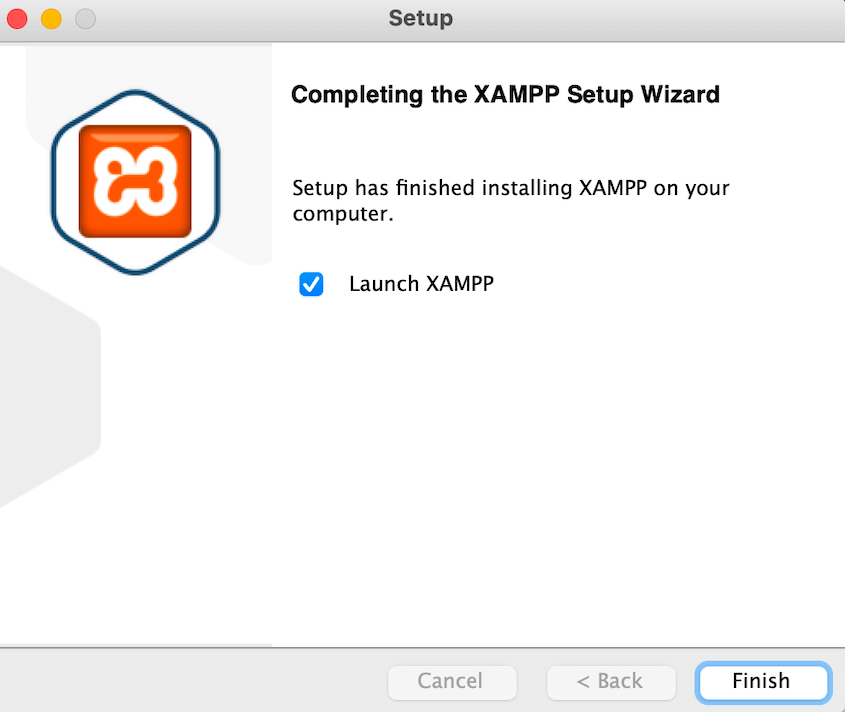
When it’s done, hit Finish.
Step 2: Start XAMPP
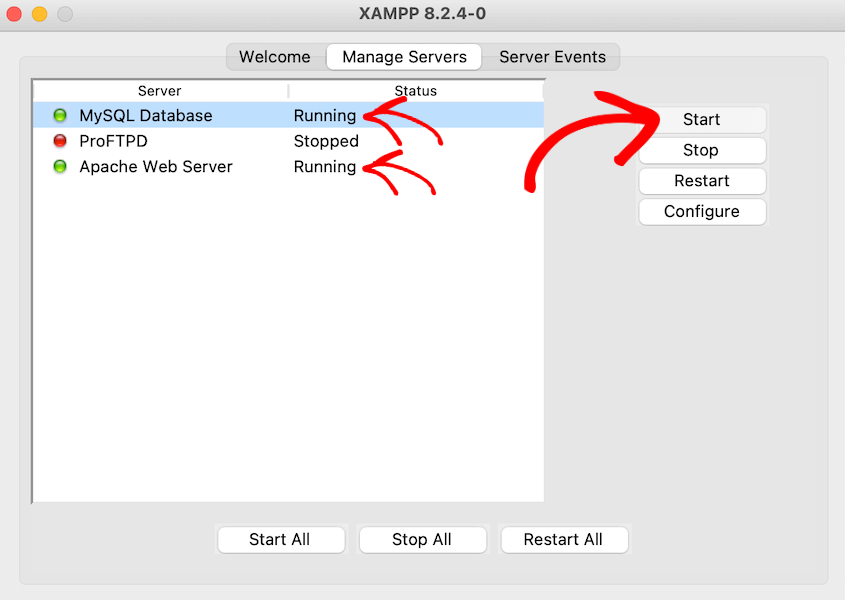
At this point, it’s time to fire up your local server. Open the XAMPP control panel. You’ll see a list of modules, but we’re only interested in two: Apache and MySQL.
Look for the Start buttons next to these modules and click them. If all goes well, you’ll see the names light up in green. That’s XAMPP’s way of giving you a thumbs up.
Don’t panic if you hit a snag here. Sometimes other programs can interfere.
If you see an error, another application could be using the ports XAMPP needs. Try closing some programs and giving it another shot.
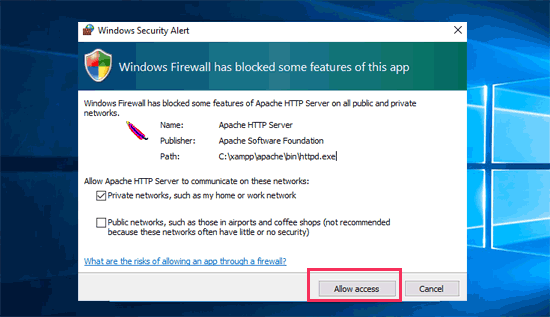
If you see a Windows firewall notification, allow MAMP access.
Step 3: Download and Install WordPress
With XAMPP running, it’s time to install WordPress.
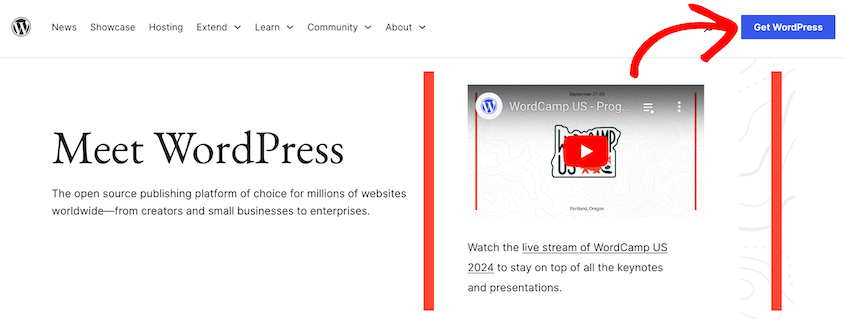
Open up your web browser and navigate to wordpress.org. Look for the Get WordPress button and click it.
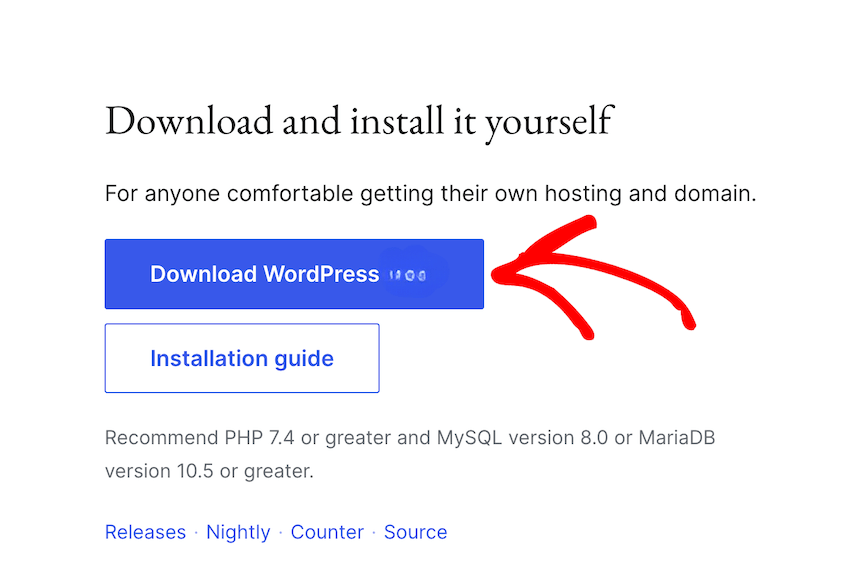
Download the latest version of WordPress.
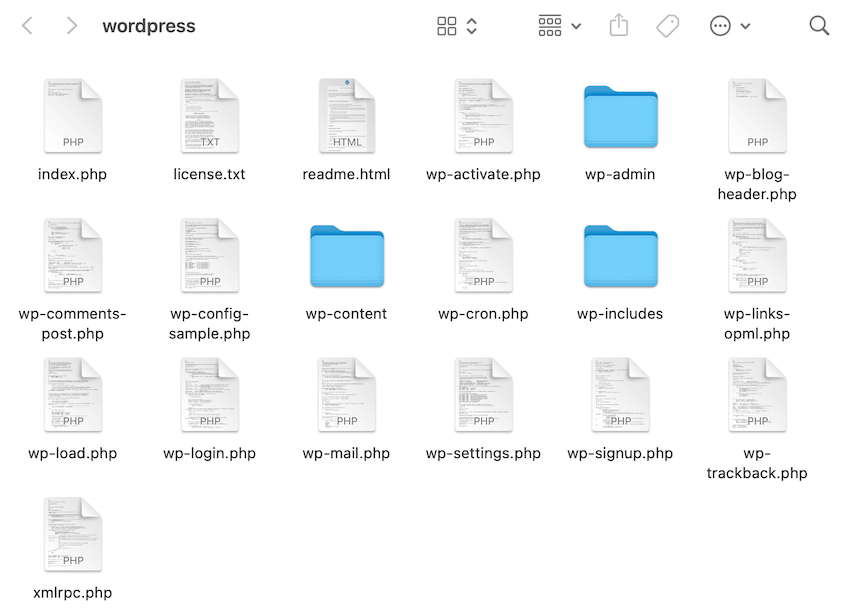
Once WordPress downloads, you’ll have a zip file. Double-click on it to uncompress it. This gives you a folder called wordpress, with all of the key WordPress files.
Copy this folder. Then, find the folder where you installed XAMPP.
For XAMPP on Windows, go to C:/Program Files/XAMPP/htdocs or C:/XAMPP/htdocs.
For XAMPP on Mac, go to /Applications/XAMPP/htdocs.
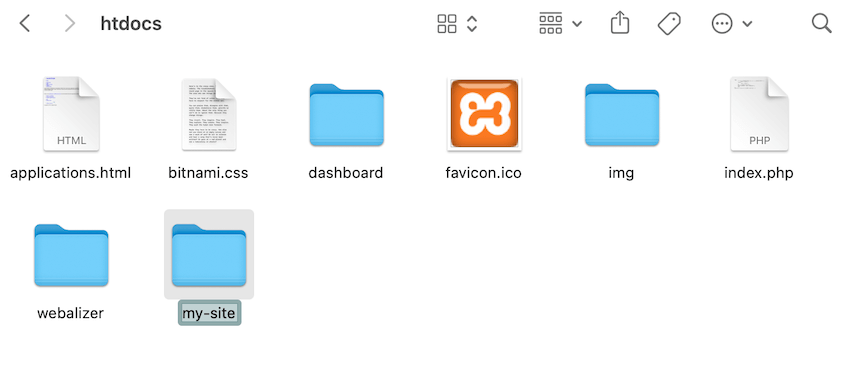
Paste the wordpress folder into this htdocs folder. Rename it from ‘wordpress’ to something like ‘my-site’.
Step 4: Create a New Database
Now that WordPress has a home, it needs a place to store all its information. This is its database.
To create a database, open up your web browser and search for: https://localhost/phpmyadmin/
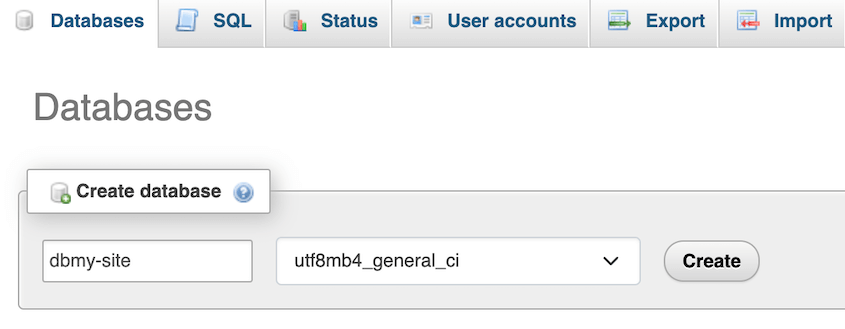
On phpMyAdmin, click on the Databases tab. Enter a new database name. Let’s call it ‘dbmy-site’.
Click Create, and just like that, you’ve made a database. WordPress will use this to store all your posts, pages, and settings.
Remember the name you gave your database. You’ll need it in the next step.
Step 5: Finish Installing WordPress
Open a new web browser window. Search for this URL: https://localhost/my-site/
If you named the folder something different, use that name.
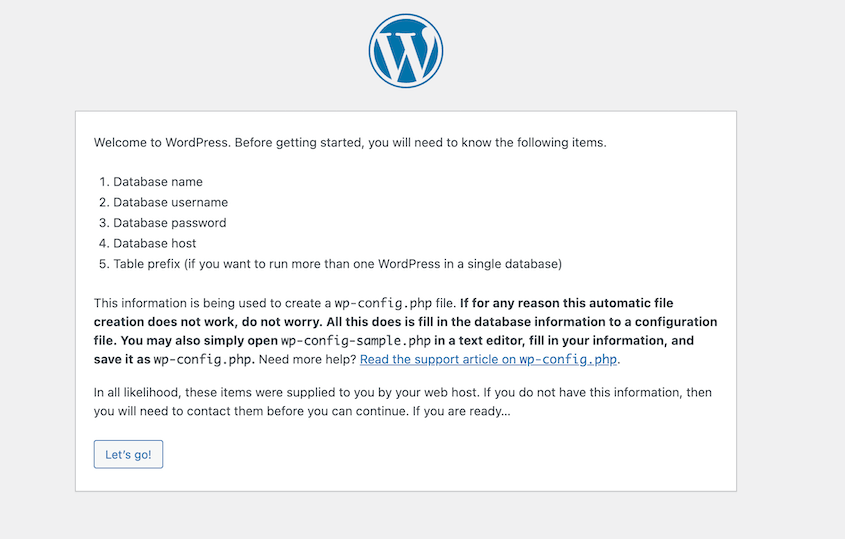
Once you open this link, you’ll see the WordPress installation page. Click on Let’s go!
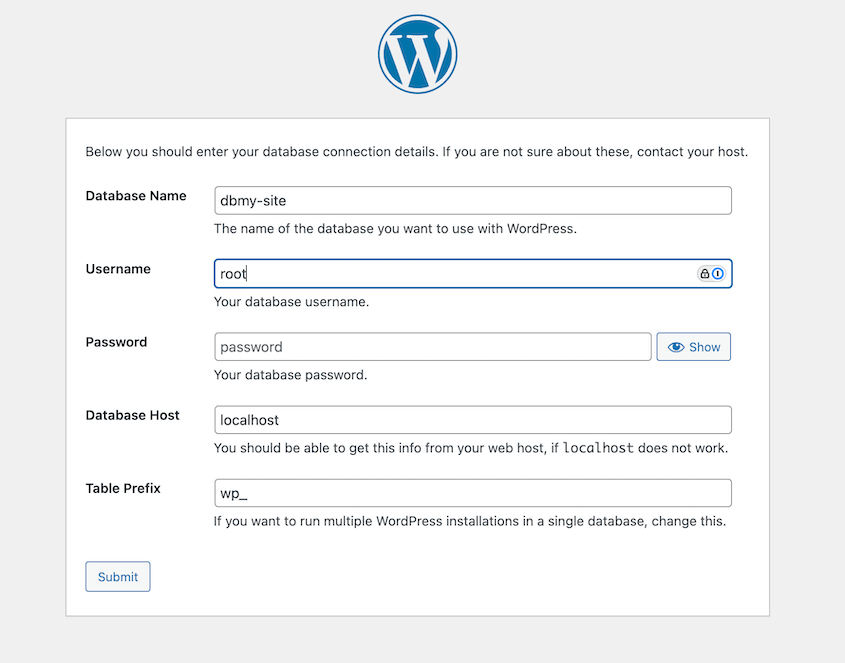
Then, WordPress will ask for that database information we just set up.
Here’s what to fill in:
- Database Name: ‘dbmy-site’
- Username: ‘root’
- Password: Leave this blank
- Database Host: ‘localhost’
- Table Prefix: Leave default
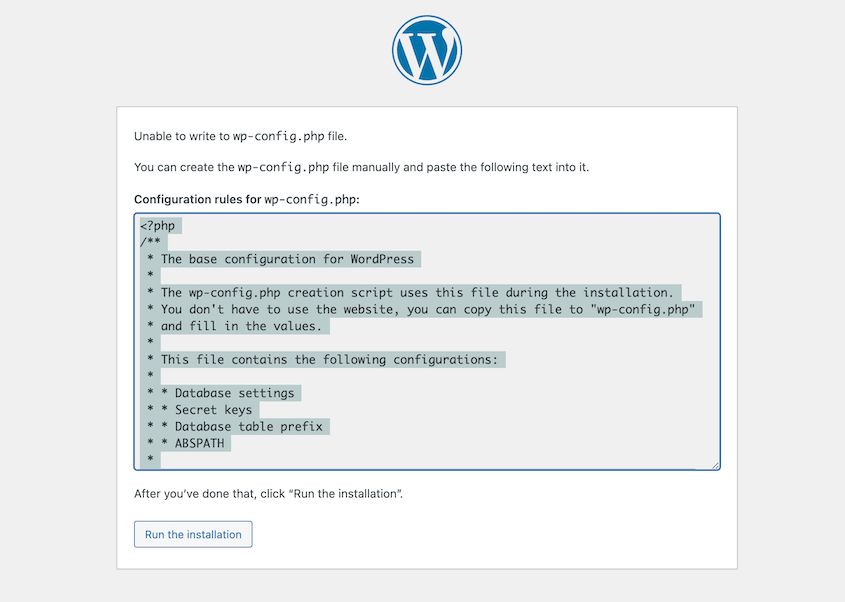
Click Submit. For Windows and Linux users, WordPress will automatically store these database settings in your wp-config.php configuration file.
For Mac users, you’ll see an extra step. First, copy the code you’re given for the wp-config.php file.
Then, create a new text file and paste this code. Name it wp-config.php and save it into the my-site folder.
Go back to the WordPress installation page and run the installation.
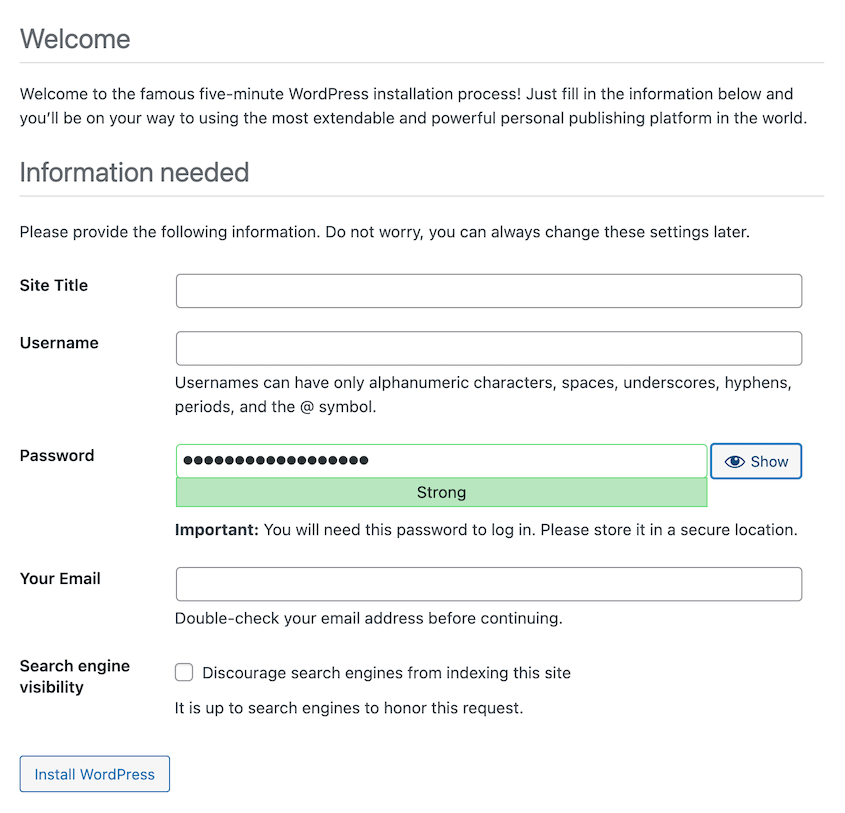
WordPress will ask for a few more details – the name of your site, and a username and password for you to use. Choose something you’ll remember.
Finally, click Install WordPress.
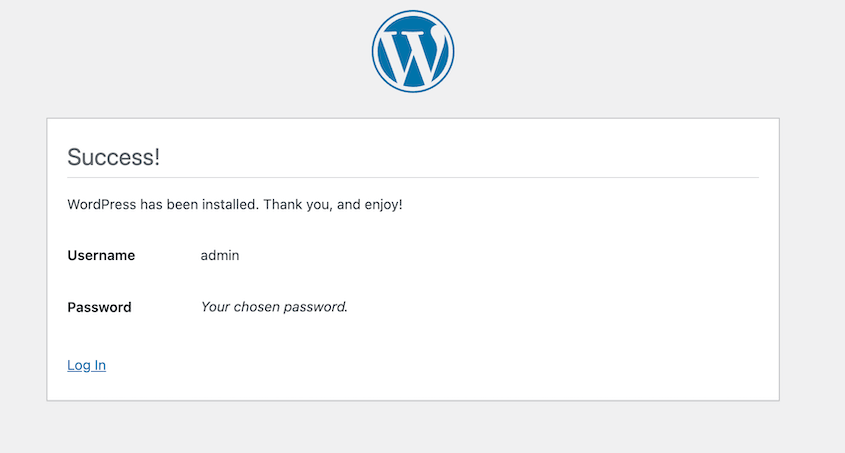
Congratulations! You’ve just set up your very own local WordPress site.
You’ll see a success message and a button to log in. Use the username and password you just created to open your admin dashboard.
After Installing WordPress on XAMPP
You’ve installed WordPress locally with XAMPP! Remember, this is your private sandbox. Nothing you do here will affect any live websites. So go ahead, get your hands dirty.
Try installing different themes and plugins. You’ll find tools for everything from contact forms to e-commerce. Install a few and play around with their settings.
Here are some tools we recommend:
Write a few blog posts, add some pages, and upload images. You can also test new features, write code, and much more. Working on your WordPress website locally gives you the freedom to experiment as much as you want.
Even though this is a local site, it’s a good habit to back up your work. You never know when you might need to revert changes.
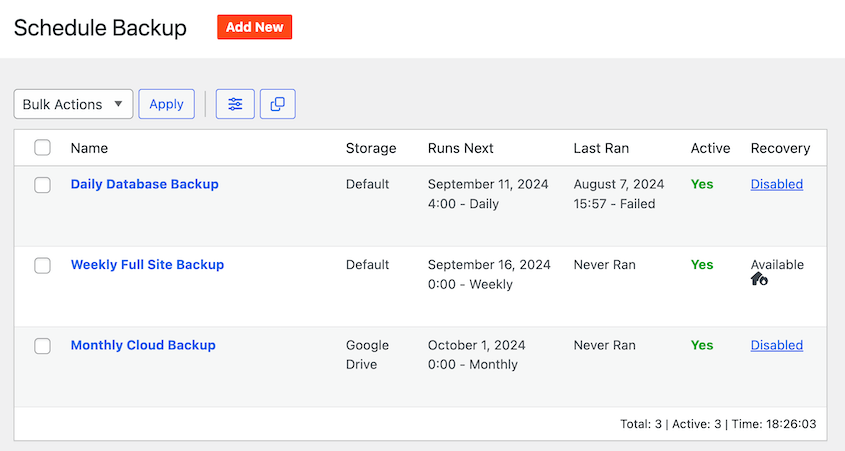
Duplicator is a backup plugin that’s perfect for the job. To save your local site, create a new backup. You can even set up automatic backups so you never have to remember.
Once you’re happy with your local site, you might want to share it with the world. You can use Duplicator for this too!
Duplicator packages up your entire site — files, database, and all — into a single zip file. You can then move this backup file to a live server.
And just like that, your local site becomes a live website. No need to recreate all your hard work!
Frequently Asked Questions (FAQs)
How do I access my WordPress dashboard from XAMPP?
To access your WordPress dashboard from XAMPP, open your web browser and type in localhost/mysite/wp-admin. Replace “mysite” with whatever you named your WordPress folder in the XAMPP htdocs directory. Enter your username and password, and you’re in!
How do I reinstall WordPress on localhost?
If you want to reinstall WordPress on your localhost server, delete the WordPress folder from the XAMPP htdocs directory. Go to phpMyAdmin and delete your WordPress database. Download the latest version of WordPress and reinstall it into XAMPP. You can go through the same setup process we described earlier.
How do I download a live WordPress site to localhost?
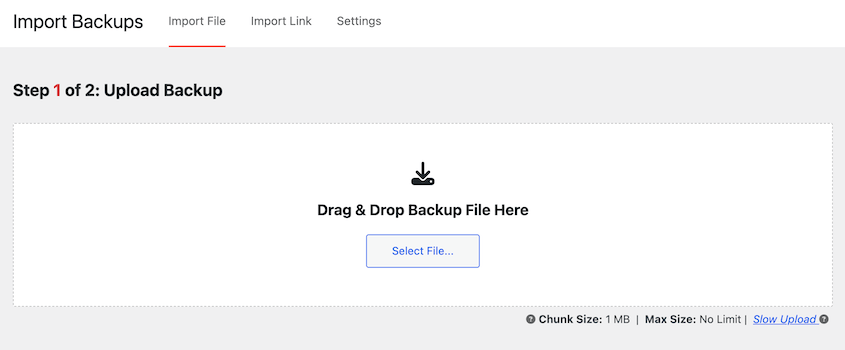
Instead of manually moving files and databases, Duplicator Pro can package up your live site and unpack it on a localhost. To do this, create a backup of your live site. If you’ve already installed WordPress on your local site, open your dashboard, install Duplicator, and import the backup.
You could also paste both backup files into your XAMPP site folder. Launch the Duplicator installer with this link: localhost/mysite/installer.php
Where is the WordPress folder in XAMPP?
Look for the XAMPP installation directory on your local computer. Inside, you’ll find a folder called ‘htdocs’. That’s where your WordPress folder lives.
Conclusion
Congratulations! You’ve not only set up a local WordPress site but also learned how to manage and experiment with it.
While you’re here, I think you’ll like these extra WordPress guides:
Duplicator makes it easy to move your local WordPress site to a live server (and vice versa). Download Duplicator Pro today!
Joella is a writer with years of experience in WordPress. At Duplicator, she specializes in site maintenance — from basic backups to large-scale migrations. Her ultimate goal is to make sure your WordPress website is safe and ready for growth.


