Have you ever looked at your WordPress site and thought, “This just isn’t working anymore”?
That’s exactly where I found myself last year. My site had become a digital junk drawer – outdated design, sluggish performance, and a structure that no longer matched my needs.
Many people settle for small tweaks and updates, afraid that replacing their entire WordPress site would mean losing years of hard work.
I had those same fears. But I took the plunge anyway, and it was one of the best decisions I’ve made.
I’m about to show you how to replace your WordPress site with a new one, and it’s easier than you might think. The process gave me a fresh start without sacrificing my content or audience, and it can do the same for you.
Here are the key takeaways:
- Use a staging area to safely build and test your new WordPress site without affecting your live site
- The Duplicator plugin handles the entire migration process, eliminating complex server configurations
- Always create backups of both your old and new sites before replacing anything
- Set a disaster recovery point before importing to quickly restore if something goes wrong
- The entire replacement process can be completed without losing content, SEO rankings, or audience
Quick Summary: How to Replace a WordPress Site With Another
To replace a WordPress site with another, set up a staging area to build and test your new site. Then, use Duplicator to create a full backup of the new site and import it onto your live site, effectively replacing the old content with the new.
Table of Contents
Why Replace a WordPress Site With Another?
Sometimes, a simple update just won’t cut it. There are plenty of reasons you might want to start fresh with a new WordPress site.
Is your site starting to look like it’s stuck in the early 2000s? A complete replacement allows you to overhaul your entire online presence.
It’s like moving into a new house — everything’s fresh, modern, and exactly how you want it.
Maybe you’ve outgrown your current theme, or you need features your current setup just can’t handle. Replacing your site gives you the freedom to implement that sleek new theme or add those must-have functionalities without wrestling with compatibility issues.
Running multiple WordPress websites can be a headache. You can replace them with a single site that unifies content from your other sites.
Out with the old, in with the new! It’s about creating a better, more efficient site that serves your current needs.
How to Replace a WordPress Site With Another
Now that we’ve covered the “why,” let’s dive into the “how.” I’ll walk you through the process of replacing your WordPress site. Don’t worry, I’ll break it down into manageable steps.
- Step 1: Copy Your Website to a Staging Area: Set up a safe testing environment using LocalWP, XAMPP, or a subdomain, then migrate your live site with Duplicator
- Step 2: Back Up the New Website: Make all your desired changes to the staging site, then create backups of both your redesigned site and your old site for safety
- Step 3: Import the New Website Into the Old One: Upload your staging site’s backup to your live site using Duplicator, set a disaster recovery point, and complete the replacement
Step 1: Copy Your Website to a Staging Area
First things first: you need a safe playground to build our new site. This is where a staging area comes in handy.
A staging area lets you tinker with your new site without affecting your live one. You can edit a copy of your website without worrying about publishing errors to your audience.
If you don’t have one yet, it’s time to create a staging site. You can build one locally with software like LocalWP, XAMPP, MAMP, or WAMP. It can also be set up as a subdomain on your live server.
After you have your staging area set up, you’ll need to migrate a copy of your live site into it. Although this sounds difficult, Duplicator can help!
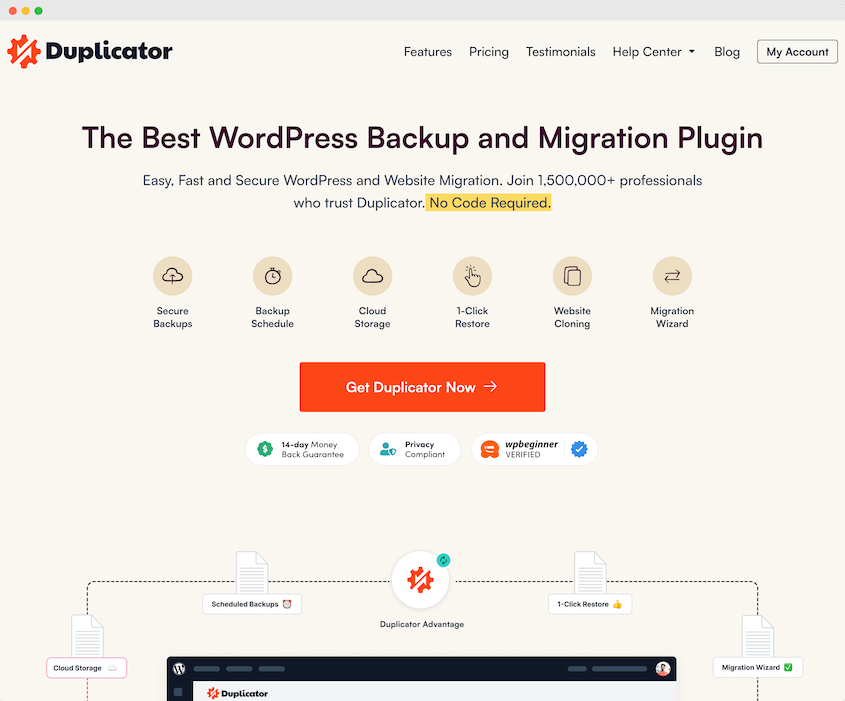
Duplicator is the best plugin for WordPress migrations (and backups!). It takes care of complicated server configurations, letting you simply drag and drop your website into a new area.
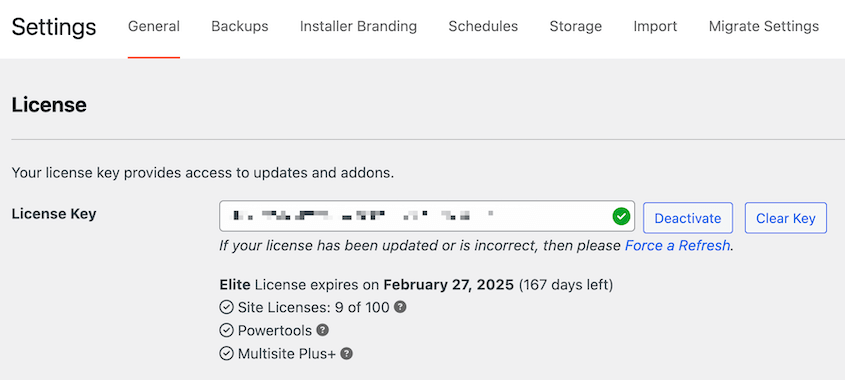
Download and install the Duplicator plugin on your existing website. If you chose Duplicator Pro, activate your license key in the General settings.
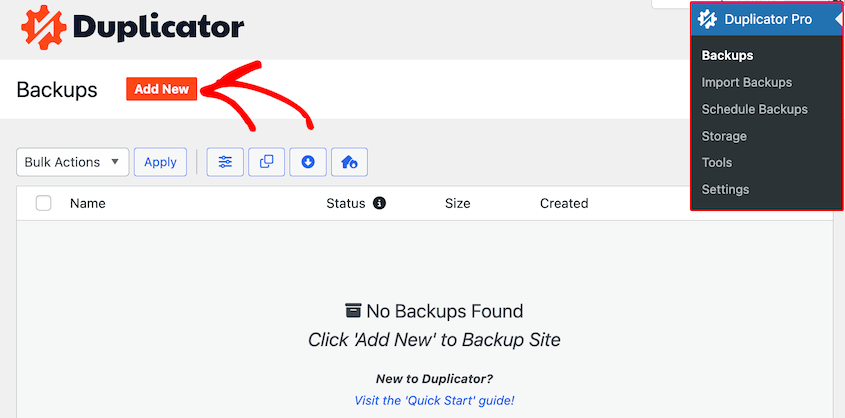
Once installed, go to Duplicator Pro » Backups » Add New.
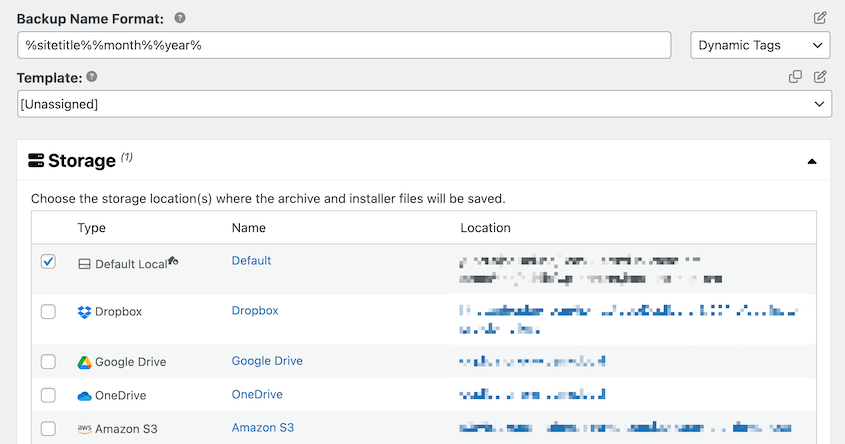
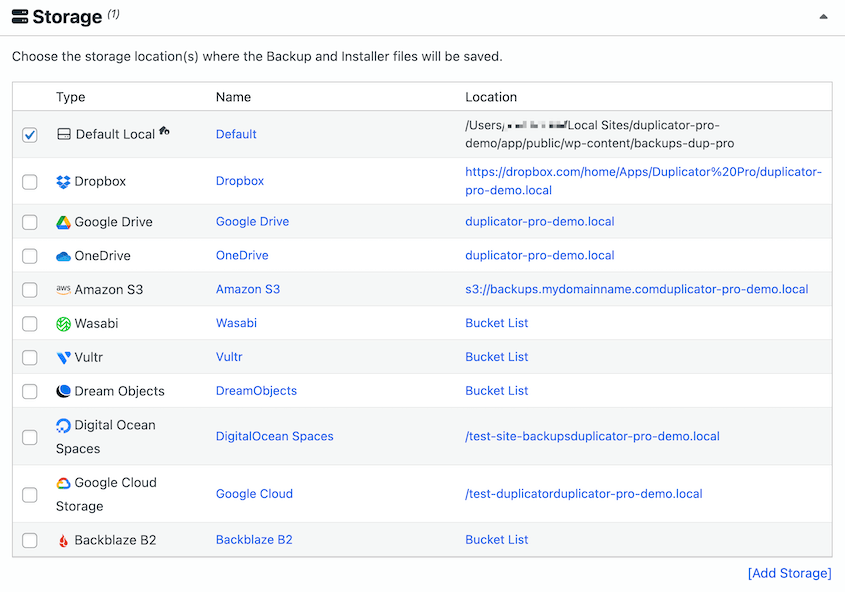
Name the backup and choose the Local storage location.
To create a copy of your entire website, select Full Site in the Backup section. However, you could easily remove certain data if you want to clean up your site during the redesign.
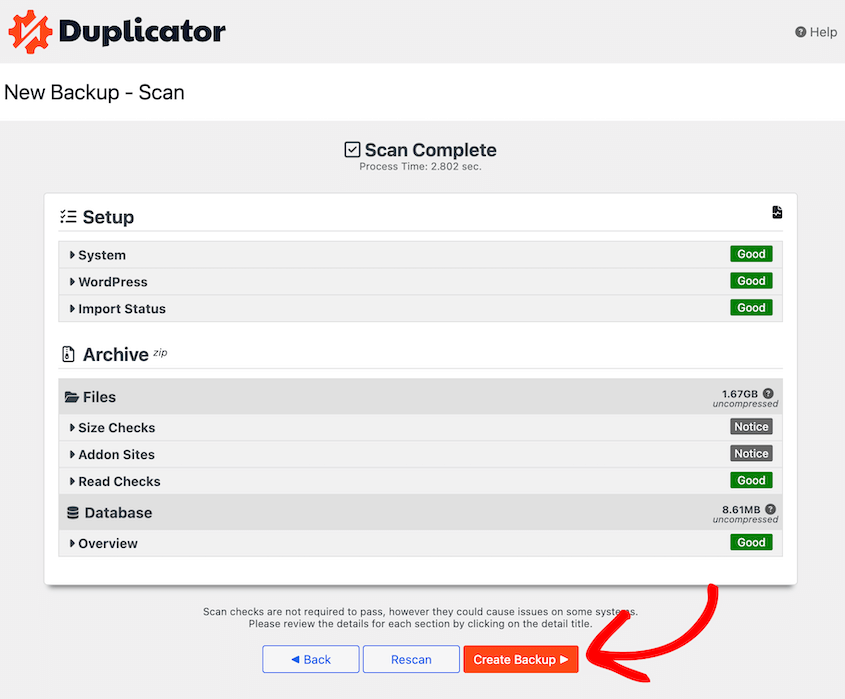
Duplicator will scan your site. If all looks good, click Create Backup.
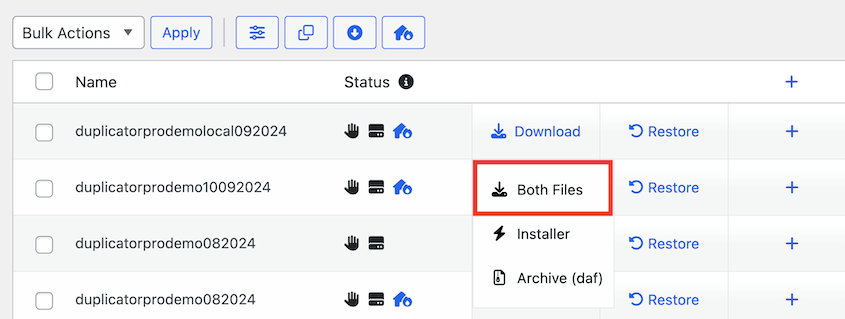
Once the build is complete, download both the installer.php file and the archive file.
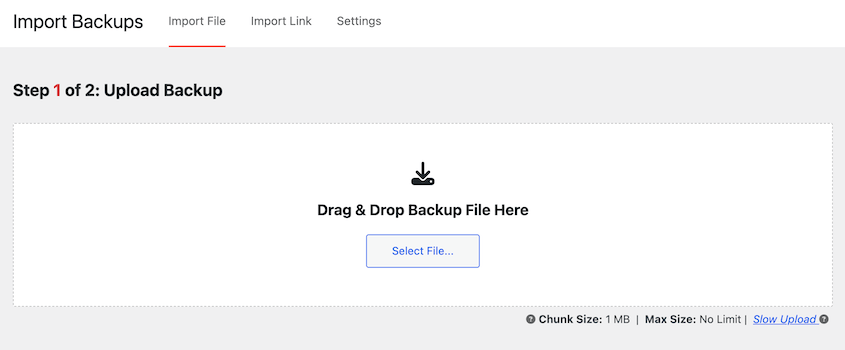
Install Duplicator Pro on the staging site. Upload the backup archive file to the Import Backups page.
Now, Duplicator will walk you through the rest of the installation. You’ll replace the blank WordPress installation with a copy of your site, which you can edit as much as you want.
If you don’t want to install WordPress first, upload both the archive file and installer file to your staging site’s server. Launch the installer to migrate your WordPress site.
Step 2: Back Up the New Website
Now that you’ve got your staging site up and running, it’s time to make it shine.
Go ahead and make all the changes you want — update your theme, test new features, or completely overhaul your content. This is your chance to refresh your design, improve WordPress security, and much more.
Once you’re happy with it, back up your WordPress site. Why? Because this backup is what we’ll use to replace your old site.
But wait, let’s take a moment to back up your old site too, just in case there’s any data you want to keep or if you need to revert changes. You probably won’t need it, but you’ll be glad it’s there if you do.
To back up your old site, go to your live site’s WordPress dashboard and use Duplicator to create another backup. Name it something like “Old Site Backup” and follow the same process as before.
Feel free to store these files in a secure location, like a cloud storage service.
Now, go back to your staging site (which is your new website). Create a new full-site backup. Once you’re finished, download the backup’s archive file.
Step 3: Import the New Website Into the Old One
Now comes the exciting part: replacing the old site with your new one. This is where all your hard work pays off.
Start by logging into your live site’s WP admin dashboard. Open Duplicator’s Import Backups page and upload your staging site backup. Click Continue.
You can also upload the installer.php file and the archive file directly to your website’s root directory (usually public_html or www). Launch the installer with this link: yourdomain.com/installer.php
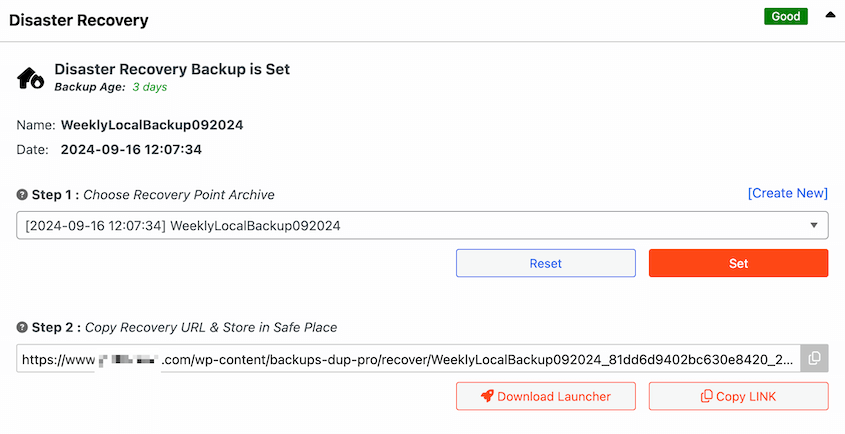
At this point, I’d recommend setting a disaster recovery point. Pick a recent full-site backup and click the Set button. Duplicator will give you a recovery URL.
Copy this and save it in a safe place. If anything goes wrong, paste this link into a browser window and instantly restore your WordPress site.
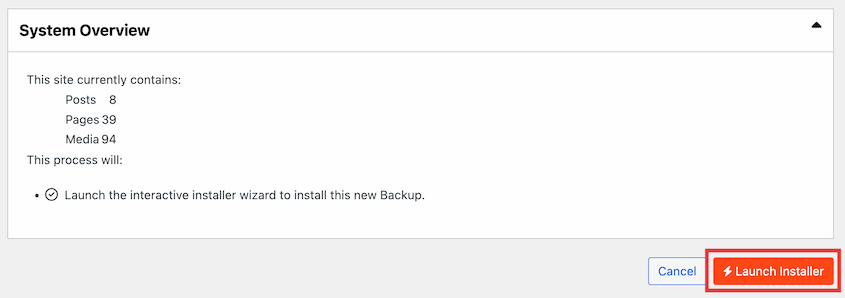
At the bottom of the page, launch the installer.
Scroll down and accept the terms and notices. Hit Next.
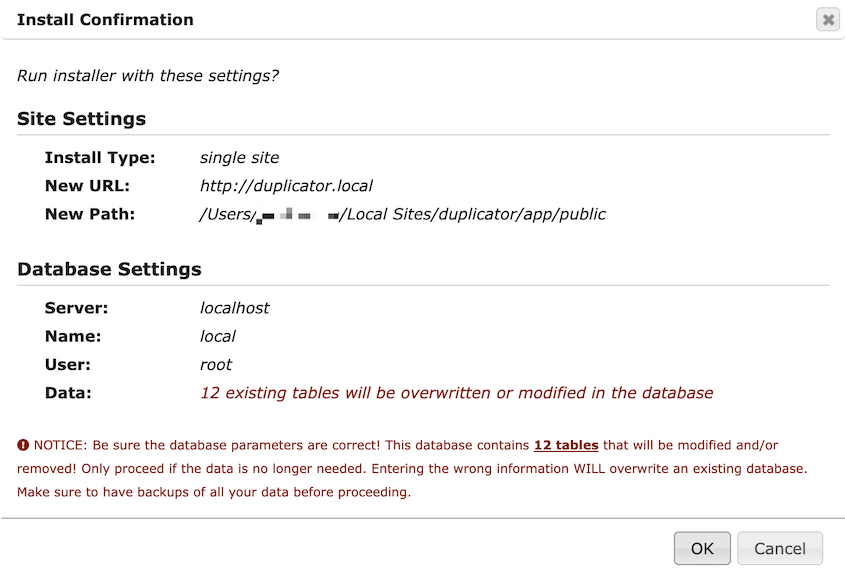
In the pop-up, confirm the installation.
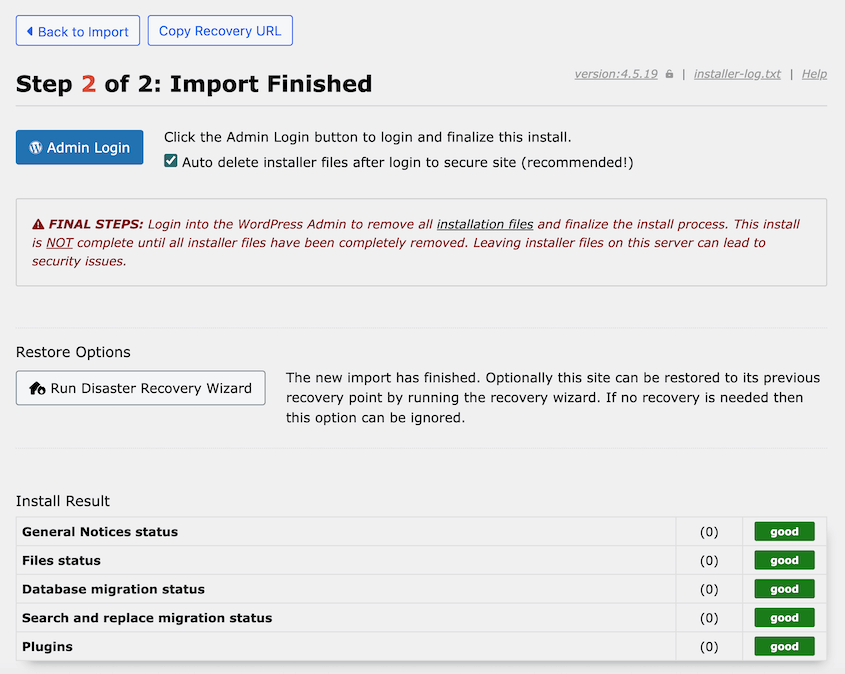
Once the migration process is complete, your old site will be replaced with your new one. Sign back into your site.
After Replacing Your WordPress Site
But we’re not done yet!
Time for some crucial post-replacement checks:
- Visit your homepage and click around. Make sure all pages load correctly.
- Test all forms and interactive elements.
- Check your site on different devices to ensure it’s responsive.
- Clear your cache to ensure you’re seeing the most up-to-date version of your site.
- If you notice any issues with links or images, you might need to run a search and replace on your database.
Remember, patience is key. Sometimes it takes a little while for DNS settings to propagate fully. If something doesn’t look right immediately, give it a few hours and check again.
And there you have it! You’ve successfully replaced your WordPress site with a new one. Pat yourself on the back – you’ve just performed major website surgery, and your online presence is better for it.
Frequently Asked Questions (FAQs)
How do I overwrite a WordPress site?
Overwriting a WordPress site means replacing all its content and files with new ones. To do this, use Duplicator to create a backup of your new site, then import that backup into your old site.
Remember, always create a backup of your old site before overwriting, just in case!
How do I clone an existing WordPress site?
Duplicator can help you clone your existing WordPress site. Just create a backup, include all of your website files, and download the backup. Upload this backup wherever you want to keep your site clone (local server, subdomain, etc.).
For detailed steps, read our guide on how to clone a WordPress website.
Can I have two WordPress sites on one account?
Yes, you can have two WordPress sites on one account. You can set them up as:
- Subdomains (blog.yourdomain.com)
- Subdirectories (yourdomain.com/blog)
- Add-on domains (a completely separate domain on the same hosting account)
Just check with your WordPress hosting provider about any limitations on your specific plan.
How do I redo my WordPress site?
To redo your WordPress site, create a copy of it and import it into a staging site. You can do this with Duplicator Pro. Implement any changes you want on the staging site.
When it’s ready to publish, make your changes live. Using Duplicator, you can move your WordPress site safely without disrupting your live site.
Conclusion
Replacing your WordPress site might seem like a daunting task, but it’s a manageable process that can breathe new life into your online presence.
While you’re here, I think you’ll like these extra WordPress guides:
Ready to give your WordPress site a fresh start? Give Duplicator Pro a try. You can use it to move a WordPress website to and from a staging area, giving you a safe place to experiment!
Joella is a writer with years of experience in WordPress. At Duplicator, she specializes in site maintenance — from basic backups to large-scale migrations. Her ultimate goal is to make sure your WordPress website is safe and ready for growth.


