You’re working on a new theme, experimenting with plugins, or just learning the ropes of WordPress. Wouldn’t it be great to do all that without the pressure of potentially crashing your live site?
That’s where MAMP comes in handy.
MAMP creates a mini-server right on your computer. It’s like having your own private playground for WordPress – no internet required. You can break things, fix them, and learn at your own pace.
So, whether you’re a WordPress pro or just starting out, this ultimate guide will help you set up your local development environment. We’ll cover everything from installing MAMP to getting WordPress up and running.
Ready to dive in? Let’s get started!
Table of Contents
What Is MAMP?
MAMP is a local server environment. It’s like having a mini version of the internet running right on your computer.
Let’s break it down those letters:
- M: Mac (though it now works on Windows too)
- A: Apache (the web server)
- M: MySQL (the database)
- P: PHP (the programming language)
But why do we need all these letters? Well, each component plays a crucial role.
- Apache is the web server. It’s what handles requests when someone tries to view a web page.
- MySQL is the database. It’s where all your WordPress content – posts, pages, comments – is stored.
- PHP is the programming language that WordPress is built on. It’s what makes everything work behind the scenes.
MAMP bundles all these technologies together in one easy-to-install package. It’s a one-stop shop for setting up a local web server.
The beauty of MAMP is its simplicity. With just a few clicks, you can have a fully functional web server running on your machine. No need to fiddle with complex configurations.
And the best part? MAMP creates an isolated environment on your computer. This means you can experiment and fix errors without affecting your actual WordPress website.
Why You Might Want to Install WordPress on MAMP
So, you’ve heard about MAMP and WordPress, but you’re wondering, “Why should I bother?”
Great question! Let’s dive into some compelling reasons why setting up WordPress on MAMP could be a game-changer for you.
Testing and Development
Imagine having a sandbox where you can build, break, and rebuild your WordPress site without any consequences. That’s exactly what MAMP offers.
You can experiment with new themes, test new features, or even practice your coding skills without the fear of crashing your live site.
If you’re into creating WordPress themes or plugins, MAMP is invaluable. You can develop and test your creations in a controlled environment before releasing them to the world.
Speed
When you’re working on a local environment, everything happens at lightning speed.
No need to wait for server responses or deal with internet lag. Your changes appear instantly, making the development process smoother and more enjoyable.
For developers, MAMP can significantly streamline your workflow. You can set up multiple local sites, each with its own environment. This makes it easier to manage different projects or clients without them interfering with each other.
Offline Development
One of the best perks of using MAMP is that you can work on WordPress locally even when you’re offline. As long as you have your computer, you can keep working on your site.
Learn WordPress Without Consequences
If you’re new to WordPress, MAMP provides a safe environment to learn. You can follow tutorials, try out new techniques, and make mistakes without any real-world consequences. It gives you the confidence to try new things.
Easier Collaboration
When working in a team, MAMP allows everyone to have the same development environment. This means fewer communication errors and smoother collaboration.
What You Need
Before we dive into the installation process, let’s make sure you have everything you need. Here’s your checklist:
1. A compatible computer
- For Mac users: You’ll need macOS 10.10.5 or later (64-bit).
- For Windows users: Windows 10 or later (32 or 64 bit).
2. Sufficient disk space
- At least 1 GB of free disk space for MAMP.
- An additional 200 MB for WordPress.
3. A stable internet connection: You’ll need this to download MAMP and WordPress. Once everything is set up, you can work offline.
That’s it! You don’t need any fancy equipment or a computer science degree. Just these basics are enough to get started.
Remember, the beauty of working with MAMP is that you don’t need a web hosting service or domain name. Your computer becomes your server, saving you money and giving you full control.
Before you start, it’s a good idea to close any unnecessary applications. This frees up system resources and can help the installation process run more smoothly.
How to Install WordPress on MAMP
At this point, you’re ready to get your local WordPress site online. We’ll show you how to do this with MAMP, which is great for Mac computers.
If you’re installing WordPress locally on Windows, you can still use MAMP. However, many Windows users tend to use alternatives like WAMP or XAMPP.
Step 1: Download MAMP
Alright, let’s kick things off by getting MAMP onto your computer. Don’t worry, it’s super easy!
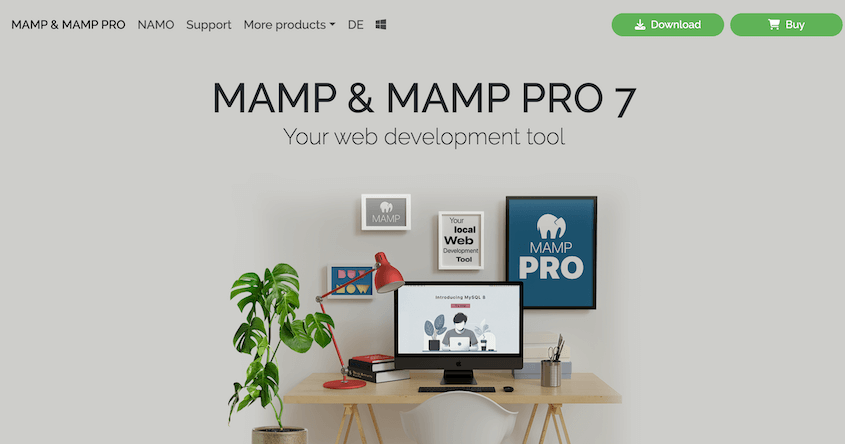
Head to the official MAMP website. You’ll see options for both MAMP and MAMP PRO. We’re focusing on the free version today, so hit the Free Download button.
The download should start automatically. If it doesn’t, you might see a pop-up asking you to confirm.
While you’re waiting for the download (it’s usually pretty quick), let’s talk about MAMP PRO. You might be wondering, “Should I get the PRO version instead?”
MAMP PRO supports unlimited sites, easier deployment, cloud integrations, and more advanced features. But for most WordPress development needs, the free version of MAMP is more than enough. You can always upgrade later if you need the extra features.
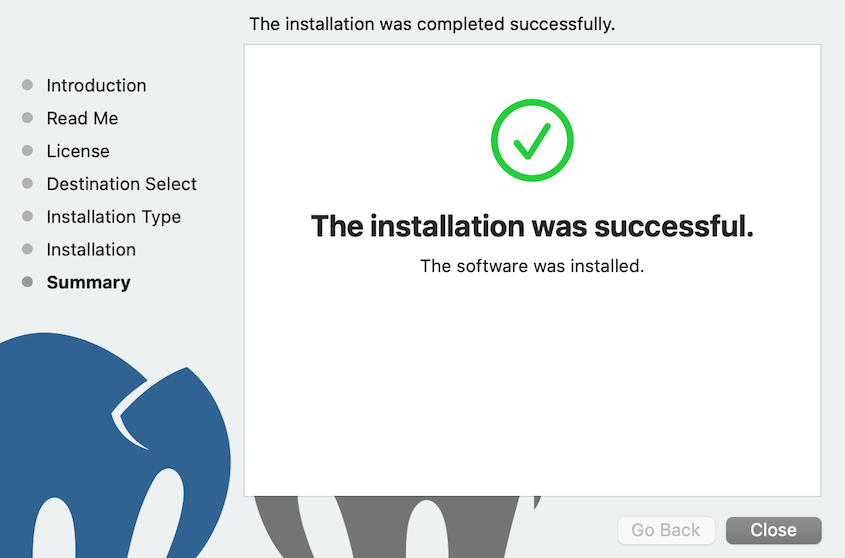
Once the download is complete, you’ll have a .pkg file (for Mac) or an .exe file (for Windows). Open it to start the installation process.
MAMP will then guide you through the installation steps. You’ll have to accept the privacy policy and confirm the installation.
After this, you should see a MAMP elephant icon on your desktop or in your applications folder. This is your gateway to MAMP – you’ll use it to start and stop your local server.
Step 2: Customize MAMP Preferences
Now that MAMP is installed, let’s configure it for optimal WordPress use.
Open MAMP and click on Preferences (it looks like a gear icon).
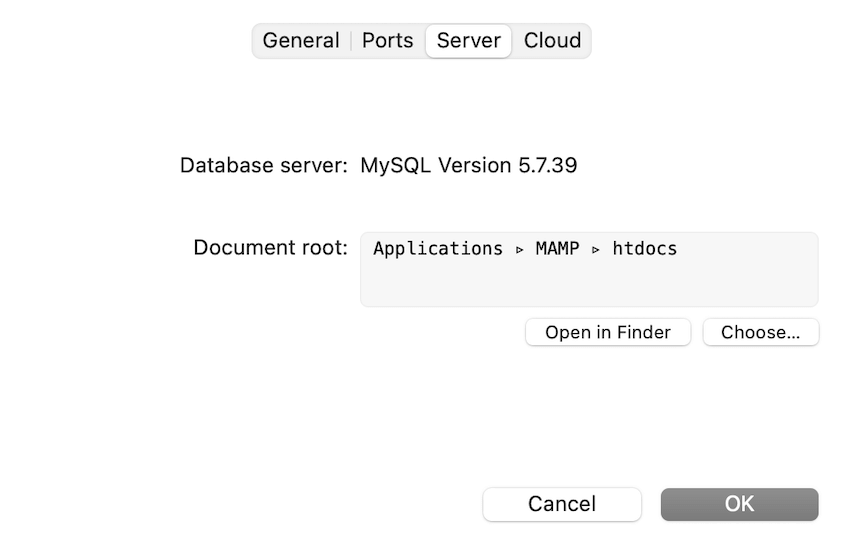
In the Server tab, choose where you want to store your WordPress files. I recommend creating a new folder in your home directory and selecting that. However, you could leave the Document root as is. (default: Applications/MAMP/htdocs)
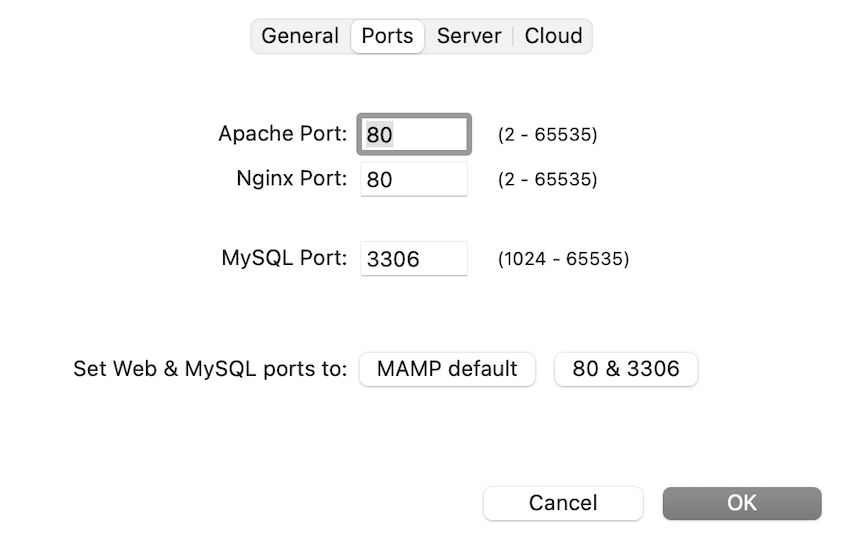
Switch to the Ports tab. Use these values:
- Apache Port: 80
- Nginx Port: 80
- MySQL Port: 3306
Click OK to save your preferences.
Step 3: Download WordPress
Now it’s time to get WordPress.
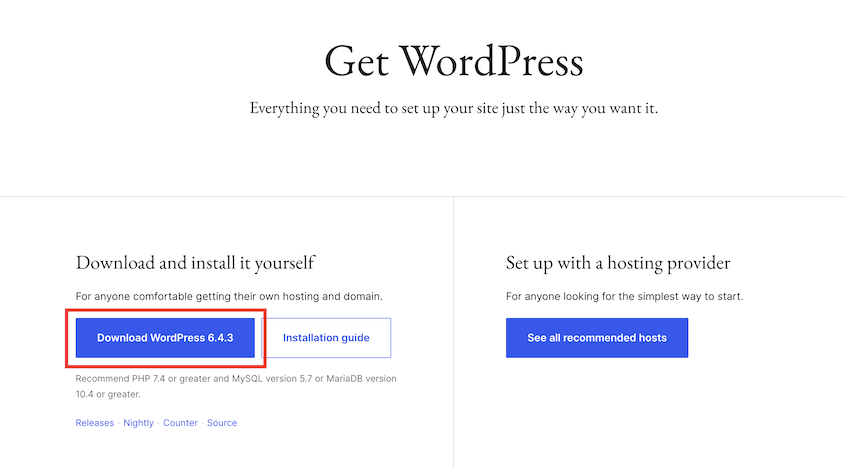
Go to WordPress.org and click on Get WordPress. Download the latest version of WordPress.
After WordPress downloads, locate the zip file in your Downloads folder. Unzip the file.
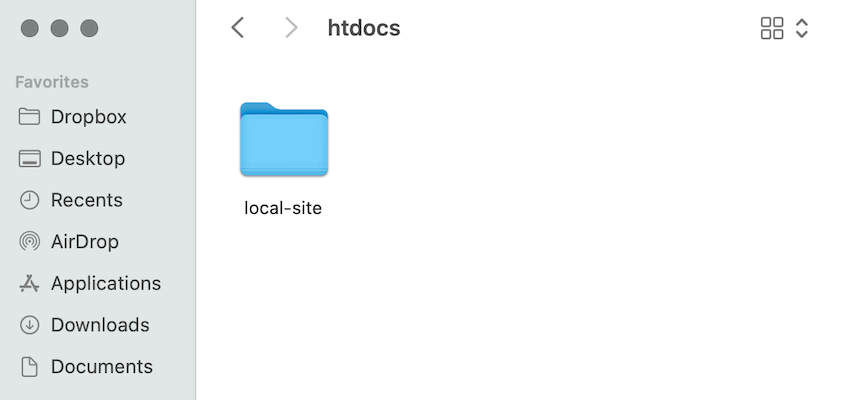
You’ll now have a folder named wordpress. Rename this folder something relevant to your project, like local-site.
Copy this renamed folder into the document root you set in MAMP. Delete the index.php file that’s already in the htdocs folder.
Next up, we’ll create a database for your WordPress site.
Step 4: Create a Database
WordPress needs a database to store all your site’s content. To create one for your local MAMP site, open MAMP and hit WebStart.
You can also go to http://localhost/MAMP/ in a web browser. This will take you to the MAMP welcome page.
Click on the Tools dropdown menu, then select phpMyAdmin.
On the left-hand side, click on New. Enter a name for your database. Leave the collation as is and hit Create.
That’s it! You have a database for your WordPress site. Make sure to remember the database name – you’ll need it in the next step.
Step 5: Install WordPress
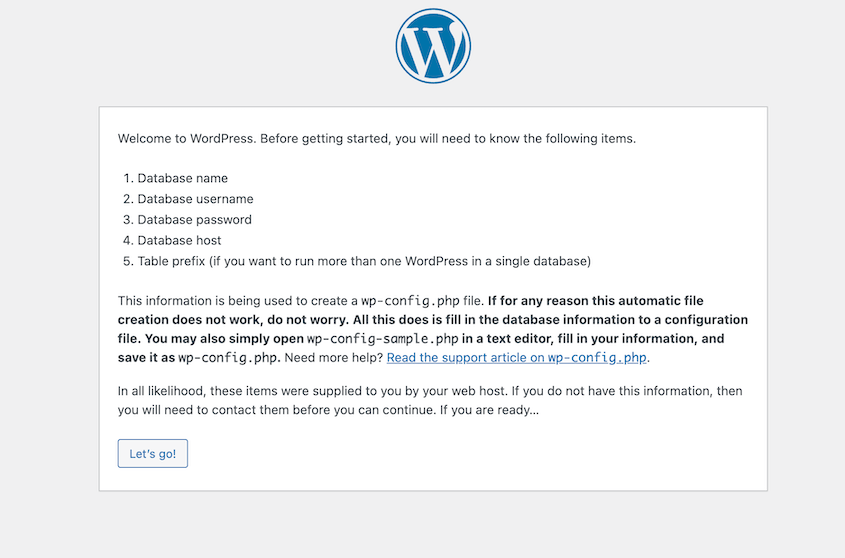
Open your web browser and go to http://localhost/. You should see the WordPress installation page. Select your language and click Continue. On the next page, hit Let’s go!
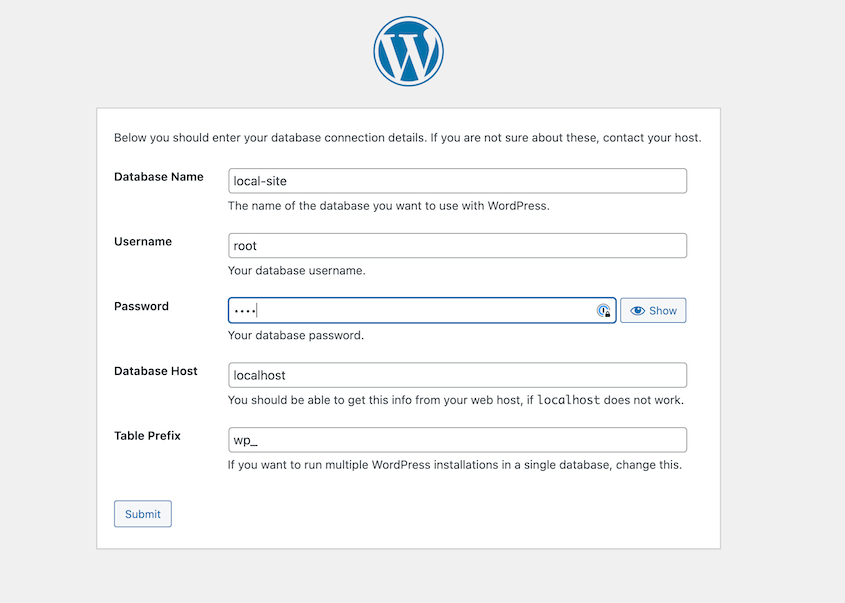
You’ll need to enter your database information:
- Database Name: The name you chose in the previous step
- Username: root
- Password: root
- Database Host: localhost
- Table Prefix: You can leave this as wp_ or change it for added security
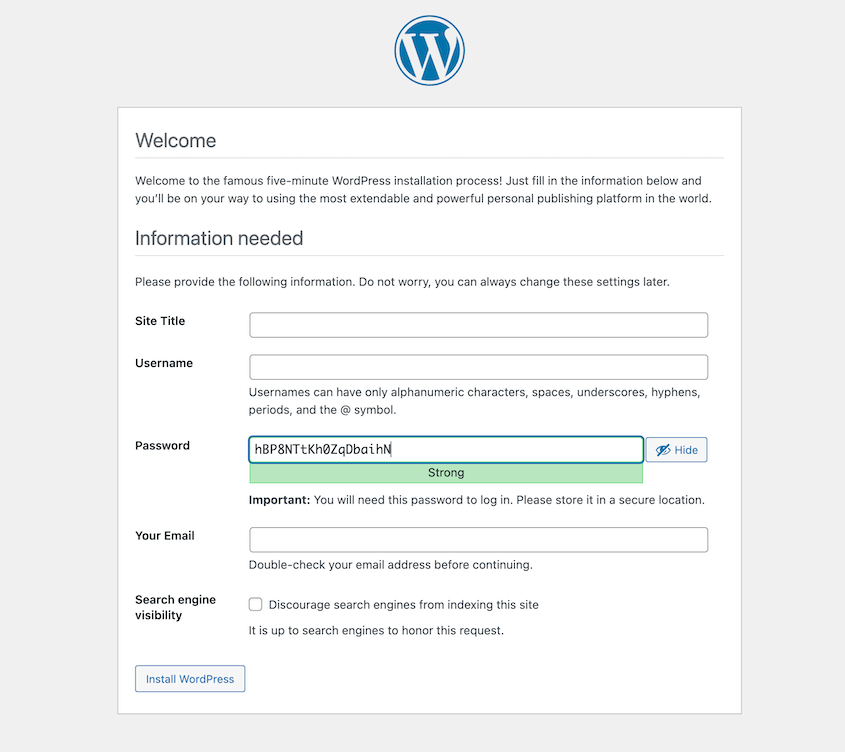
On the next page, choose a name for your WordPress site, an admin username, a strong password, and your email address. You can also check a box if you don’t want search engines to index your local site.
Click Install WordPress.
After a moment, you’ll see a success message. Log into your new WordPress dashboard!
A Faster Way to Install WordPress on MAMP
While the manual process is great for understanding how WordPress works with MAMP, there’s an even quicker method. This approach is especially useful if you’re moving an existing site to a local environment and you don’t want to waste time installing WordPress.
Duplicator is a powerful WordPress plugin that simplifies the process of migrating, copying, or cloning a WordPress site to another location. It’s handy for moving a live site to a local environment like MAMP.
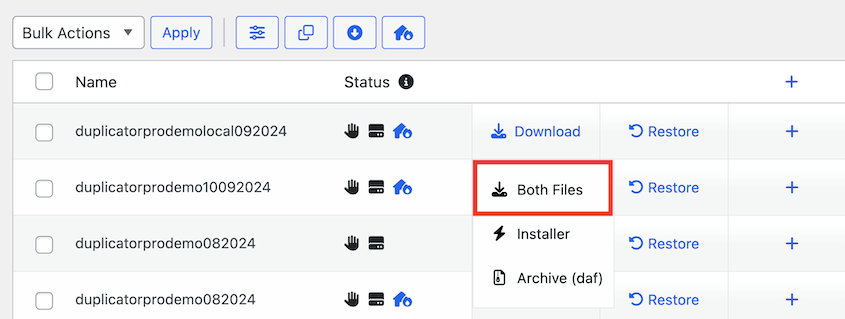
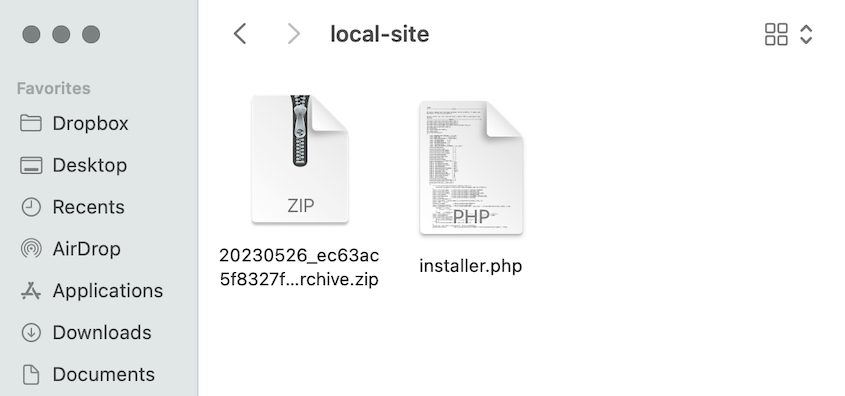
Duplicator bundles your entire WordPress site (including the database, plugins, themes, and content) into a single package. You only need to download two files: the installer.php file and the archive package.
Then, open the folder where you installed MAMP. Add a new folder in it and name it something you’ll remember.
In this new folder, add your original site’s archive and installer files.
Now, you’ll simply have to visit this URL: http://localhost/your-site-folder/installer.php
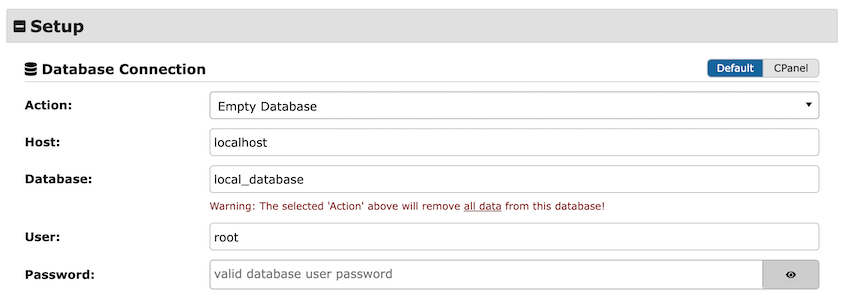
This launches the Duplicator installation wizard! It will prompt you to enter your database details.
After you finish the installation steps, you’ll have a fully functional copy of your WordPress site running locally on MAMP!
Here are the main benefits of using Duplicator to install WordPress on MAMP:
- The entire process takes just a few minutes
- Minimizes the chance of configuration mistakes
- Ensures your local environment exactly matches your live site
- Great for creating development copies, staging environments, or backups
Don’t believe me? See How Harald Polz migrates his large website (over 400GB!) to a local staging site with Duplicator!
FAQs About Installing WordPress on MAMP
Which is better: MAMP or XAMPP?
Both MAMP and XAMPP are great options for local development. MAMP is often praised for its user-friendly interface and is popular among Mac users, while XAMPP is known for its cross-platform compatibility. Choose based on your specific needs and comfort level.
How do I install WordPress on localhost?
To install WordPress on a localhost, install MAMP, download WordPress, create a database, and run the WordPress installer. There are alternatives like XAMPP or Local by Flywheel, but the general process is similar.
What does the MAMP server stand for?
MAMP stands for Mac, Apache, MySQL, and PHP. These are the key components that create your local server environment.
Can you install WordPress on a Mac?
WordPress can be installed on Mac using MAMP, as we’ve detailed in this guide. Mac users often find MAMP particularly user-friendly.
How do I switch my local WordPress site to a live server?
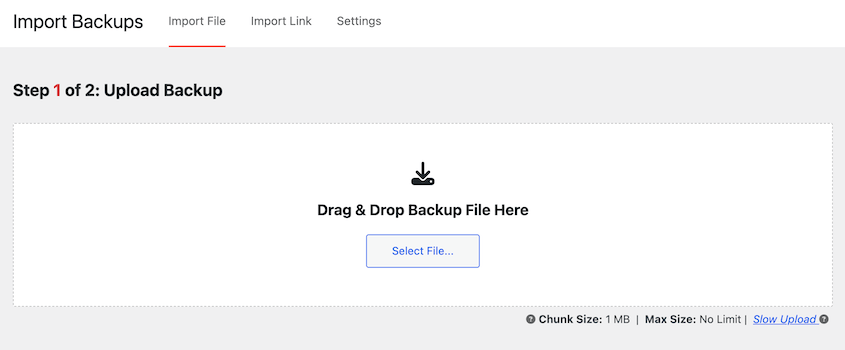
This process involves exporting your database, moving your WordPress files, and updating your configuration. To make this process easier, use Duplicator. With this migration plugin, you can back up your local site and drag and drop this file into your live site.
Can I install WordPress on MAMP if I’m using Windows?
Yes, MAMP is available for Windows as well. The installation process is very similar to what we’ve described for Mac users.
How do I access phpMyAdmin in MAMP?
You can access phpMyAdmin through the MAMP start page (http://localhost/MAMP/). Look for the Tools dropdown menu and select phpMyAdmin.
Is MAMP free?
Yes, MAMP has a free version which is sufficient for most WordPress development needs. There’s also a paid version, MAMP PRO, which offers additional features for more advanced users.
Conclusion
You now know how to install WordPress locally on MAMP! You can work on your local MAMP WordPress site without affecting live visitors.
While you’re here, I think you’ll like these extra WordPress guides:
Do you want to easily move your data to and from your MAMP staging area? Use Duplicator Pro to simplify migrations to a drag and drop!
Joella is a writer with years of experience in WordPress. At Duplicator, she specializes in site maintenance — from basic backups to large-scale migrations. Her ultimate goal is to make sure your WordPress website is safe and ready for growth.


