Are you aiming to back up your site’s database and transfer it to another site? This tutorial provides step-by-step instructions on how to do it effectively. Please note that these instructions specifically focus on database-related actions. To avoid potential issues, make sure your file and database synchronization is flawless. Proceed with caution and confirm the integrity between your files and database as you move forward.
Creating Database Backups
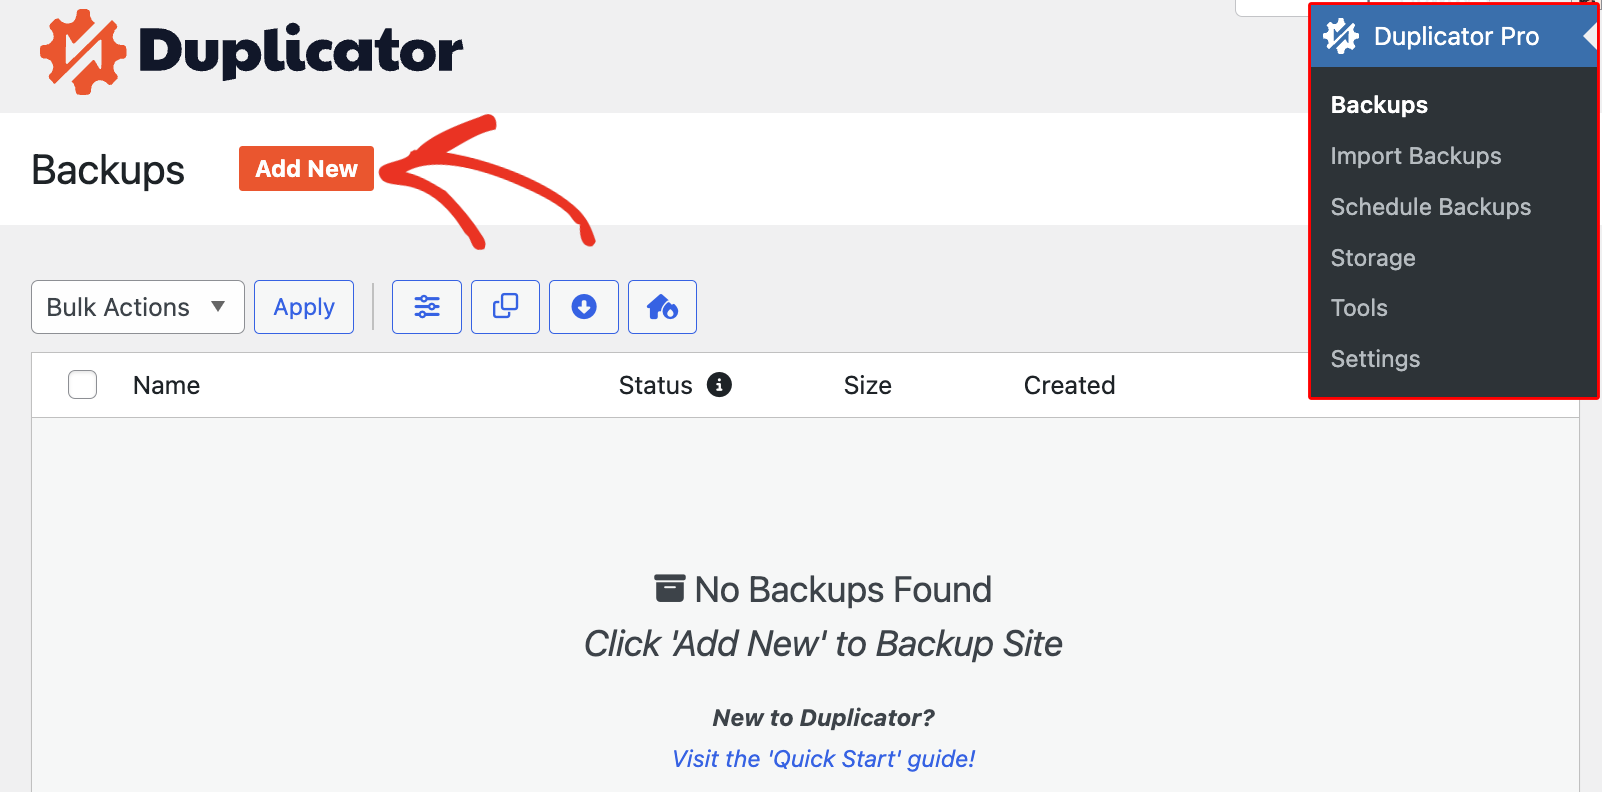
Begin with creating a new Backup by navigating to Duplicator Pro » Backups and click the Add New button.
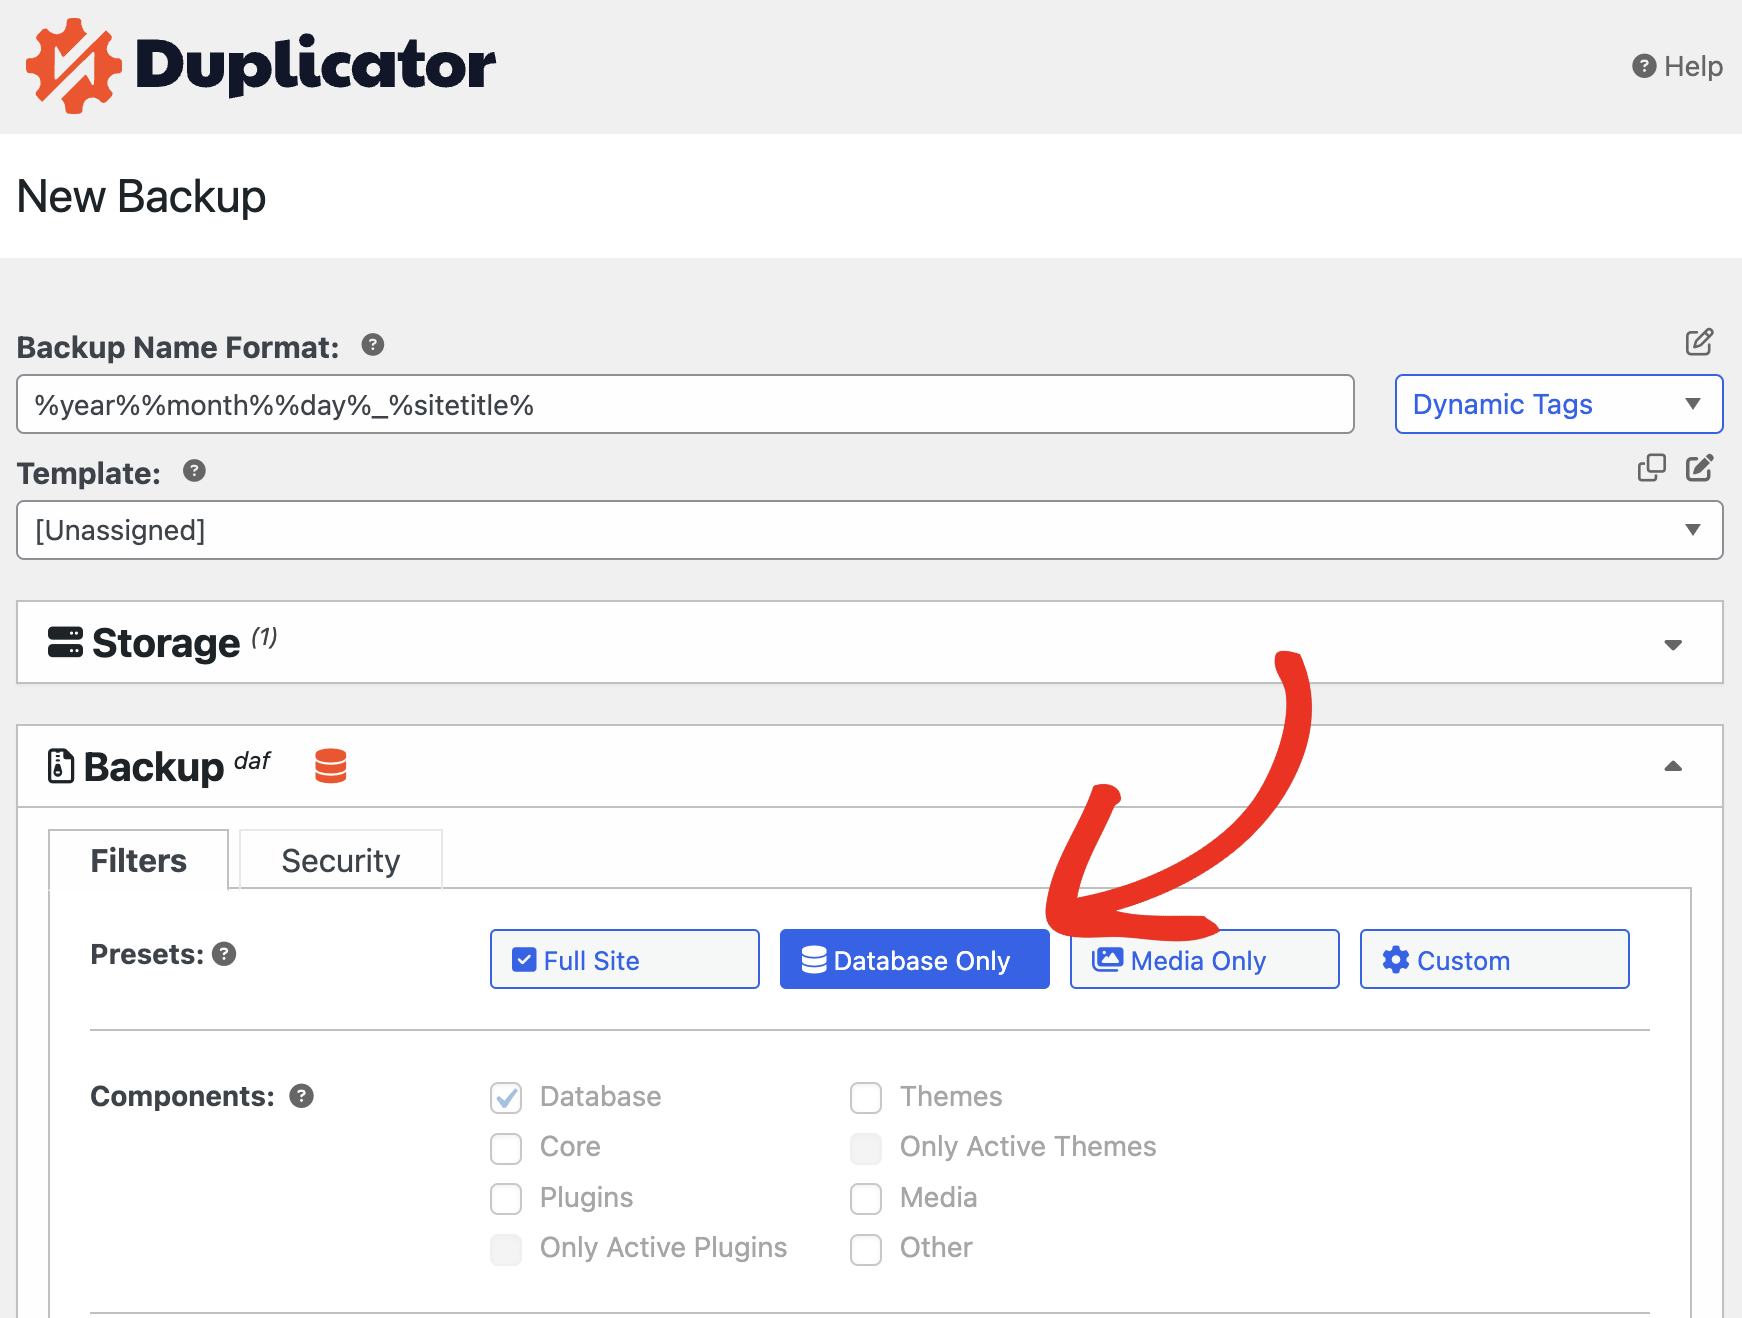
Name the Backup, move to the Backup section, and select the Database Only tab:
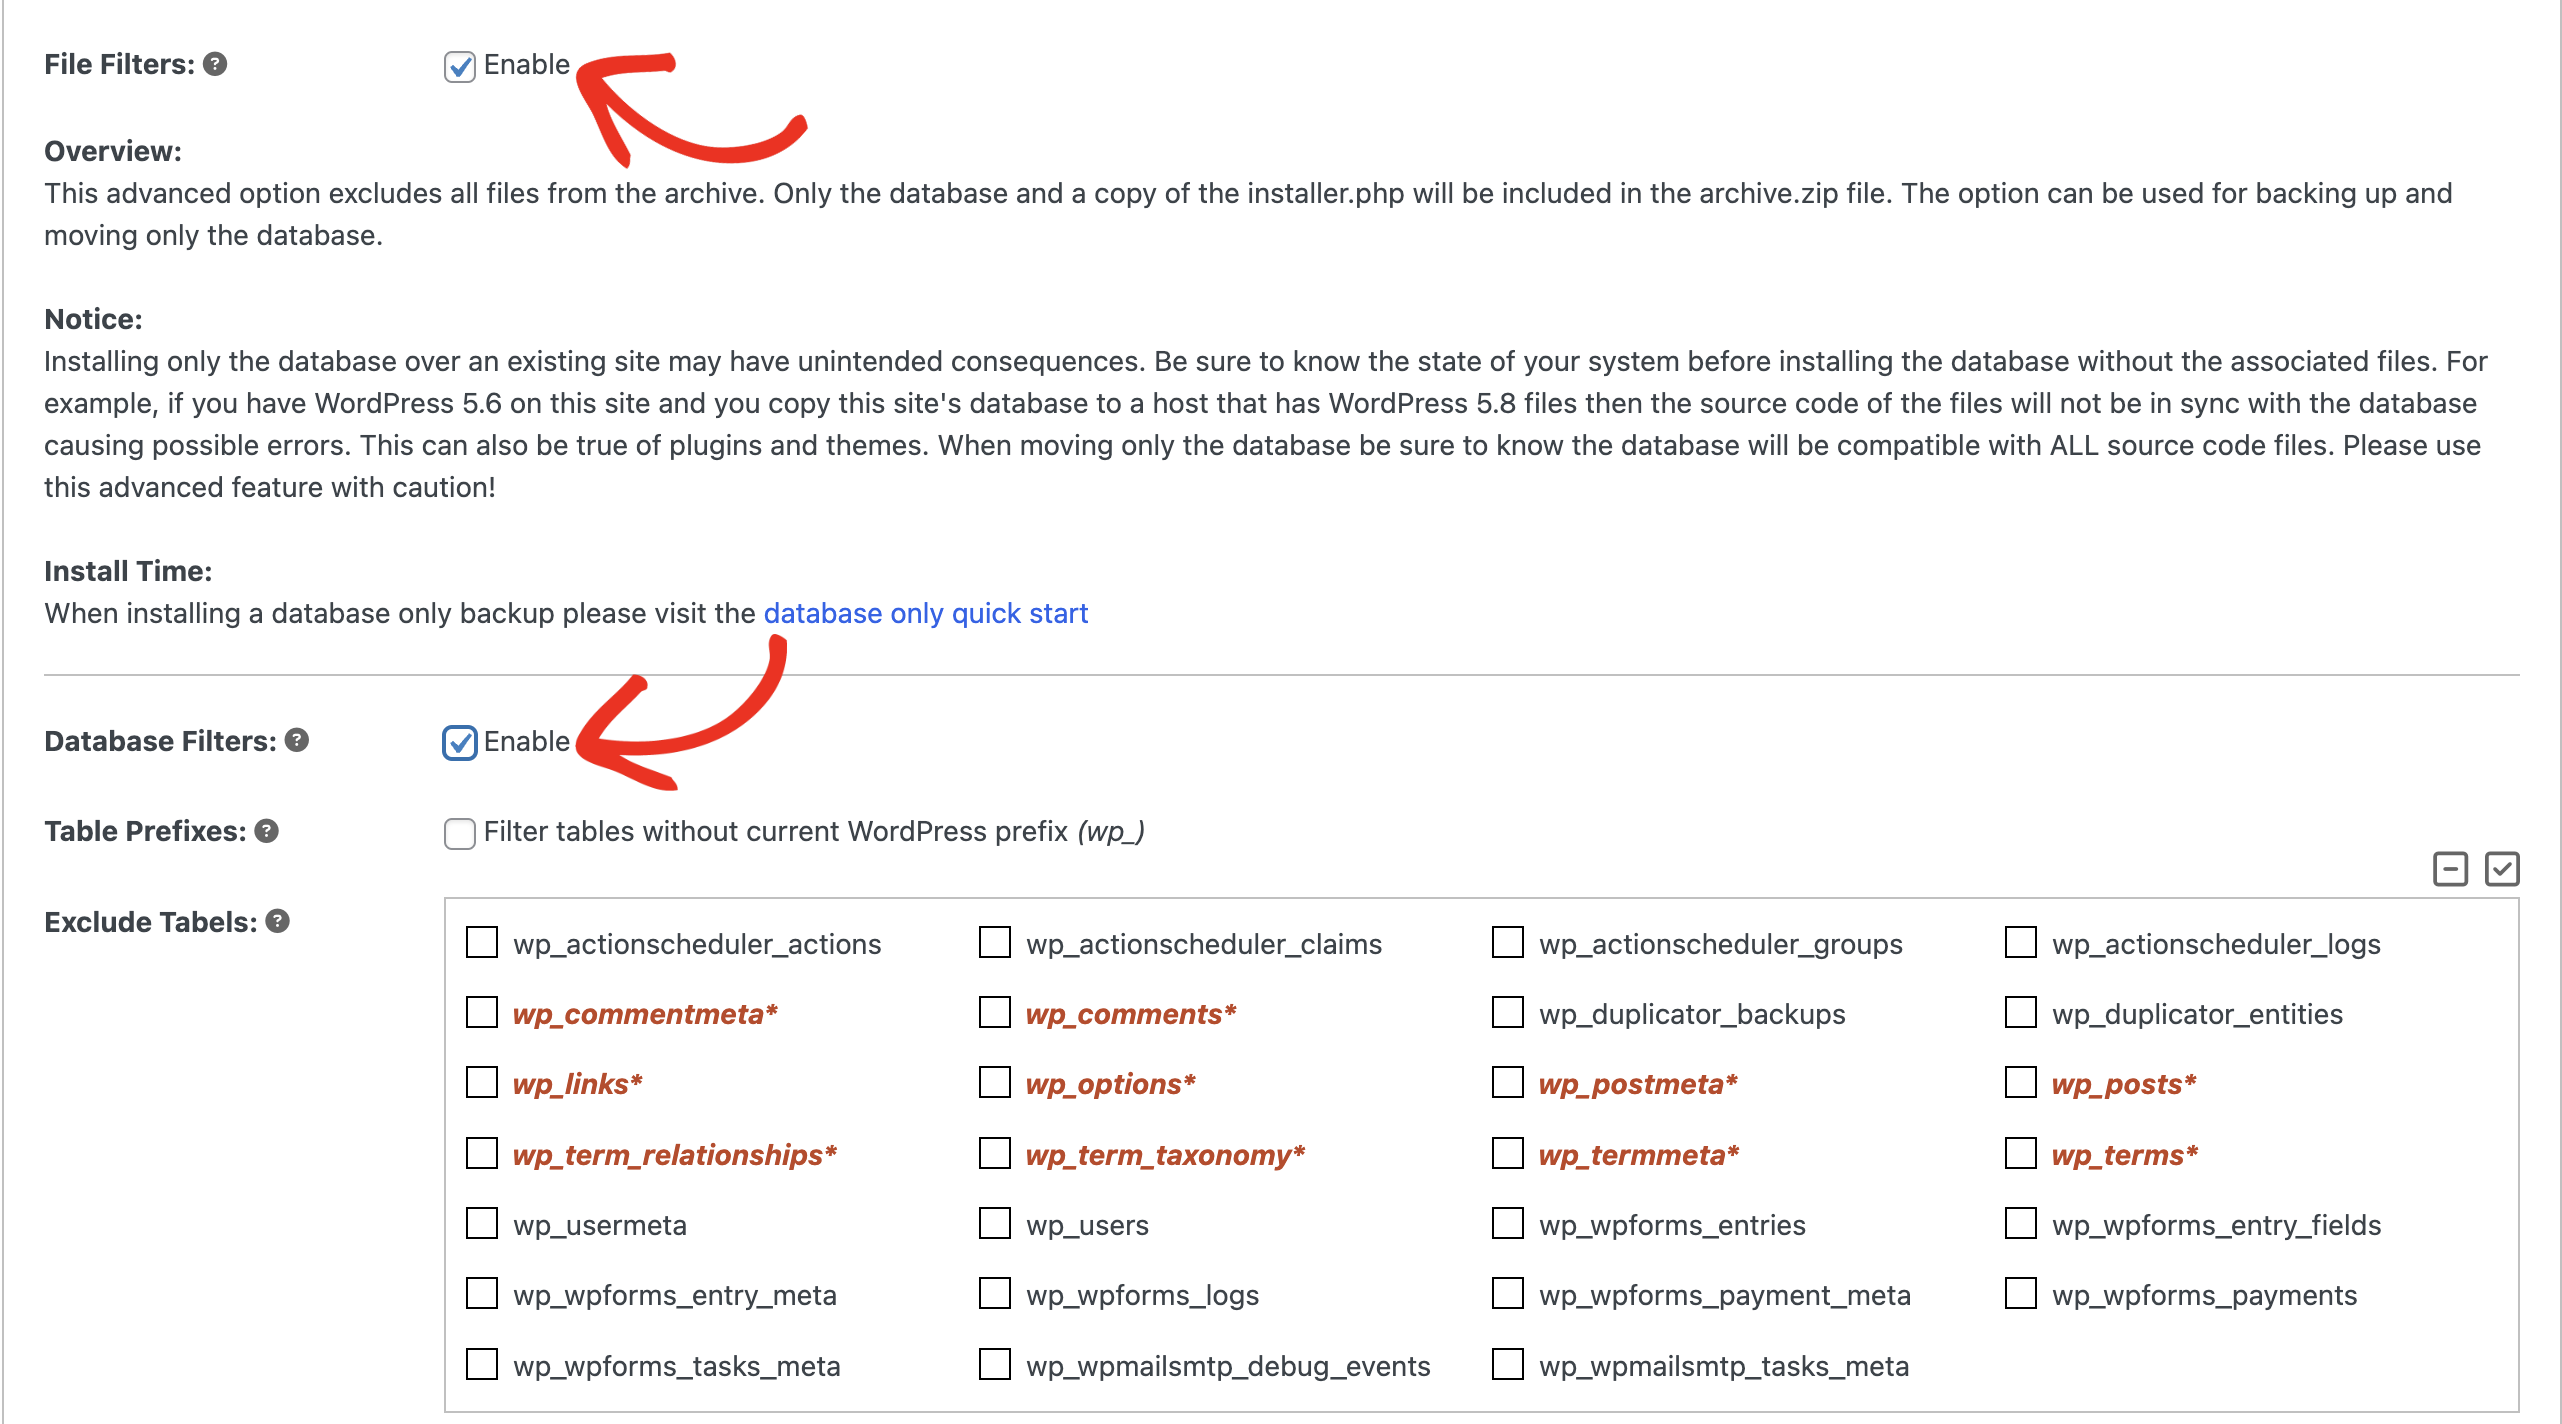
You can also exclude the tables of your choice from the backup. This feature is available in the next tab Database, where you can exclude specific files and database tables by enabling the filter:
At the bottom of the page, click on Next and proceed towards the Scan process of your Database backup:
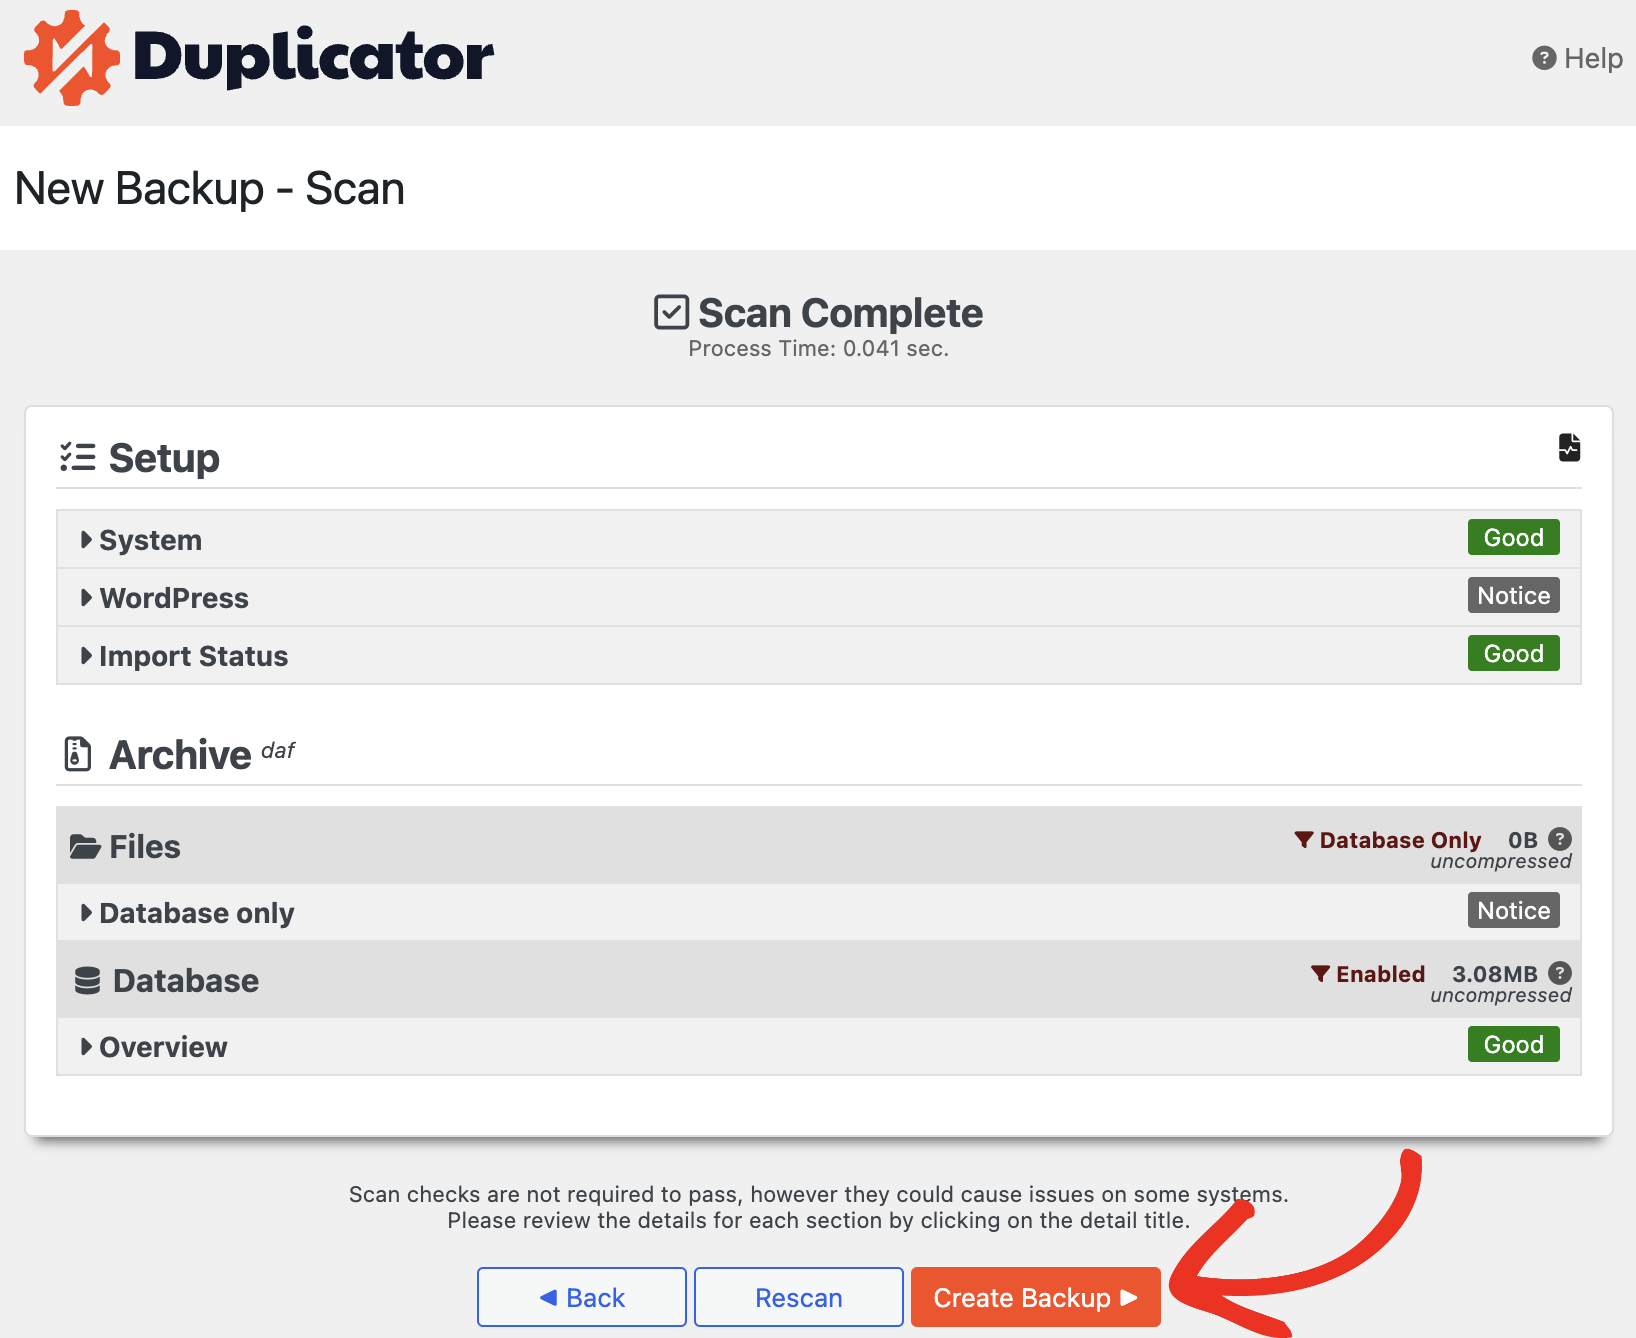
Once your backup is scanned successfully, go ahead and create the Backup. This process will take a few minutes, and your database backup will be ready.

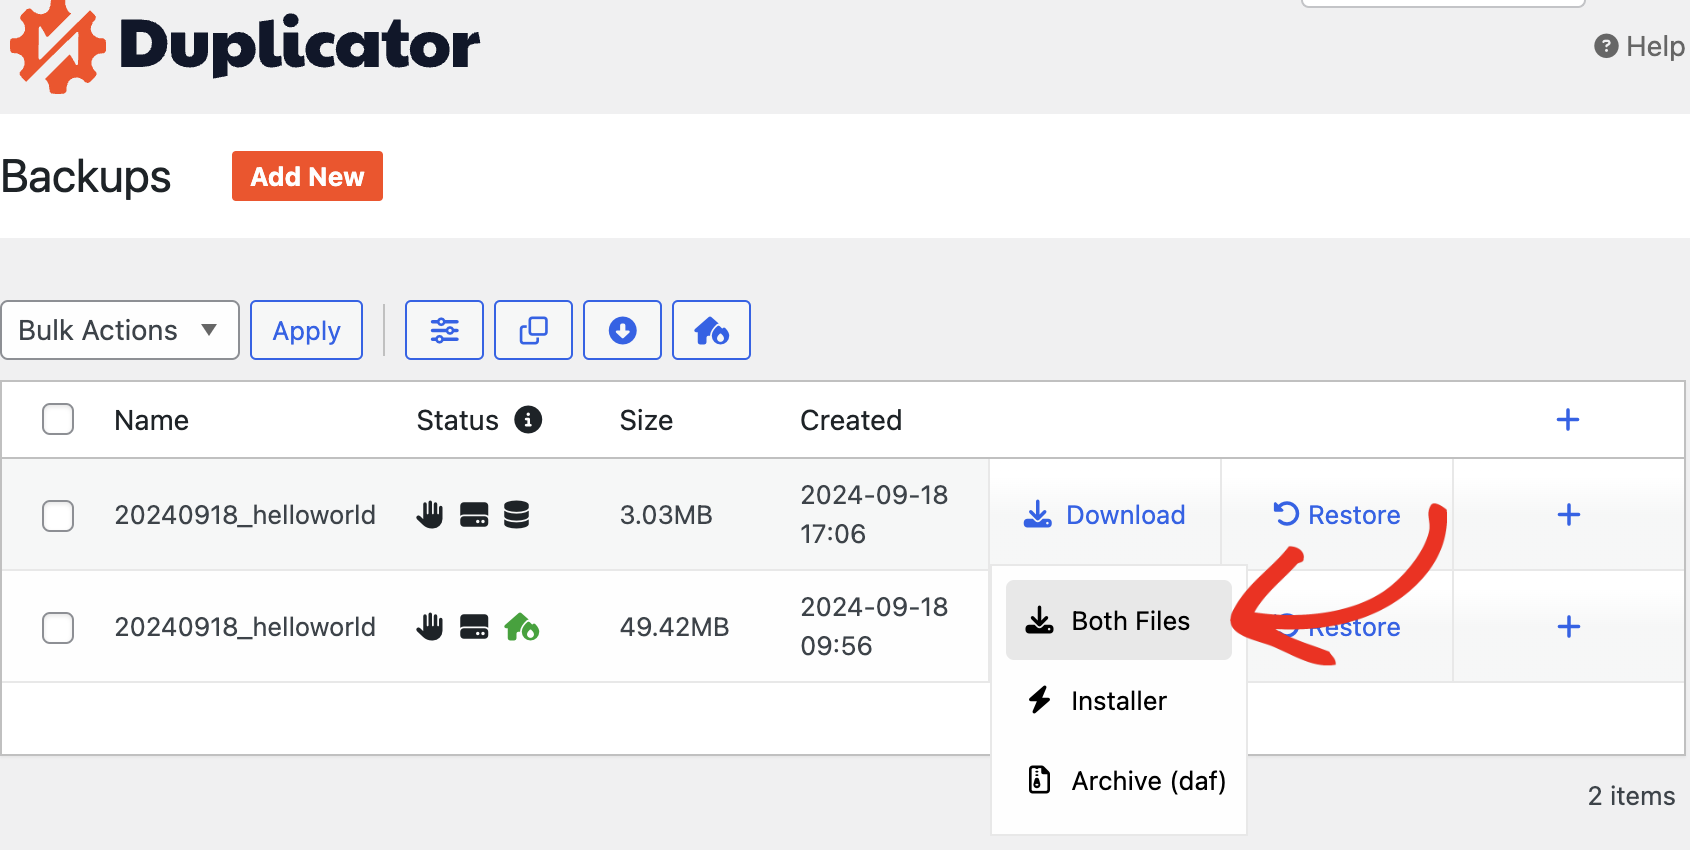
Now, you’ll see the Database backup under Backups, from where you can Download the Backup:
Import Your Backup to the Destination Site
If you are using the Lite version of Duplicator, please see this guide to Transfer the Backup by manually pasting the downloaded files to the root directory of your Destination site.
For Duplicator Pro, navigate to the Destination site and Import the Backup.
Make sure you have the licensed version of the Duplicator Pro plugin installed on your Destination site. To import the backup, go to Duplicator Pro » Import Backups, and Select File or Drag & Drop the downloaded [archive.daf] or [archive.zip] file from your computer:

Please be sure to set a Recovery Point and copy URL in a safe note to revert your website to the previous version in case anything goes wrong during the migration process.
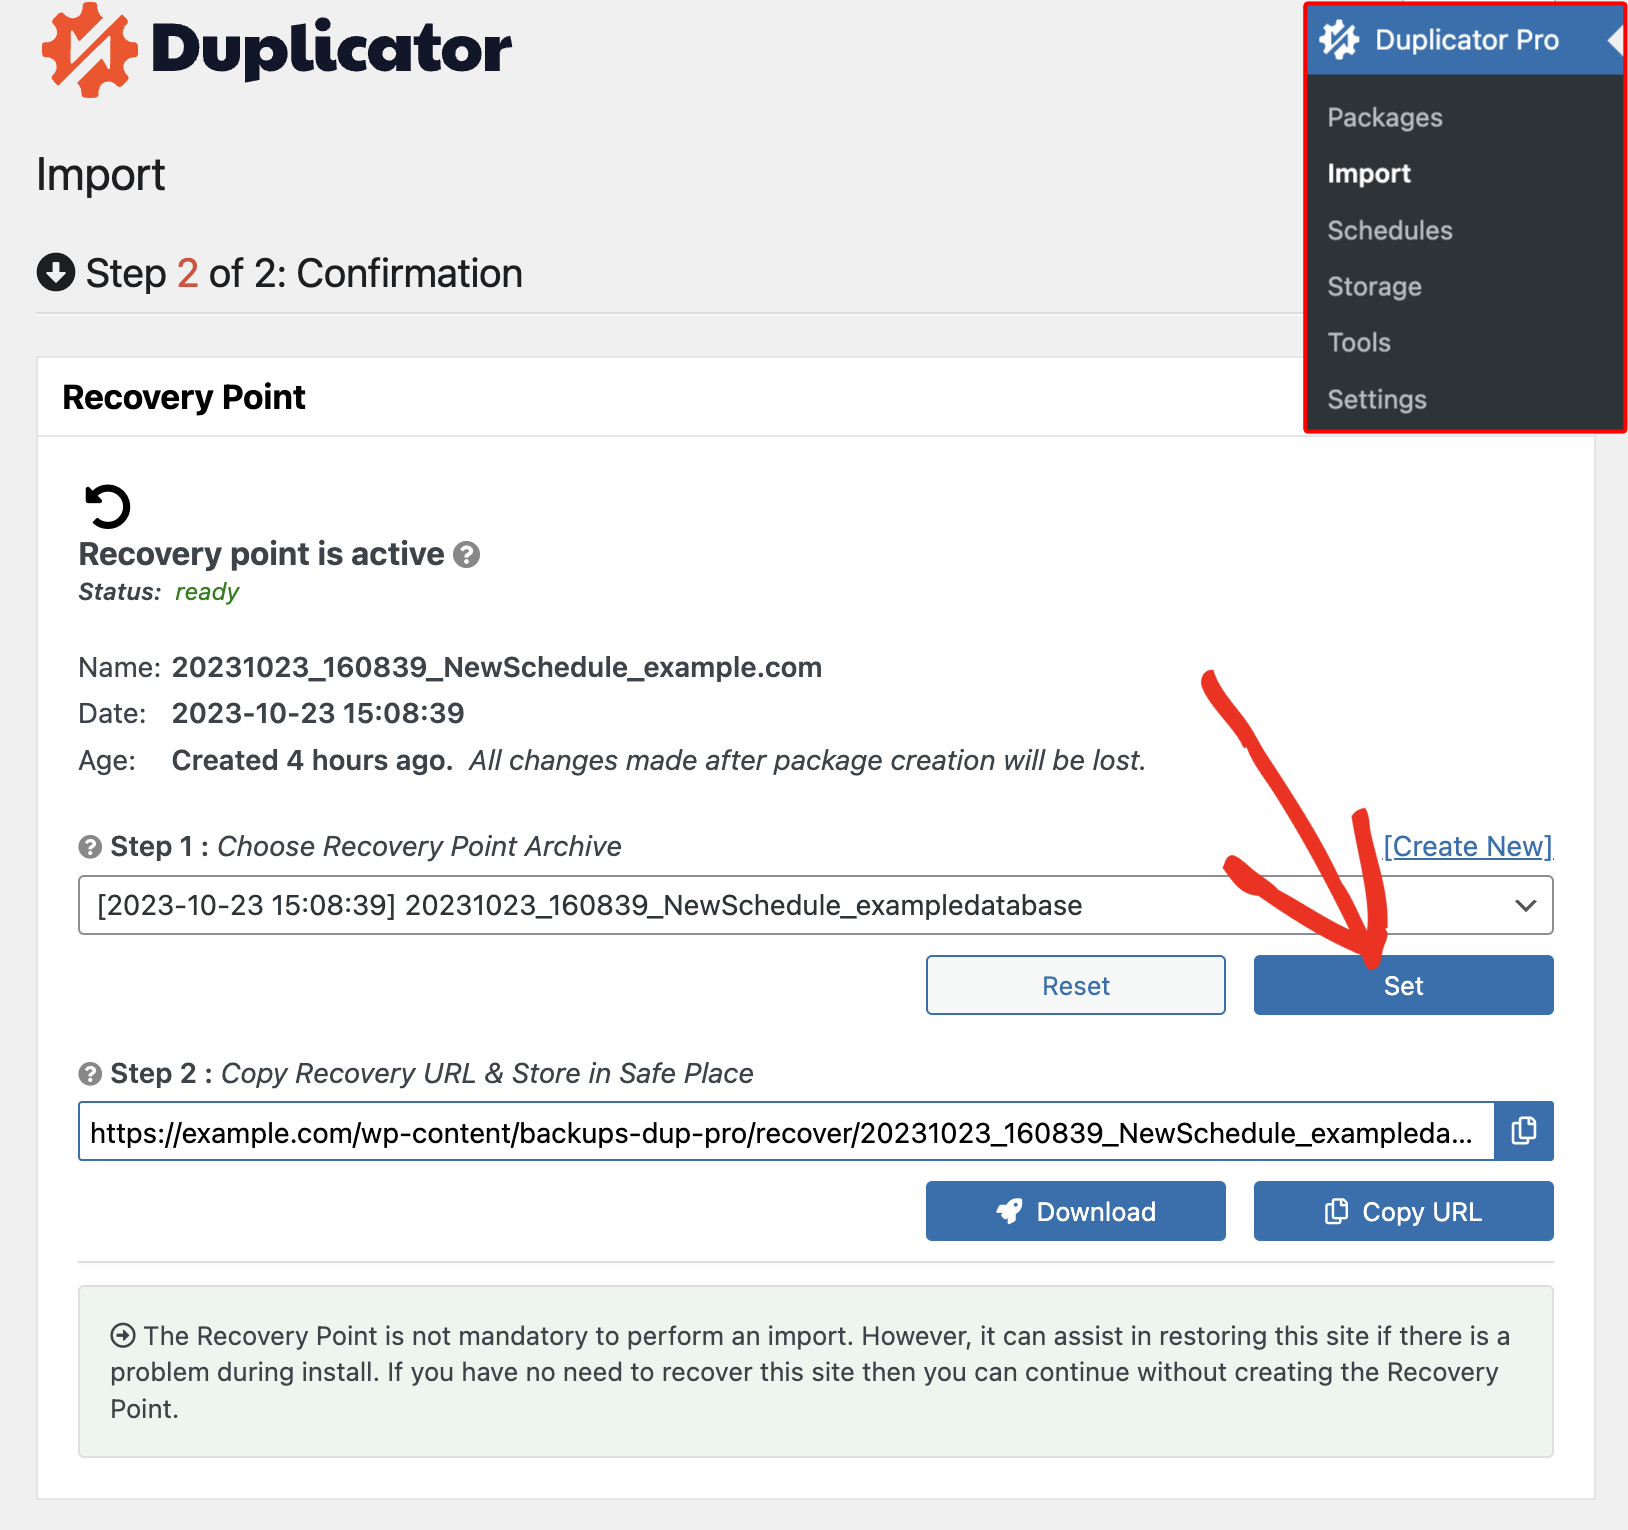
Now, at the bottom of the page, you can click on Launch Installer:
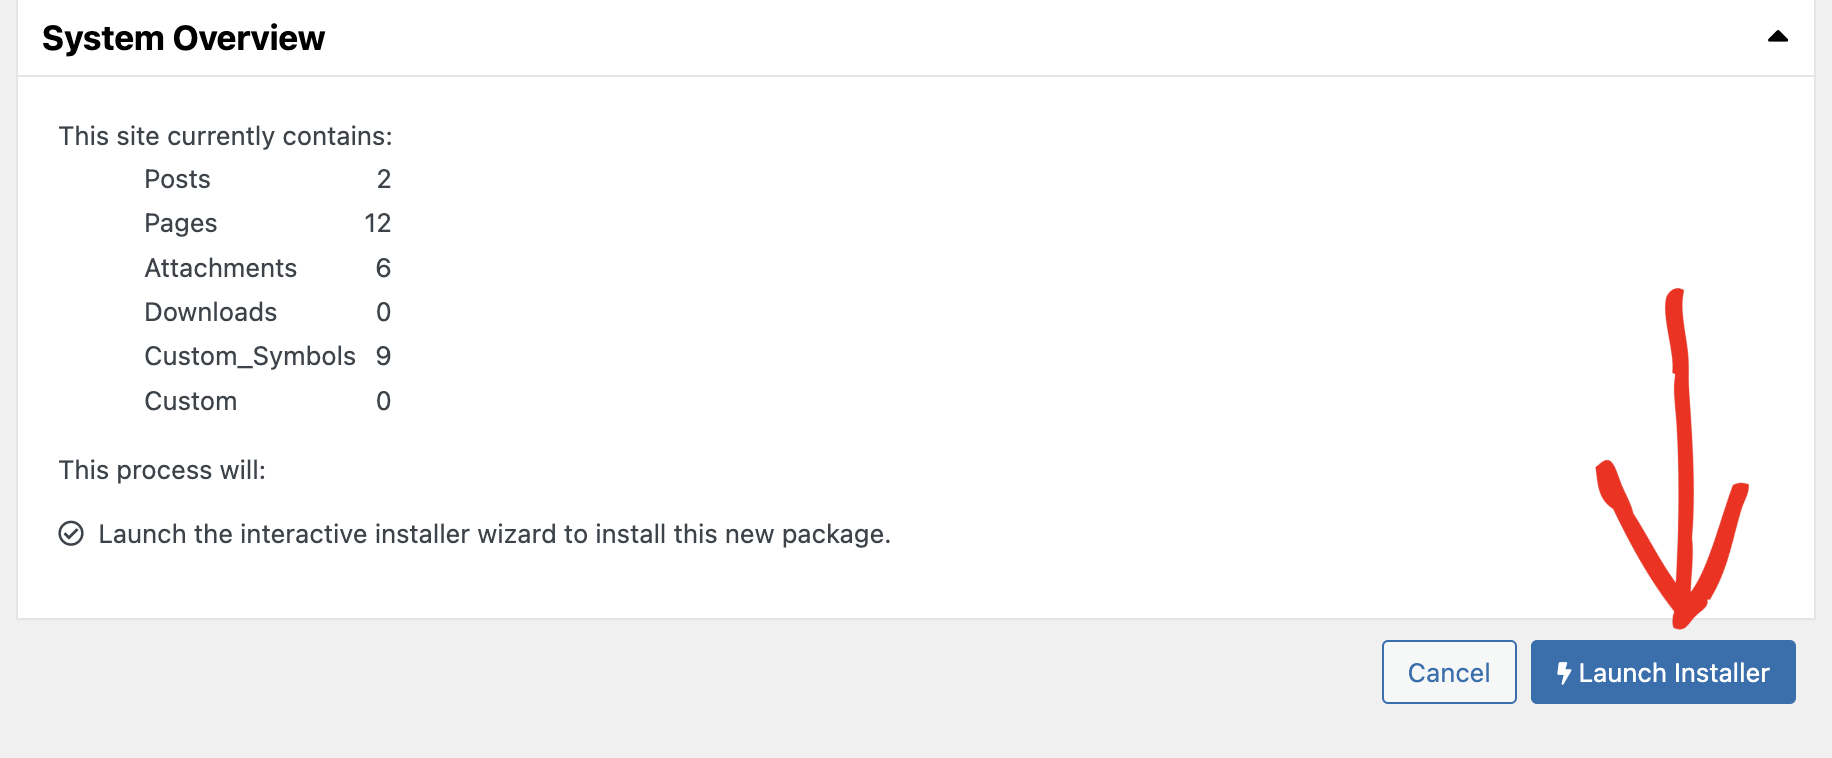
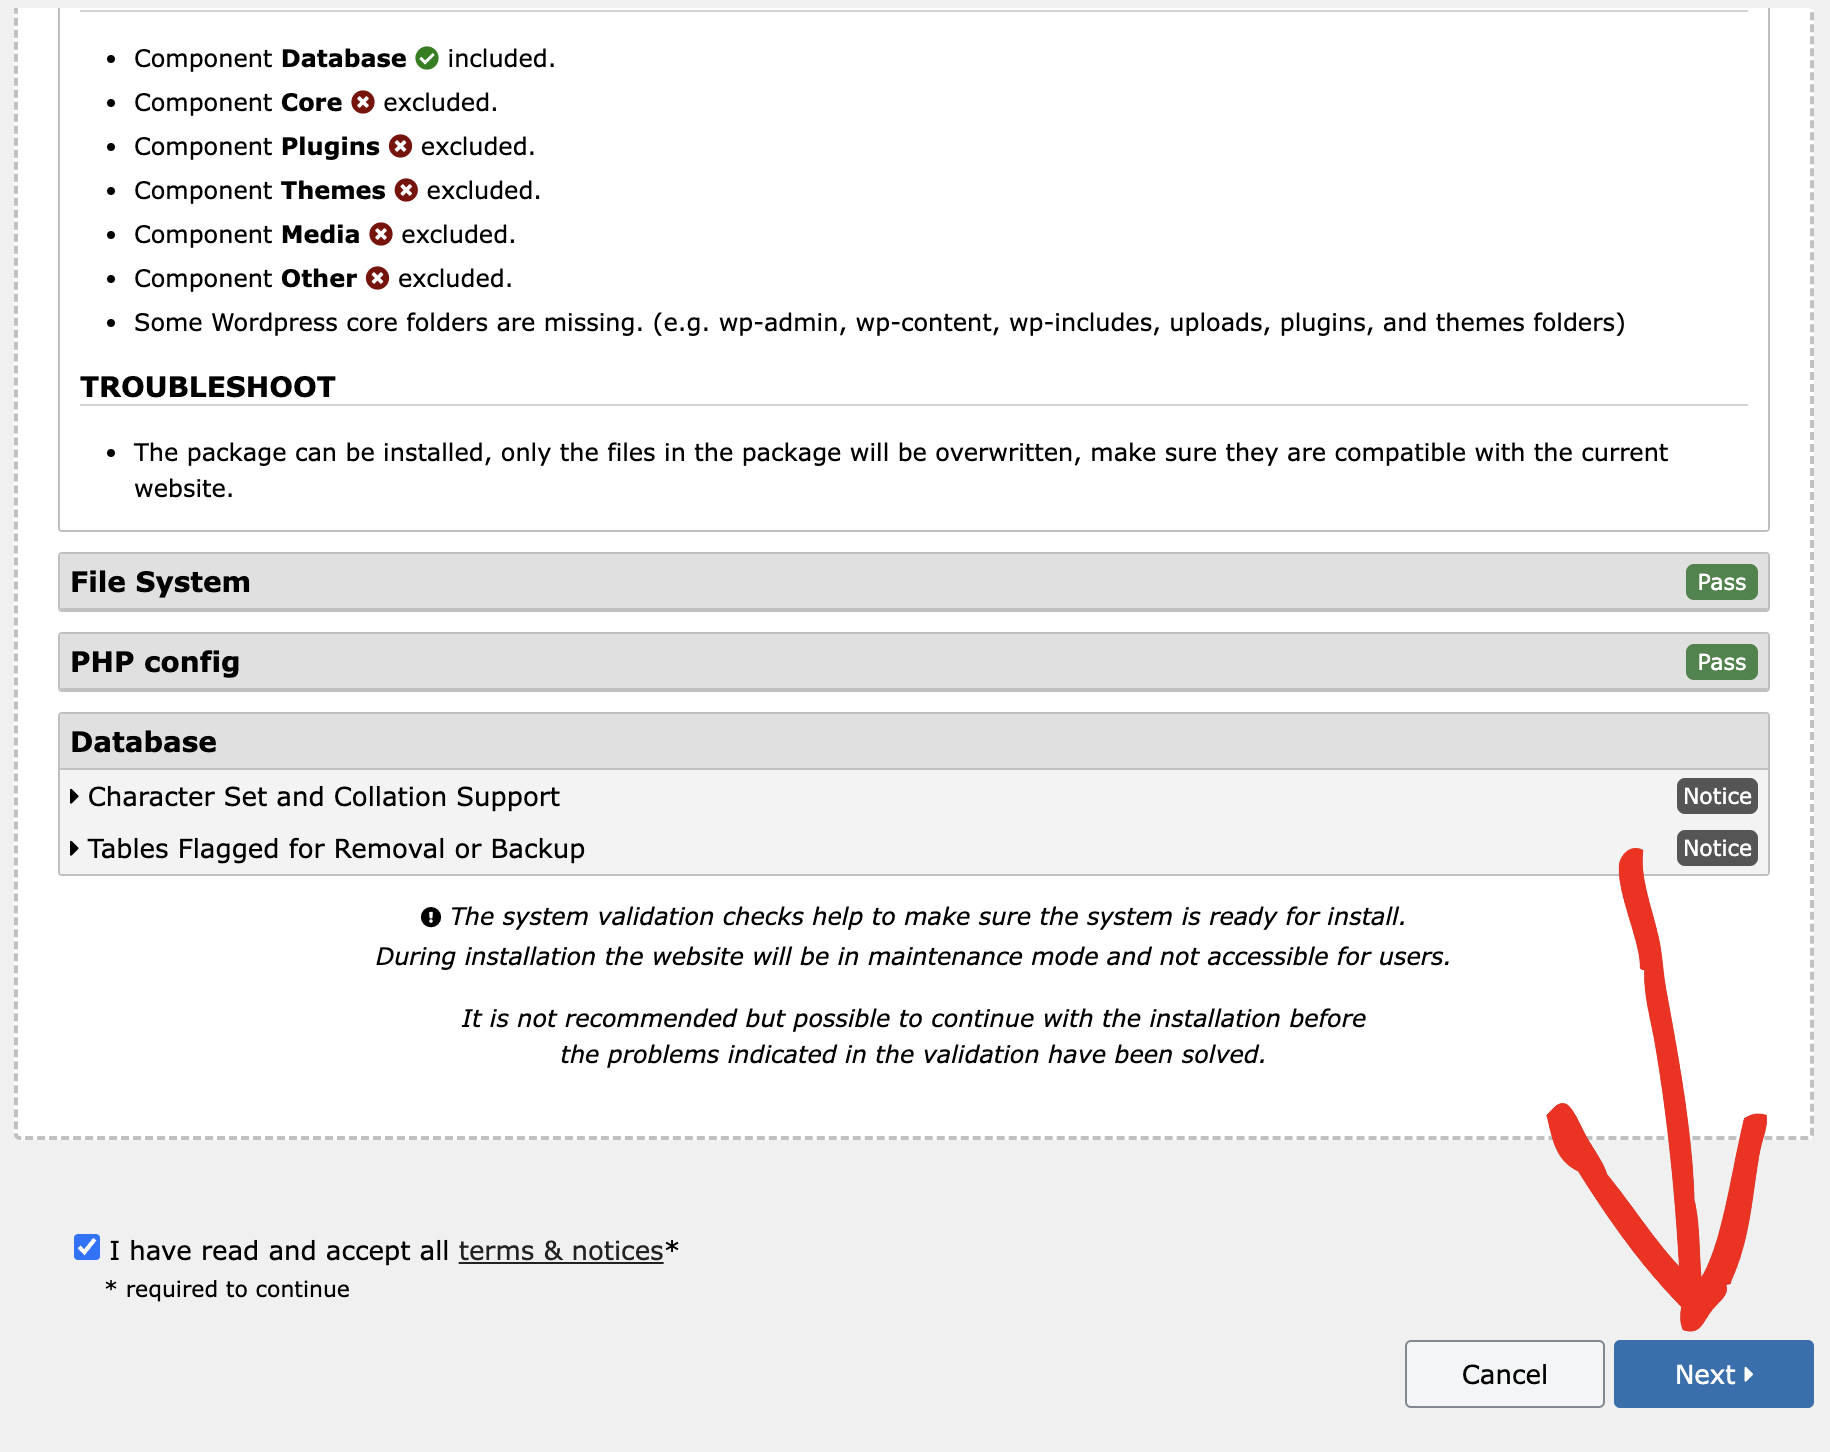
Launching the Installer will initiate the System validation:
Scroll to the bottom of the Page, accept the terms & notices and click on Next:
You’ll see a window for Install Confirmation. Verify your site and database settings. And then Go ahead and click on OK:
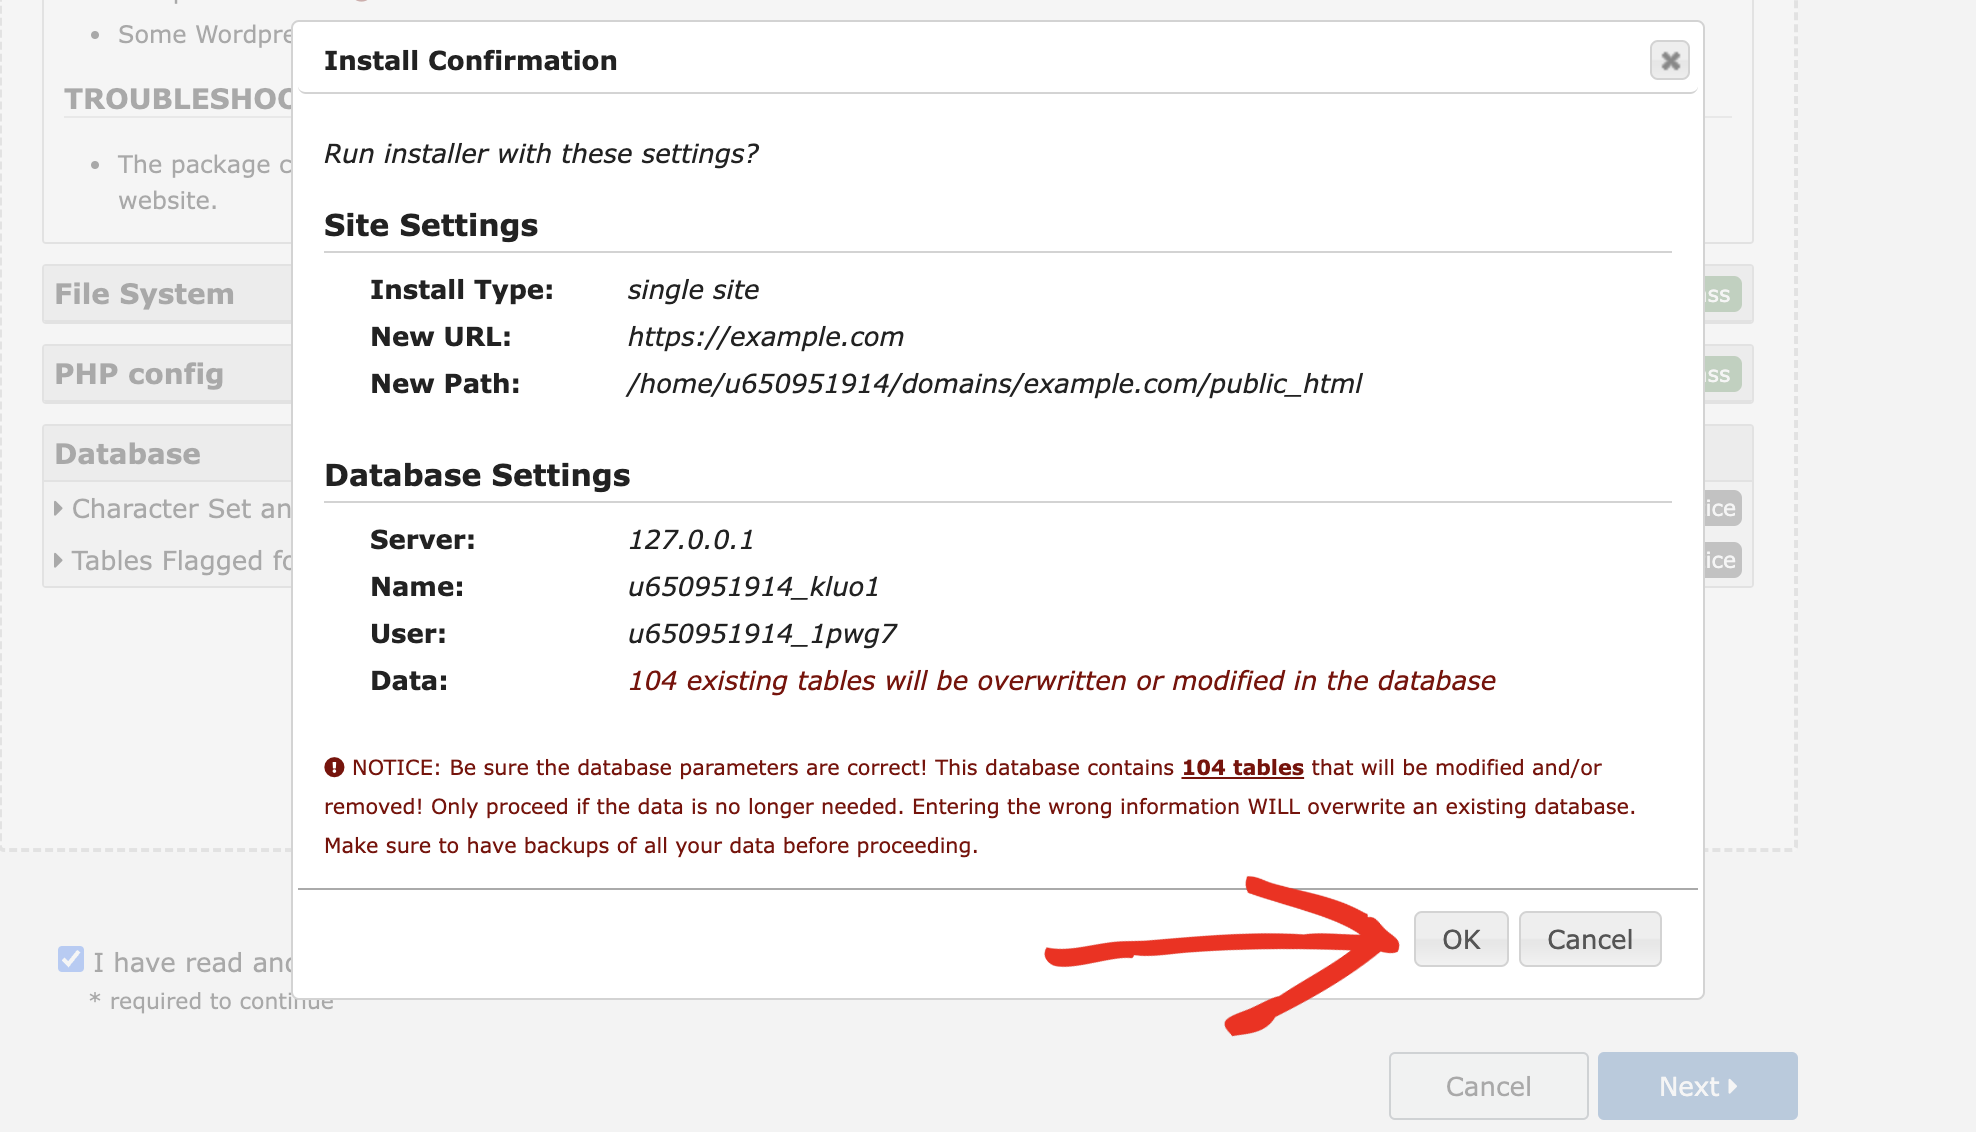
This will start the database installation on your Destination Site.
Check Database and File Sync
How do you confirm if your files and database are synchronized? While there isn’t a definitive answer, there are general guidelines to consider. Usually, the file system updates when you:
- Add new images, videos, or files to a page, post, or media content
- Install a new plugin or theme
- Modify a plugin setting that writes to files like the .htaccess file (such as security plugins)
If any of these actions have been performed, WordPress likely wrote to both your file system and database.
Consider this scenario: you have “Source Site – Site A” and “Destination Site – Site B.” You install a new plugin on “Site A” and create a Database Only archive, attempting to move it to “Site B” using the “Database Only Install” option.
In this case, the files on “Site B” aren’t in sync with the database created on “Site A” because “Site B” lacks the plugin files. If you try to install the “Site A” database onto “Site B,” issues may arise since “Site B” doesn’t have the plugin files installed on “Site A.”
In many instances, installing the plugin on “Site B” can resolve the issue. However, if you make substantial changes on “Site A,” it’s advisable to update those files on “Site B” as well.
The Database Install feature simplifies Database Backup in a few steps. Achieve comprehensive website database and file synchronization using the Custom Backup feature, which allows you to include additional elements in your backup such as media files, plugins, and themes.


