Website disasters are only disasters if you’re not prepared.
The real pros have a secret weapon that lets them sleep soundly at night: remote backups.
Instead of keeping your backups on the same server as your website (rookie move!), remote backups store your data safely in the cloud.
It’ll be far away from whatever chaos might unfold on your hosting server. You won’t have to worry about server crashes, plugin conflicts, or hacks.
In this post, I’ll show you how to remotely back up and restore WordPress!
Quick Summary: How to Remotely Back Up and Restore WordPress
- Remote backups store your WordPress data in cloud storage instead of on your local server
- They protect against server crashes, hardware failures, and malware attacks
- The Duplicator Pro plugin supports 12+ cloud storage services including Google Drive, Dropbox, and Amazon S3
- Setup involves installing the plugin, connecting cloud storage, and creating automated backups
- Restoration is a one-click process that downloads and restores your site from cloud storage
- Cloud storage offers unlimited scalability and encryption for sensitive data
Table of Contents
Why Should You Remotely Back Up WordPress?
When you back up your WordPress site, the backup will usually be stored on your local server. This makes your data accessible and easy to restore.
While traditional backups have their place, you might want to upgrade to remote backups. With a remote backup, you’ll save your WordPress website’s data to a cloud storage service like Amazon S3 or Google Drive.
Let’s talk about how remote backups can benefit your website!
Peace of Mind
Remote backups securely store your data off-site. There’s a complete copy of your website in the cloud, ready to be restored whenever you need it.
If your site ever goes down, you won’t lose your backups with it. No more sleepless nights worrying about data loss!
Security
Server crashes happen. Local hardware failures can lead to data loss.
Remote backups offer an extra layer of security. Even if your server goes down or gets infected by malware, your website’s data remains safe and sound in cloud storage.
Some cloud storage providers also offer encryption for your data. This adds an extra layer of security, especially if you’re dealing with sensitive information on your website.
Scalability
As your website grows, so will your backup needs. The beauty of remote backups lies in their scalability.
Cloud storage solutions offer vast amounts of space, easily accommodating the increasing size of your website’s data over time. You don’t have to worry about running out of server resources.
How to Remotely Back Up WordPress
Remote backups offer better accessibility and security, but you might not know how to get started.
Here’s how to remotely back up WordPress:
- Install a Backup Plugin: Set up Duplicator Pro with premium license for cloud storage features
- Connect Cloud Storage: Choose from 12+ services like Google Drive, Dropbox, or Amazon S3 and authorize access
- Create Remote Backup: Add a new backup with Duplicator and select the cloud storage provider you authorized
Step 1: Install a Backup Plugin with Cloud Storage
Duplicator Pro is a powerful WordPress plugin for creating and scheduling remote backups. It also lets you restore these backups with just a single click after disasters.
With Duplicator, you’ll also get powerful features like:
- Customizable backups
- Disaster recovery points
- Drag-and-drop migrations
- Automated backups
- Large site support
- Multisite support
- Email alerts for backup failures
- Backup limits to avoid overloading cloud storage
The free version supports basic backup and migration features. For cloud storage and automatic backups, be sure to upgrade to the premium version.
To start backing up your website remotely, install Duplicator Pro in your WordPress site.
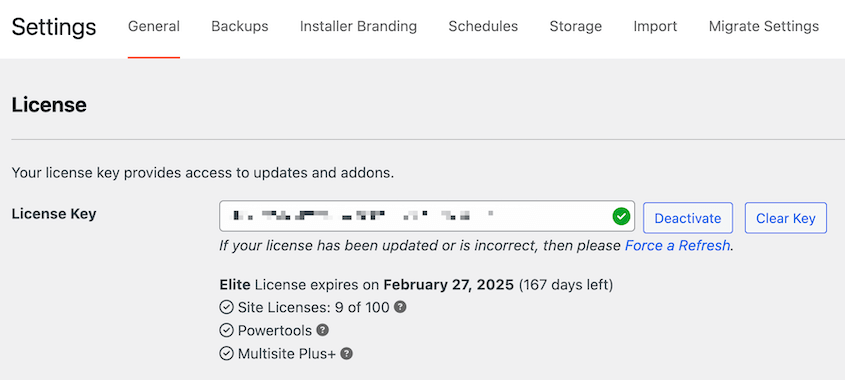
You’ll also need to go to Duplicator Pro » Settings » General. Here, paste your license key.
After activating Duplicator, you can start backing up your site!
Step 2: Connect Your Cloud Storage Service
Now it’s time to choose a secure location to store your website’s backups. This is where cloud storage services come in.
Popular options include Google Drive, Dropbox, Amazon S3, and Microsoft OneDrive.
Each service offers different storage capacities and pricing plans, so consider your website’s size and budget when making your selection.
To help you make the right choice, I’ve reviewed the best cloud storage services for WordPress backups. See the final ranking!
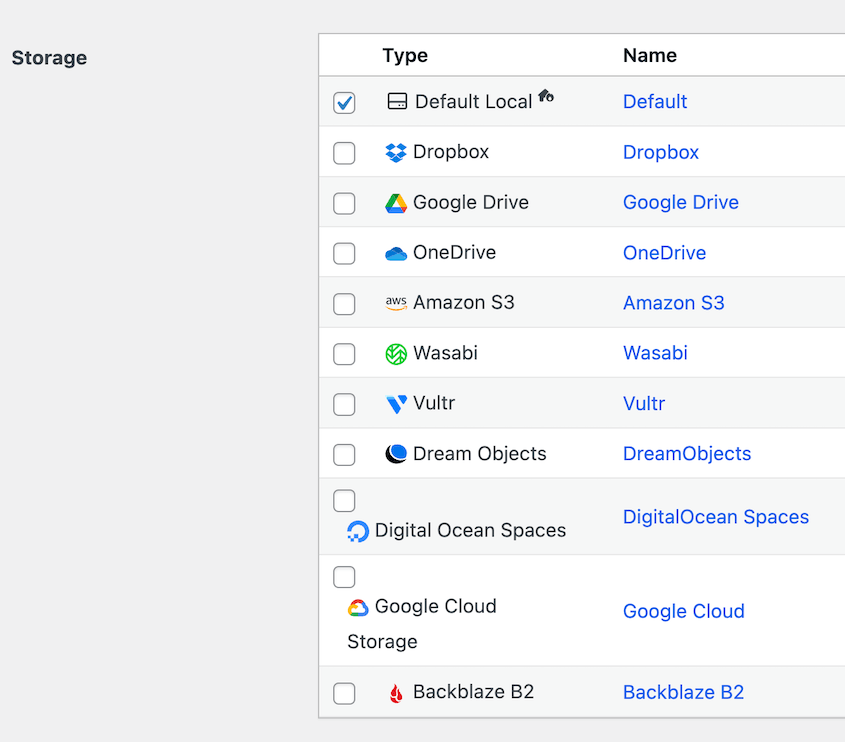
Fortunately, Duplicator supports a variety of cloud storage services. It can store backups in:
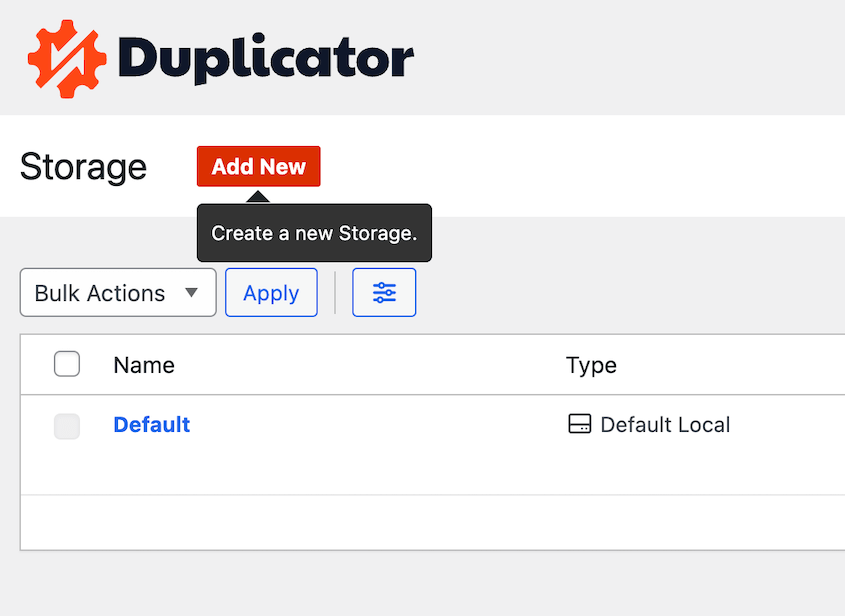
First, find Duplicator Pro » Storage » Add New.
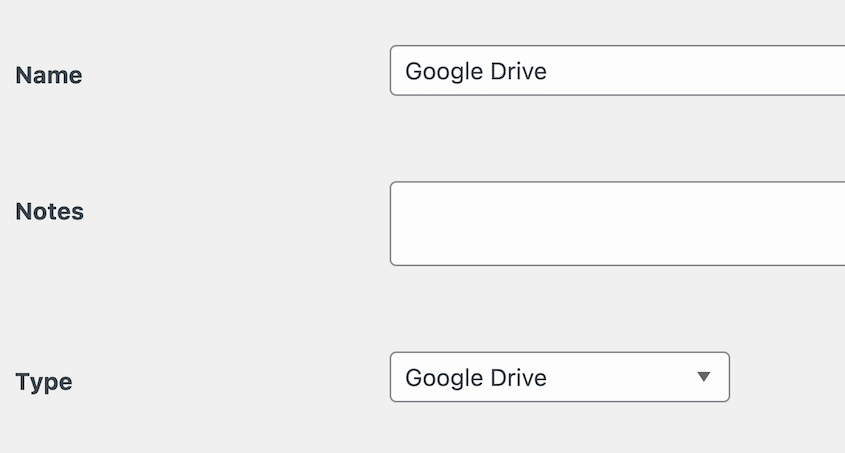
Name the storage location and add a note if you want to. Next to Type, choose the storage location you want to use.
For this tutorial, I’m using Google Drive. For other cloud services, this process will be slightly different. For specific steps, be sure to read the linked tutorials above!
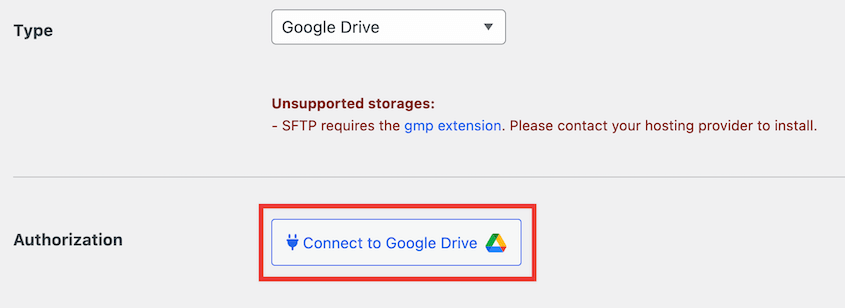
Next to Authorization, click on Connect to [Storage Service].
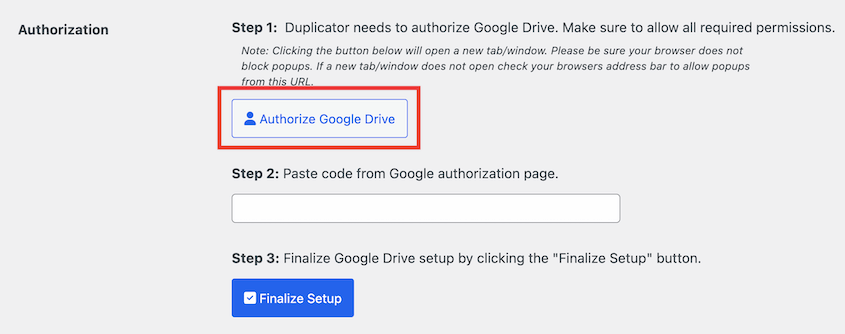
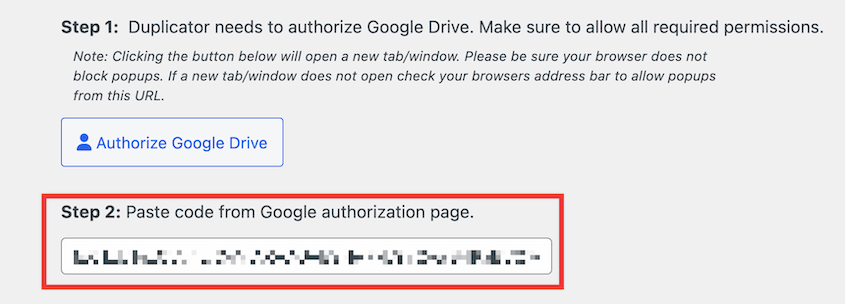
Now you’ll see new steps to connect Duplicator to the cloud service. Hit Authorize [Storage Service].
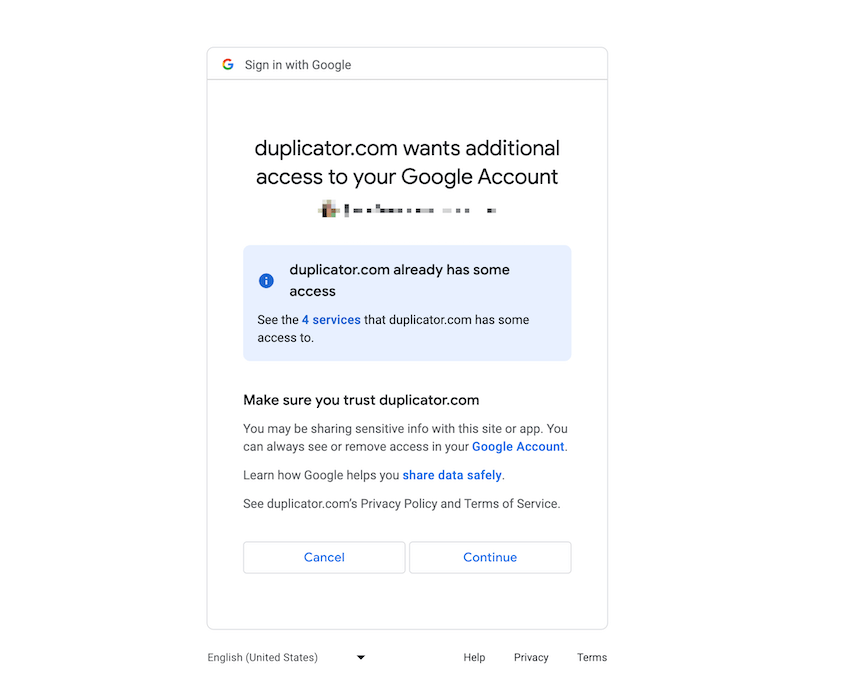
At this point, you’ll need to sign in to your third-party account.
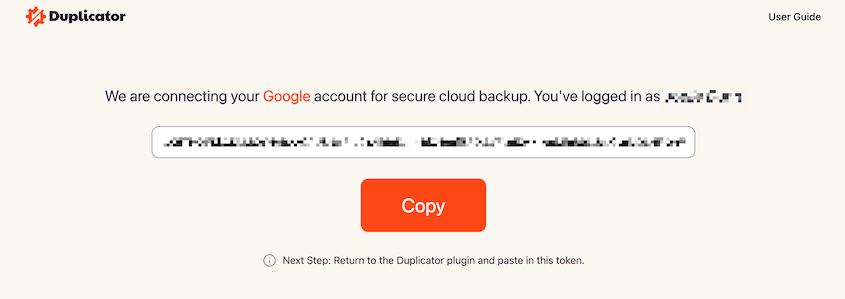
After this, Duplicator will generate an authorization code. Copy this for later.
Go back to your WordPress site. Under Step 2, paste the code.
Click the Finalize Setup button. To make sure Duplicator is connected to the cloud, scroll down to the bottom and hit Test [Storage Service] Connection.
As a final step, I’d recommend adjusting the Max Backups value. This will limit the number of backups that are stored in your cloud account, so you never overpay for storage.
Step 3: Create a Remote Backup
Now that Duplicator Pro is armed with cloud storage, it’s time to create your first remote backup!
This backup will be a complete snapshot of your website, capturing all essential elements for a full restoration if needed.
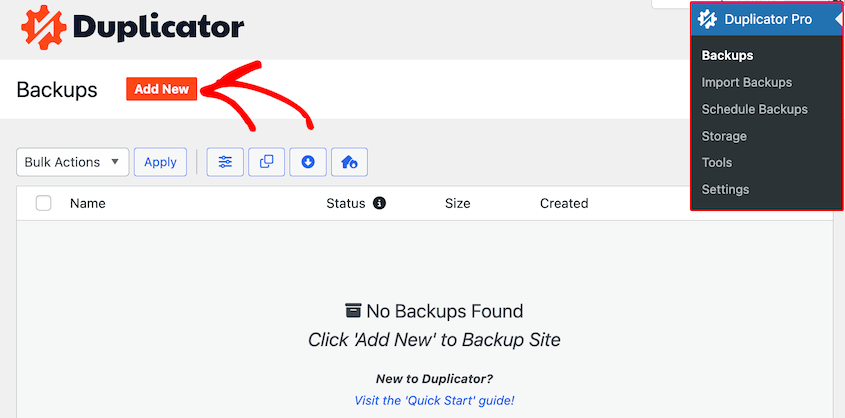
First, navigate to Duplicator Pro » Backups » Add New.
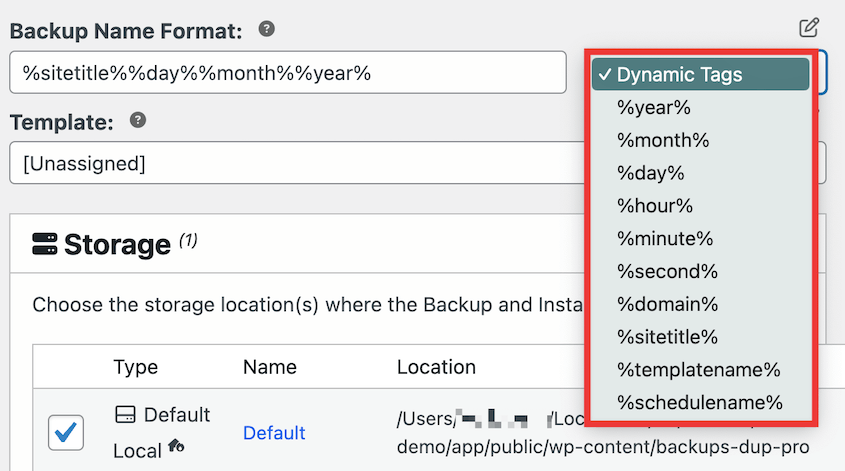
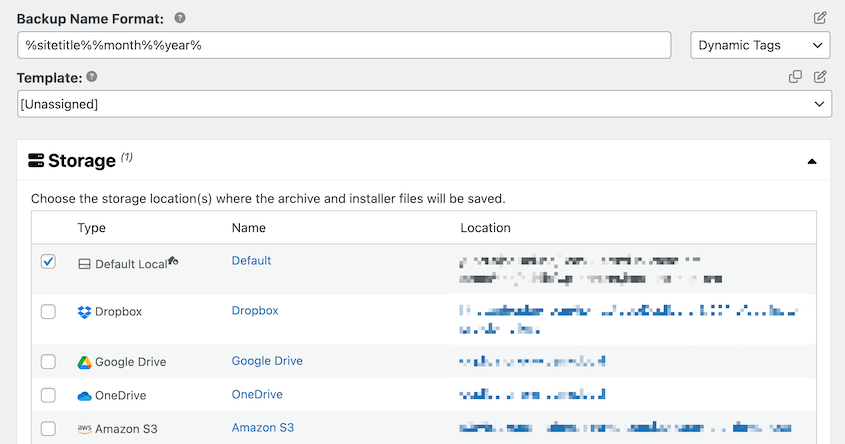
To easily find the backup later, customize the name with dynamic tags.
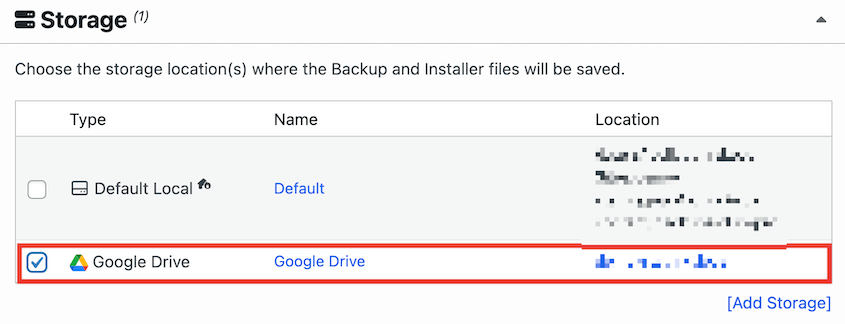
In the Storage settings, you’ll see all of the storage options you’ve enabled. Click on the new cloud service you just set up.
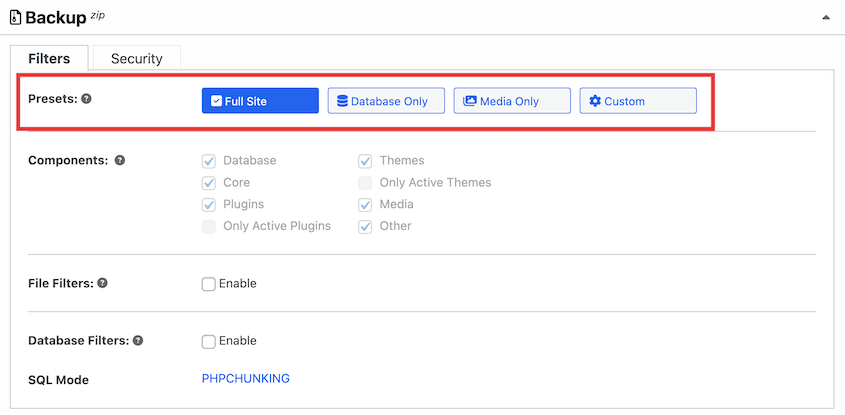
Then, customize your site backup. For a complete backup, choose Full Site. However, you can easily check or uncheck elements to only save necessary data.
Here are all of the custom backup options you can select:
- Database
- WordPress core files
- WordPress plugins
- WordPress themes
- Media library
- Only active plugins
- Only active themes
- Other site files
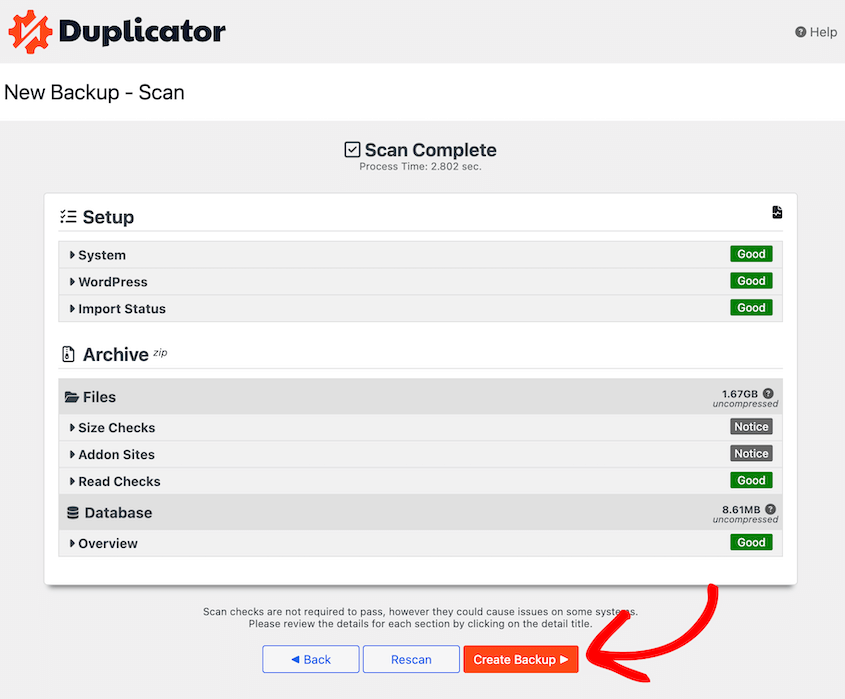
Hit Next. Duplicator will scan your website’s files, database, and other selected elements. To back up your site, click on Create Backup.
Duplicator will then create copies of your site’s data and compress them into a zip file. It’ll immediately be sent over to cloud storage.
How to Restore Remote Backups
Disasters happen, but with Duplicator, restoring your website is a breeze. It allows you to bring your site back online quickly and efficiently, minimizing downtime and potential losses.
All you’ll need to do is find your cloud backup on the Backups page. Next to it, hit the Restore button.
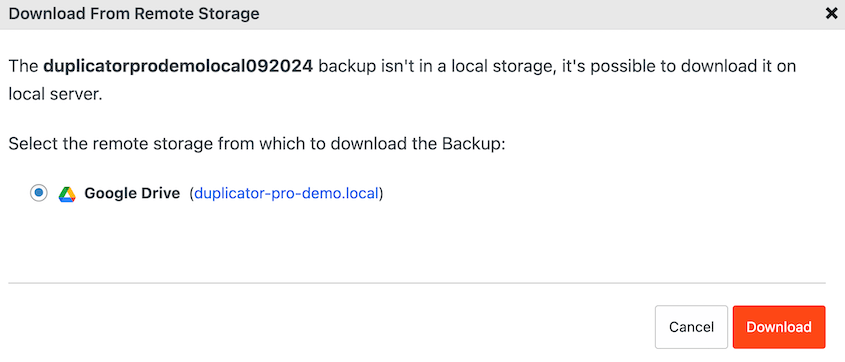
In the pop-up window, click on Download.
Duplicator will download the backup from remote storage to your WordPress dashboard. Then, it’ll automatically pull up the restoration wizard.
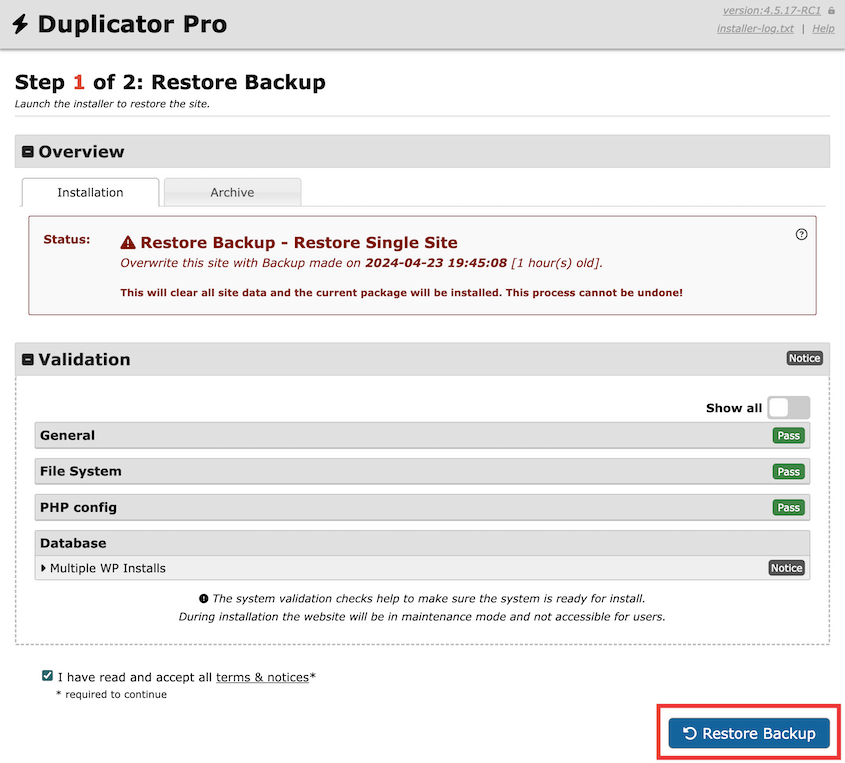
Accept the terms and notices and hit Restore Backup.
Once your website is rolled back to the previous version, you’ll have to log in again.
And that’s it! You’ve restored your website using a remote backup.
FAQs About WordPress Remote Backups
How do I back up my entire WordPress site?
You can easily back up your entire site with a WordPress backup plugin like Duplicator. It creates a compressed file containing all your WordPress files and database tables. Duplicator can also schedule backups and store them securely in the cloud for easy access and restoration.
Alternatives: Other plugins that can back up and restore your site include UpdraftPlus, BackupBuddy (now Solid Backups), BackWPup, and Jetpack.
How do I automate WordPress backups?
WordPress itself doesn’t offer automatic backups, but plugins like Duplicator Pro can help. With Duplicator, you can create regular backups of your website’s files and database at set intervals. You’ll have the freedom to choose where to store these backups, with cloud storage being a secure and convenient option.
To automate backups with Duplicator, create a new schedule. Then, select a storage location.
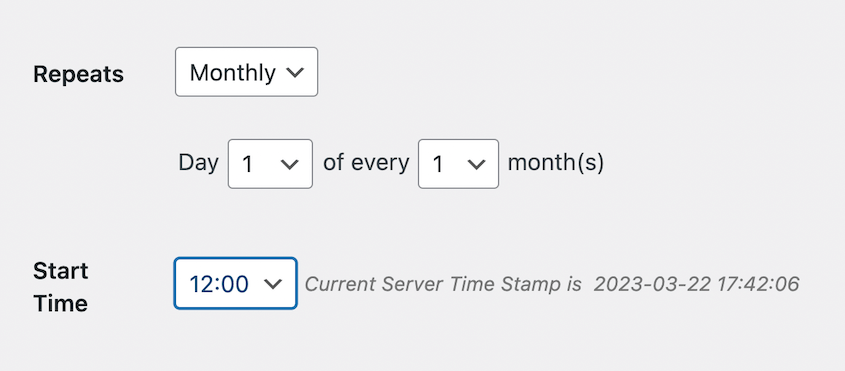
You can set up monthly, weekly, hourly, or daily backups. For each option, you’ll see extra customization options. For example, you’ll be able to choose a specific day of the month for monthly backups.
Lastly, set a time when the backup will start. Check the box next to Enable This Schedule.
Once you save the schedule, your website will be automatically backed up! You won’t need to worry about creating backups yourself.
How do I back up and restore WordPress to another server?
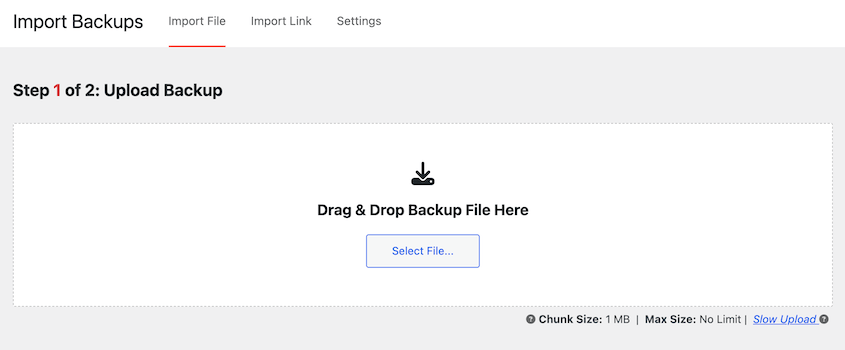
Plugins like Duplicator Pro can create a complete backup of your WordPress site. Download the backup’s archive file. On the new server, install Duplicator Pro and upload the website backup to the Import Backups page.
This will start the restoration process!
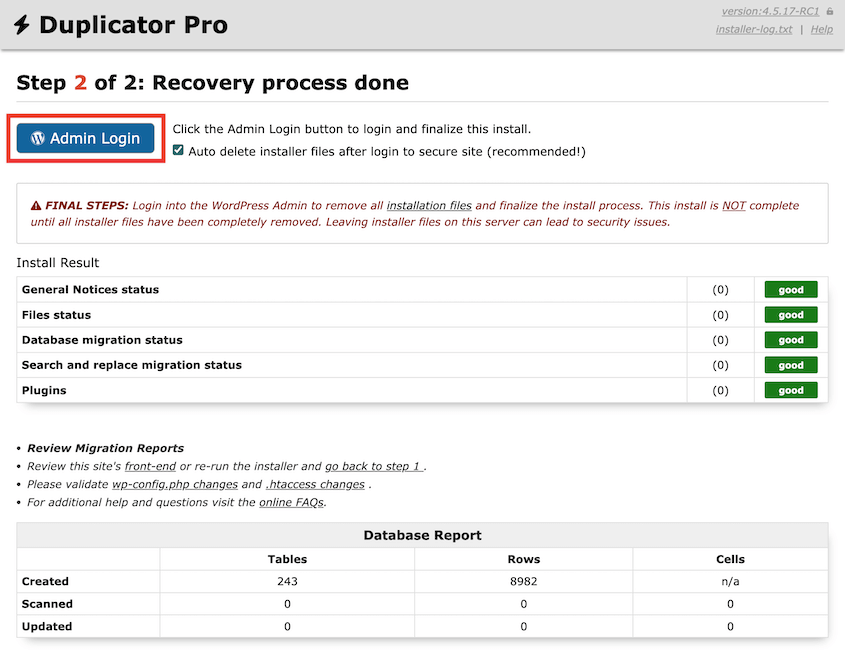
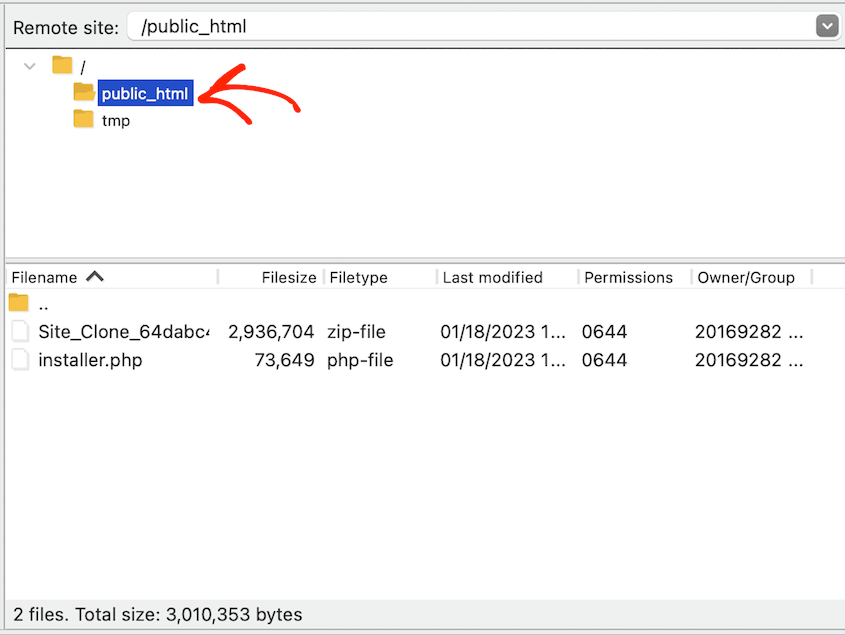
Duplicator is the best migration plugin out there, and you don’t even have to install WordPress on the second site. With this method, be sure to download both backup files. Connect to the new server using an FTP client. Upload both the archive and installer files to an empty directory.
Search for this link to launch Duplicator’s installer: https://your-domain/installer.php
How do I back up a WordPress site manually?
Manually backing up a WordPress site involves downloading both the website files and the database. You can use an FTP client or cPanel to download all website files from your server. The WordPress database can be exported as a SQL file using phpMyAdmin or another database management tool offered by your web hosting provider.
Remember, manual backups require more technical knowledge. It will also be more time-consuming (and more error-prone) than using a backup plugin.
How do I back up a WordPress site to a local computer?
To back up a WordPress site to a local computer, use Duplicator to create a new backup. In the storage options, select Local. Once the backup is built, it will be stored on your site’s local server.
Next, find the recent backup and download it to your local computer.
If you want to set up WordPress on a local server, check out this tutorial!
Cloud-Protect Your Website
Remember, disasters don’t announce themselves. They happen when you least expect them, like during high-traffic periods, after plugin updates, or right before important launches.
But with remote cloud backups, you’re prepared for whatever comes your way!
While you’re here, I think you’ll like these extra WordPress guides:
Do you want to secure your WordPress data in the cloud? Download Duplicator Pro for quick and easy cloud backups!
Joella is a writer with years of experience in WordPress. At Duplicator, she specializes in site maintenance — from basic backups to large-scale migrations. Her ultimate goal is to make sure your WordPress website is safe and ready for growth.


